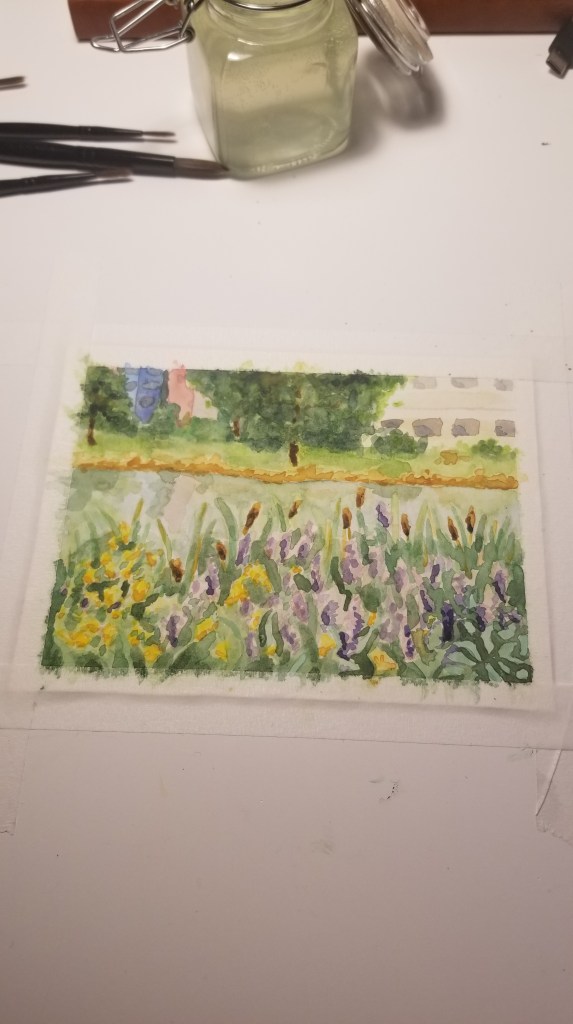
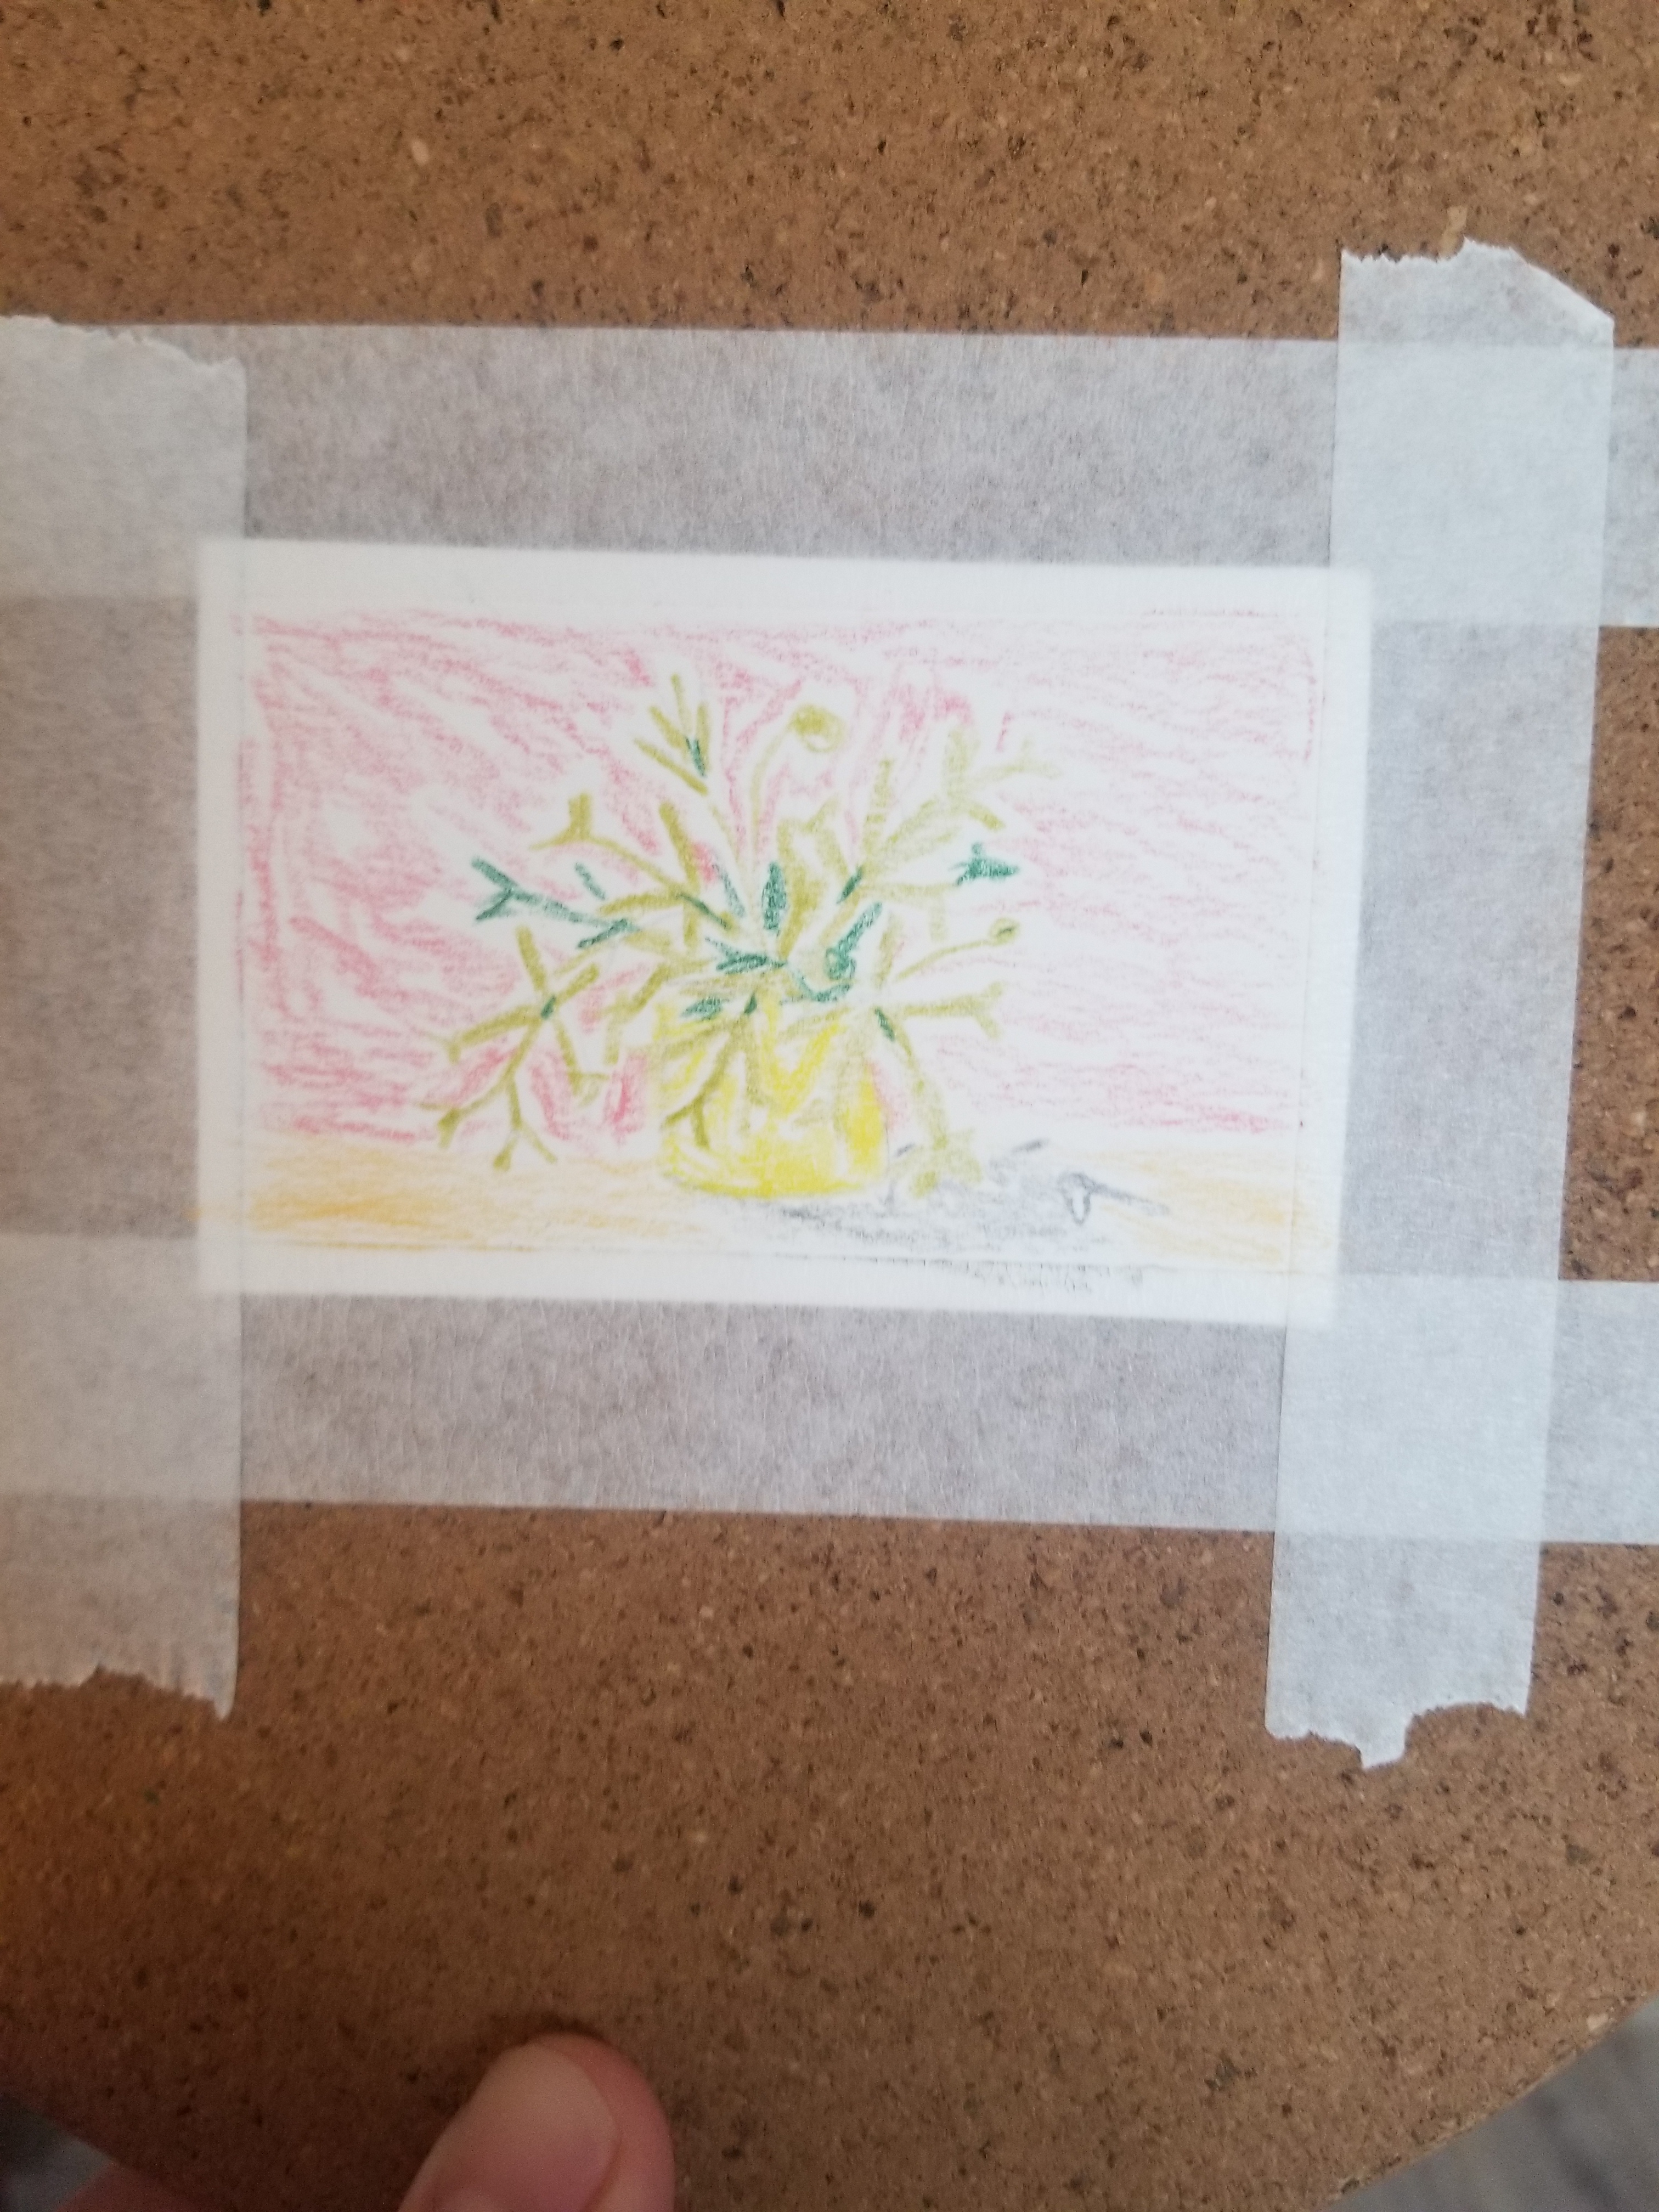
I’m pretty happy with how this little batch went!
31.
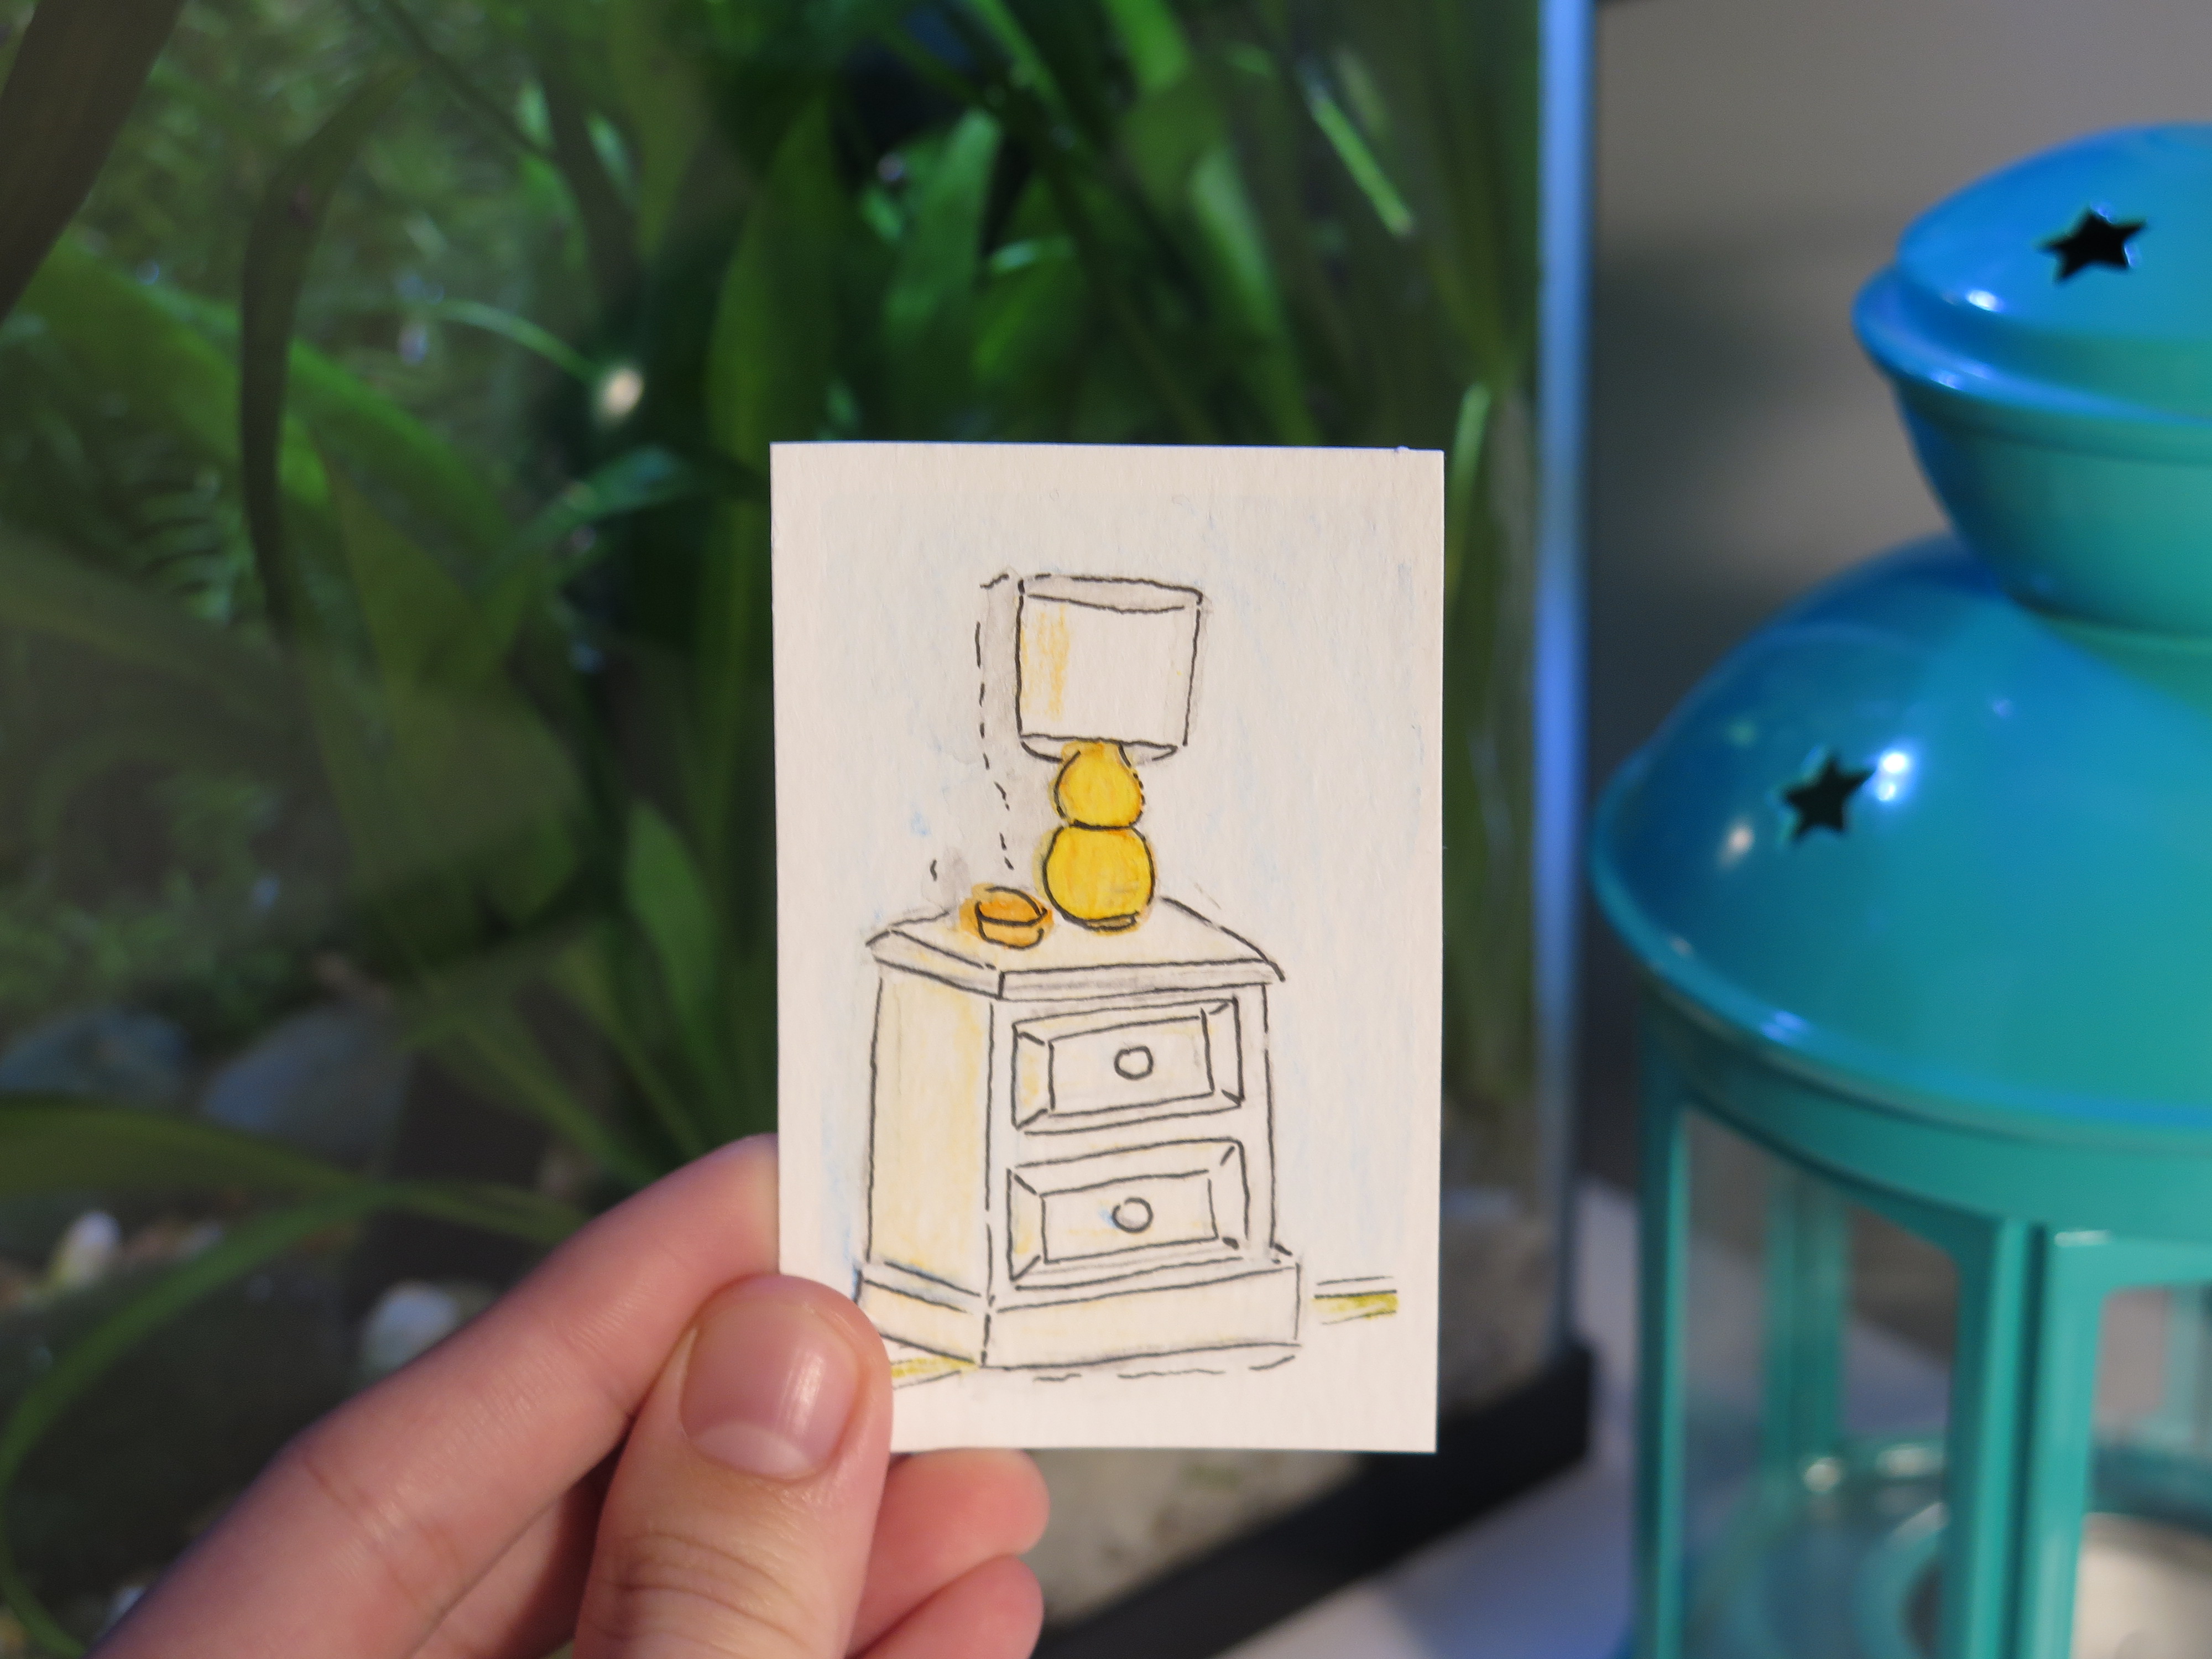
32.
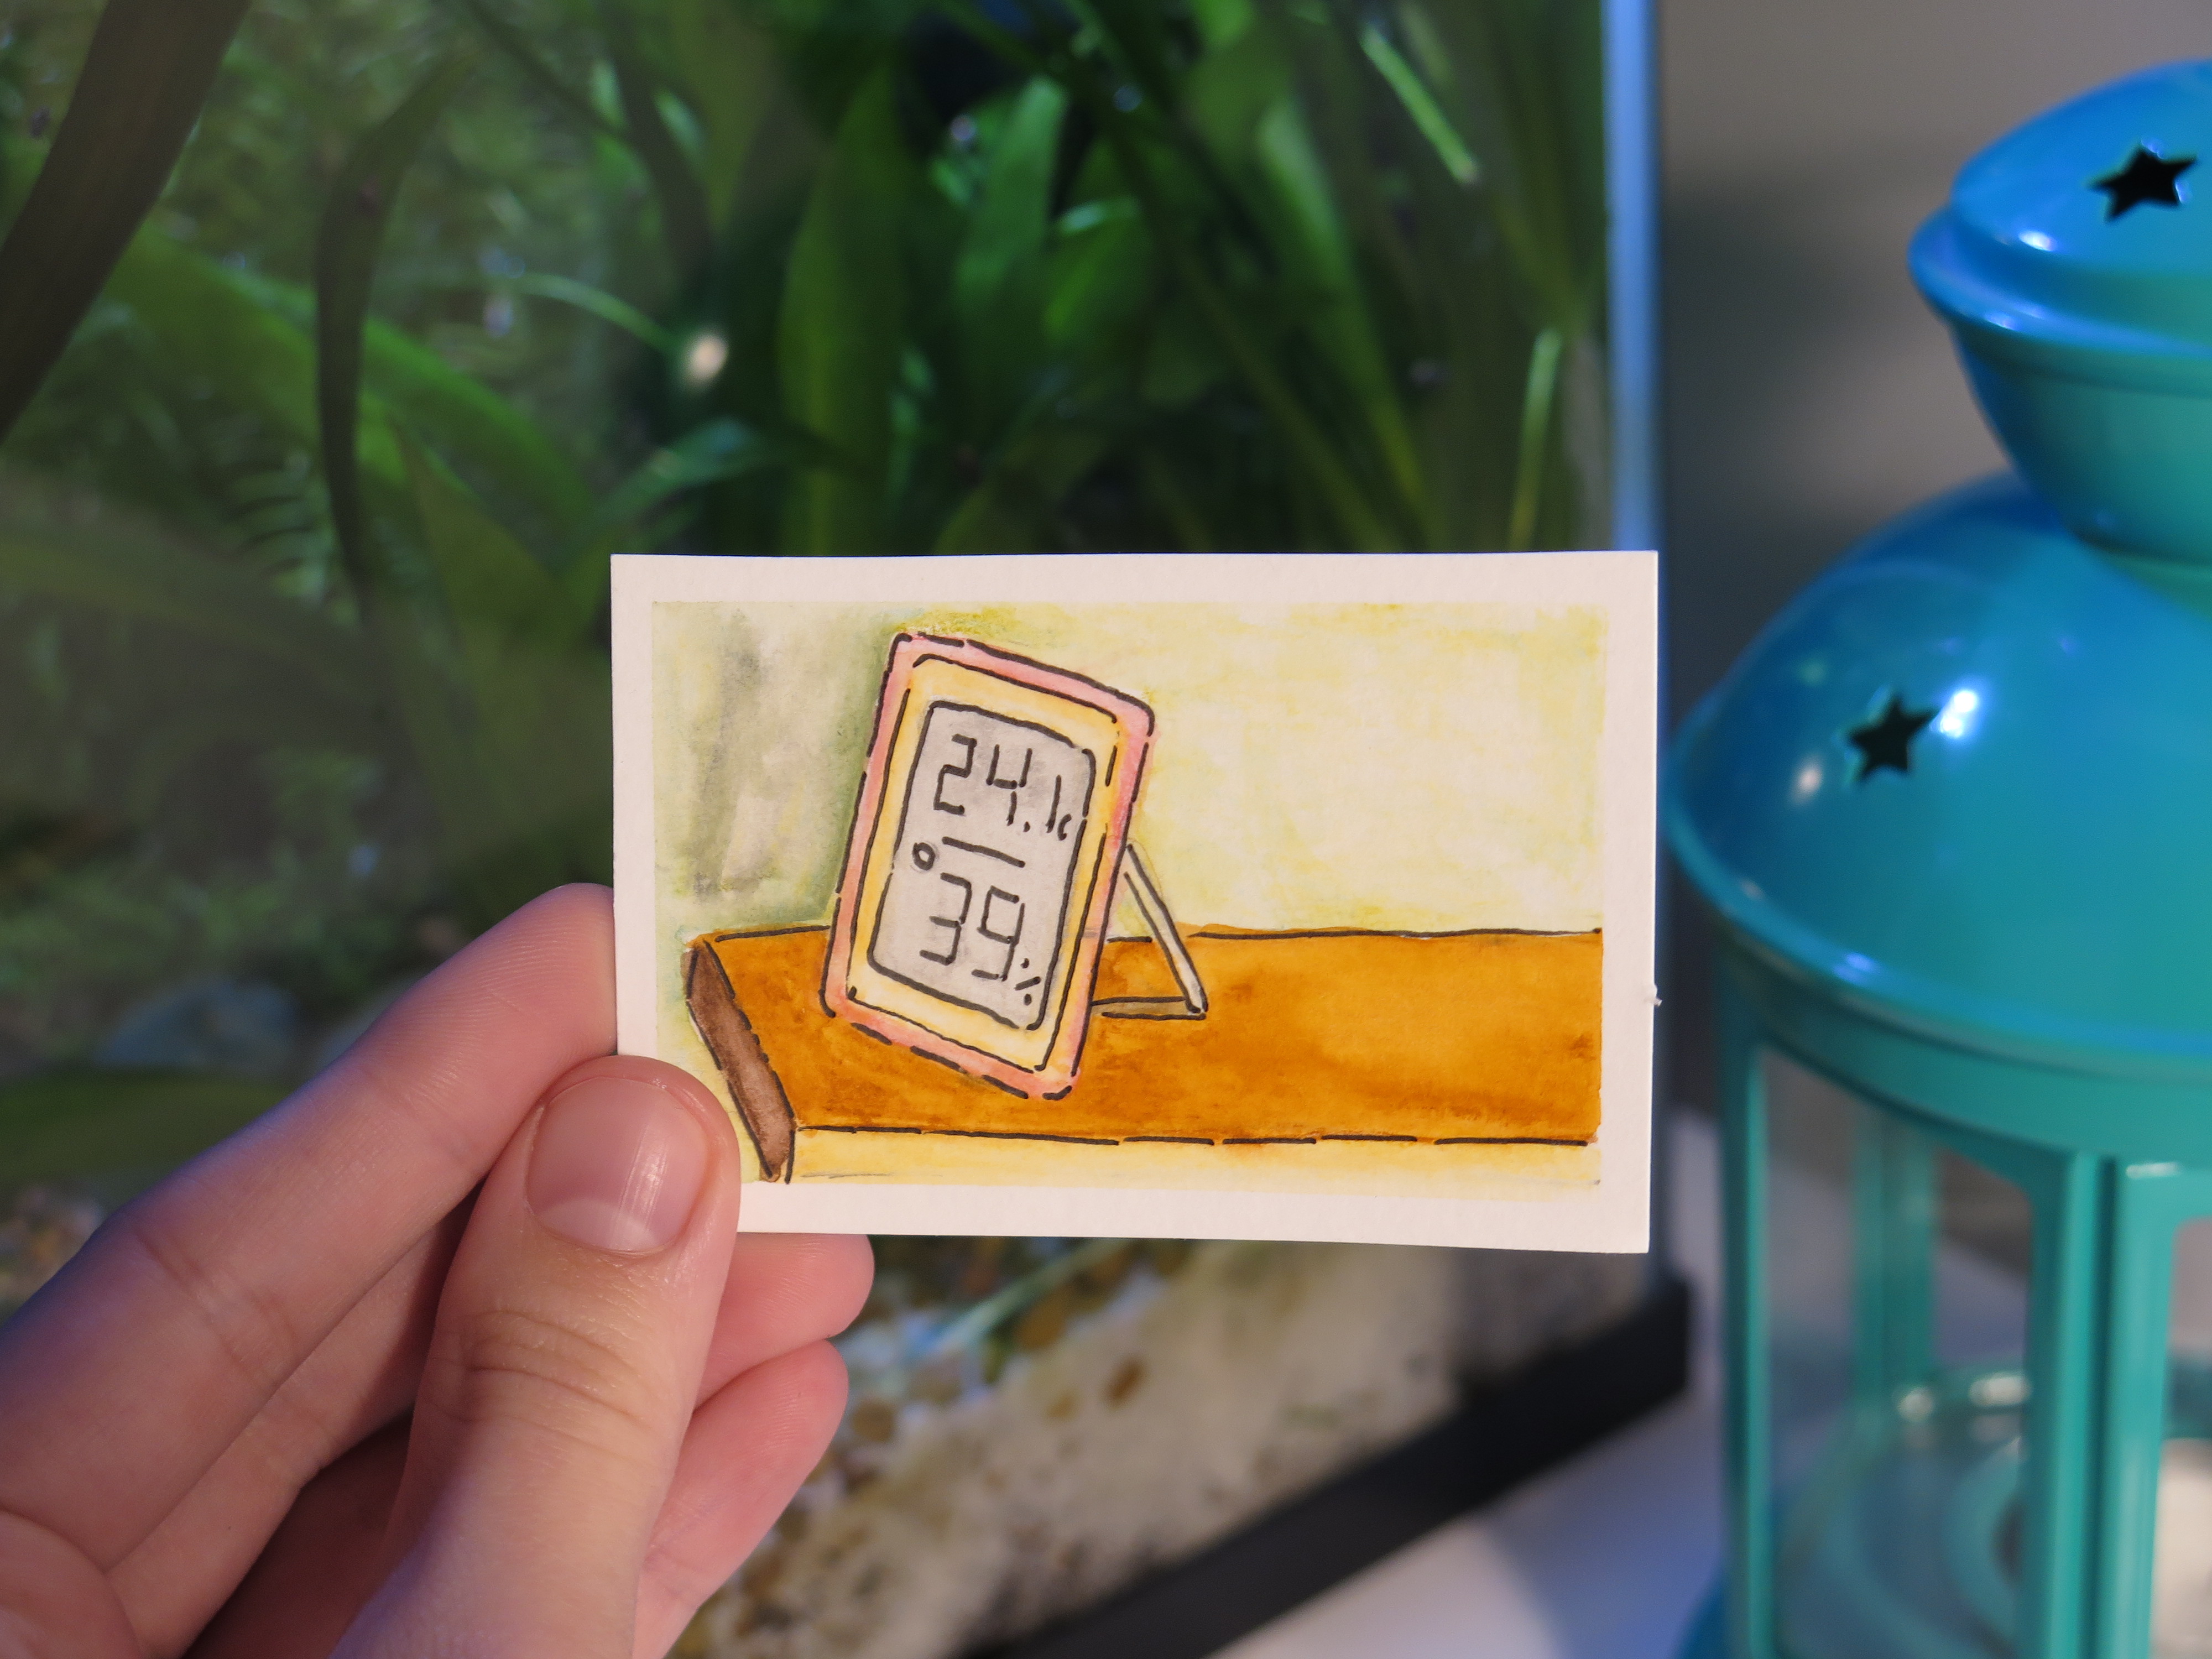
33.
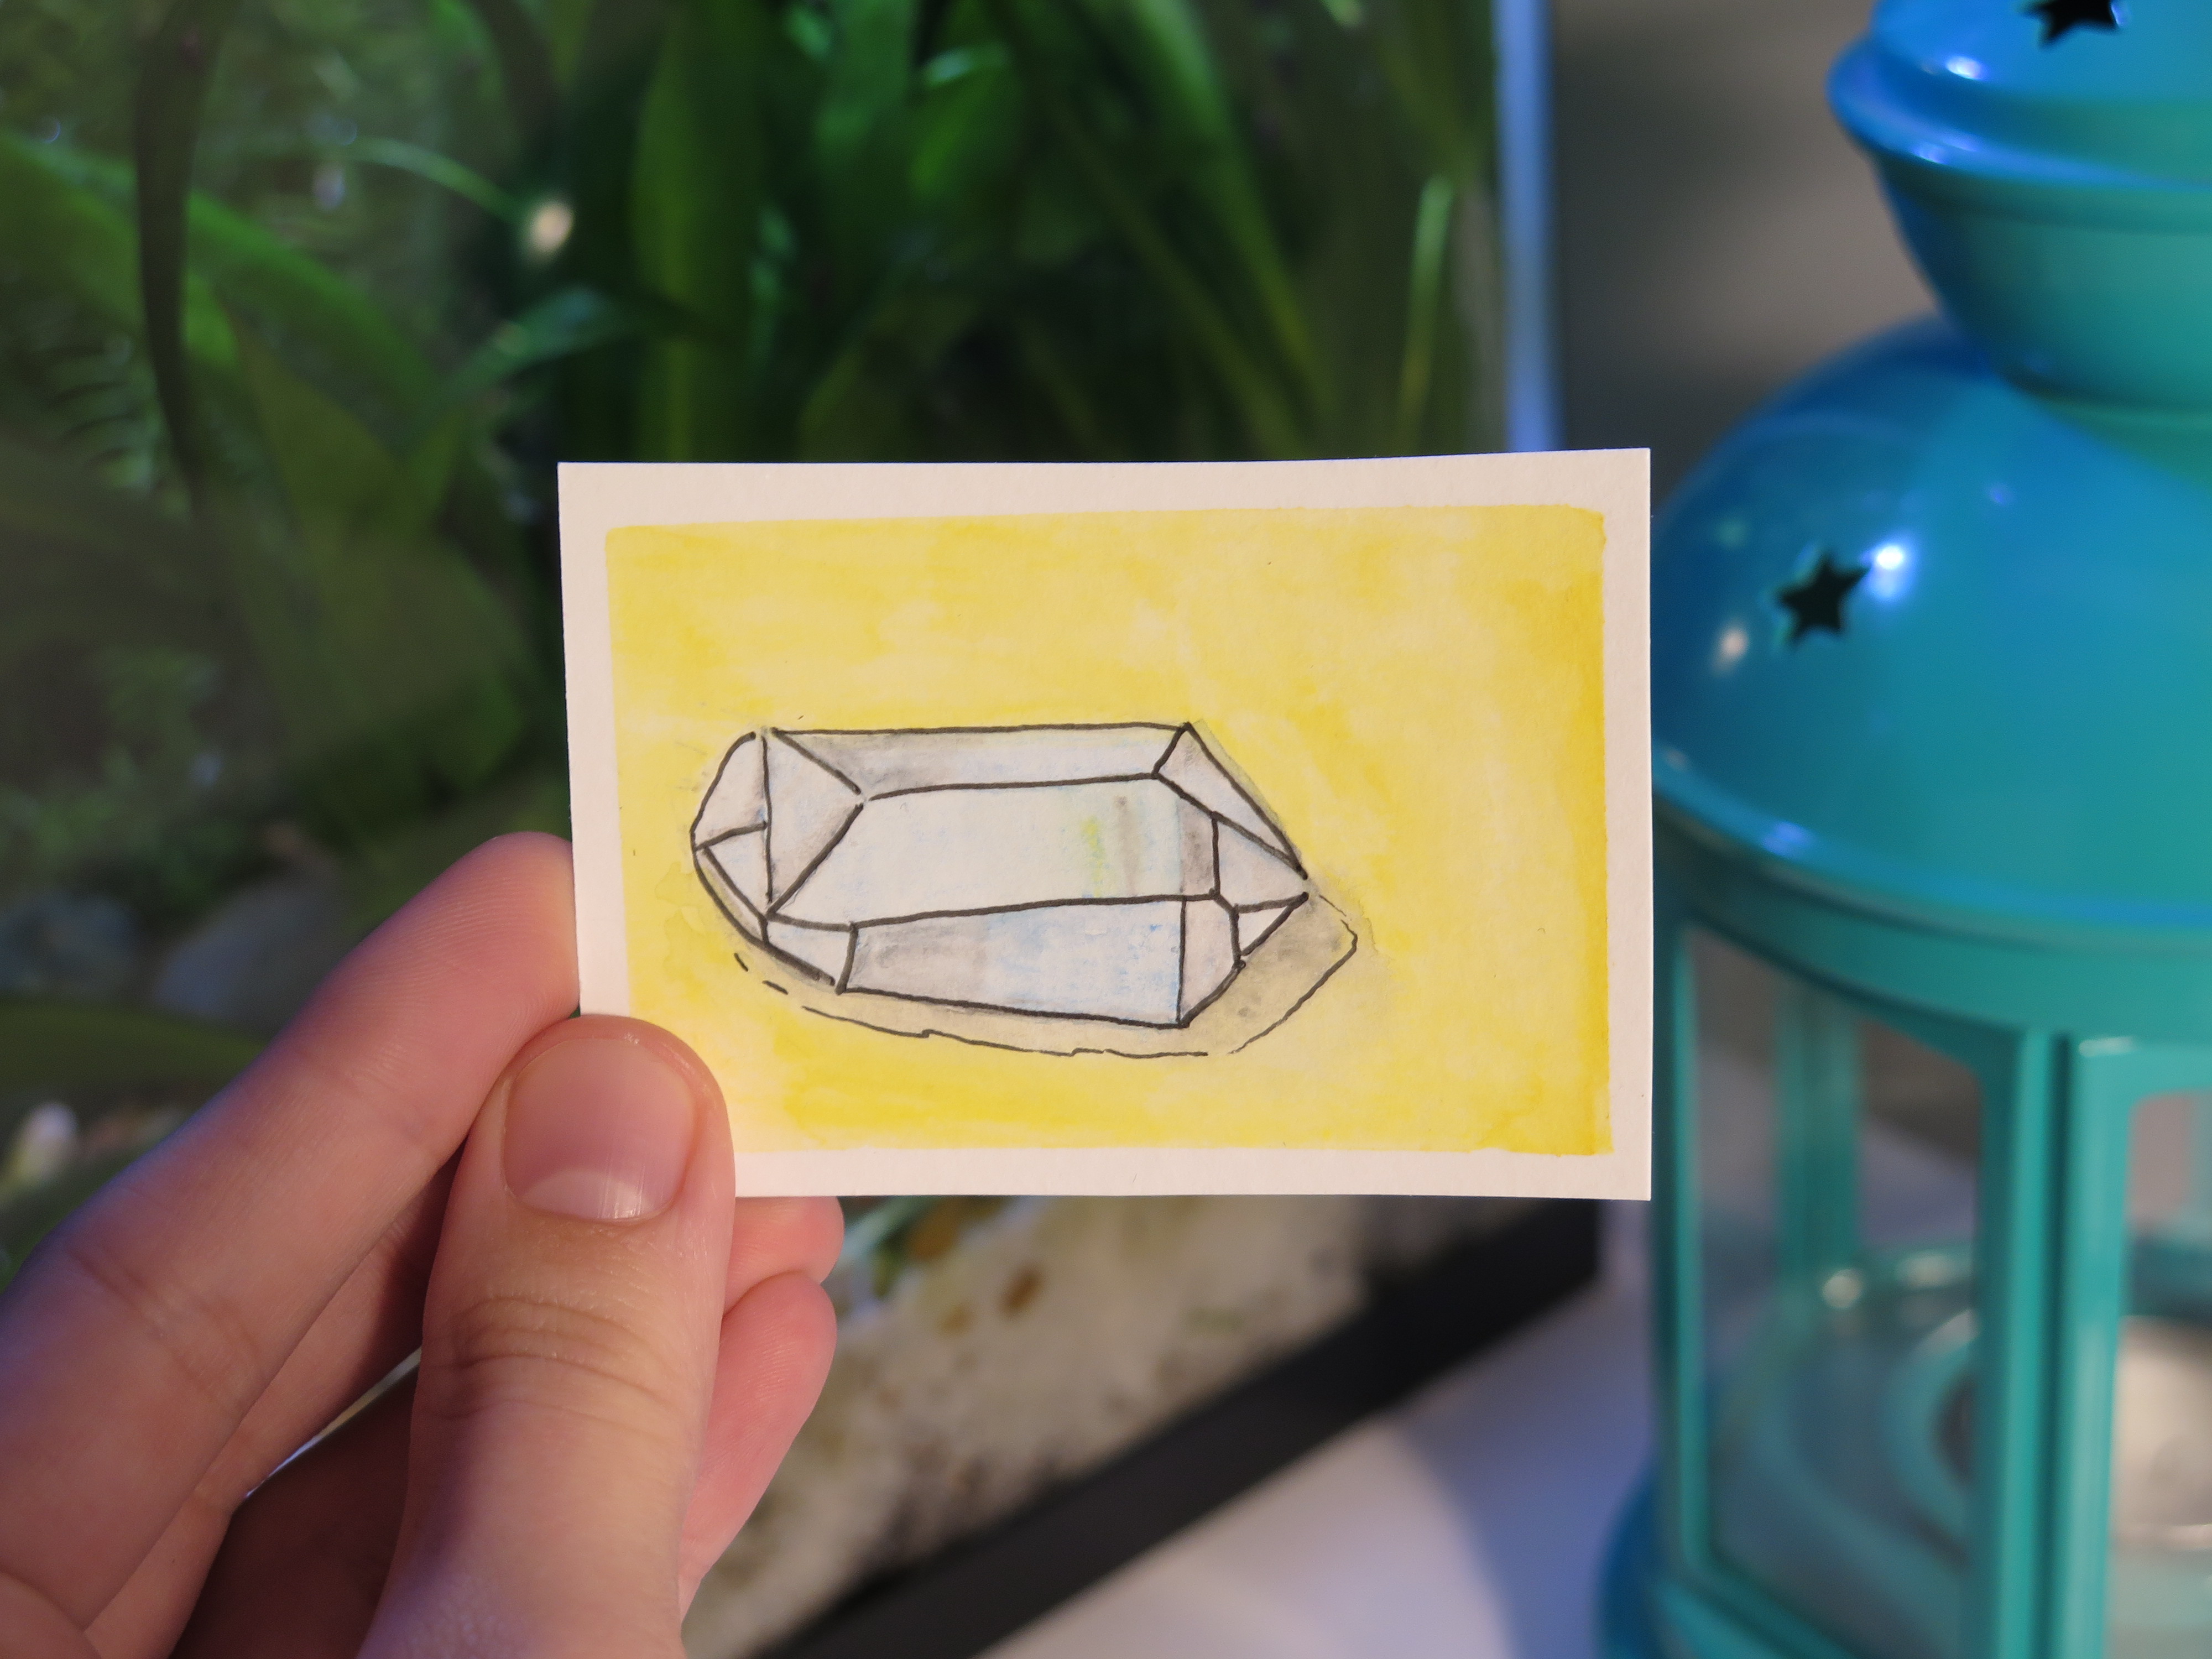
34.

35.

I’m pretty happy with how this little batch went!
31.
32.
33.
34.
35.
It’s been a while since I made any tiny paintings. The point is to just create, it doesn’t matter if they’re any good or not. I’m also using it as an excuse to use up some watercolour pencils I don’t care for.
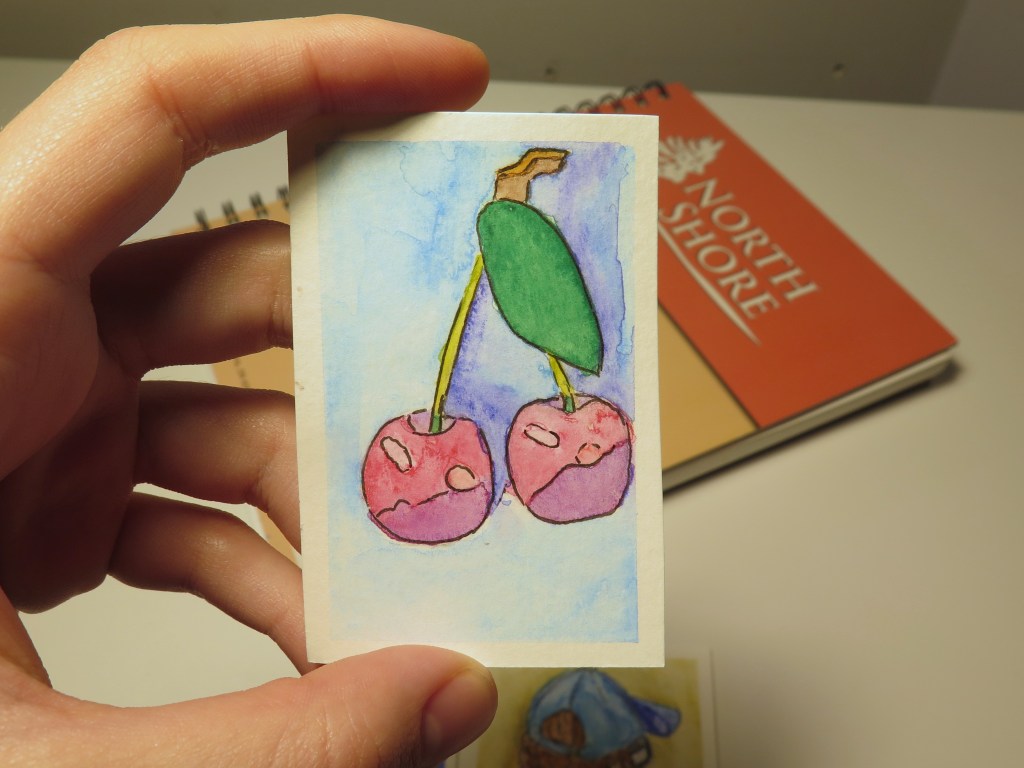
26. Cherries
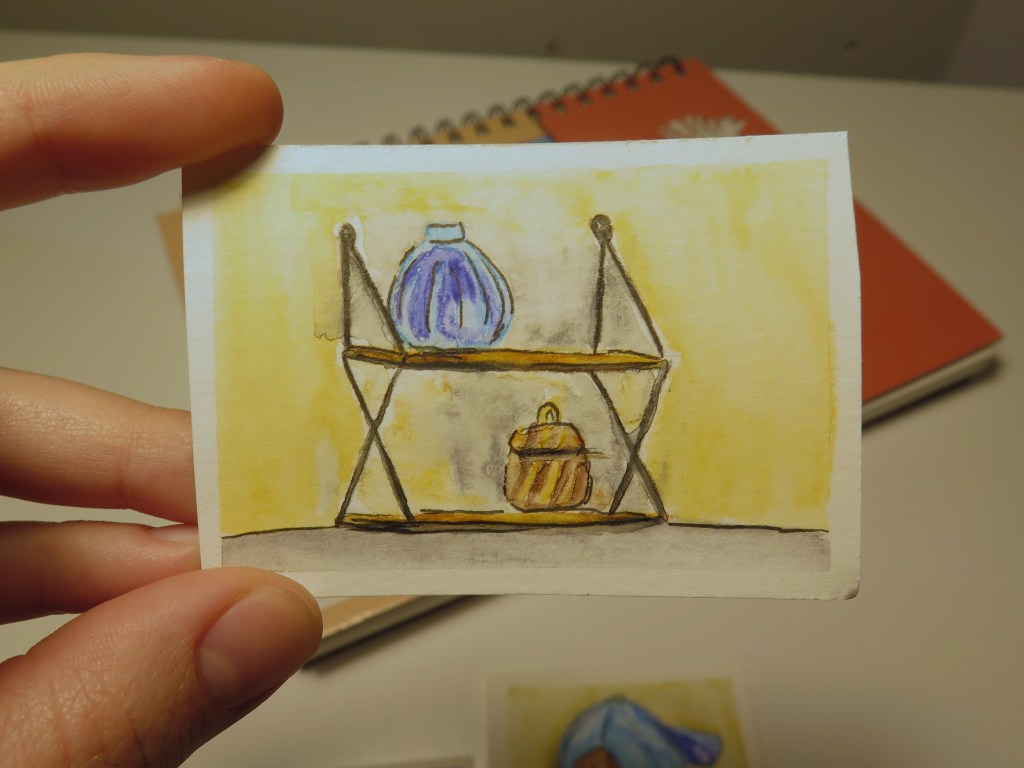
27. Knick Knacks
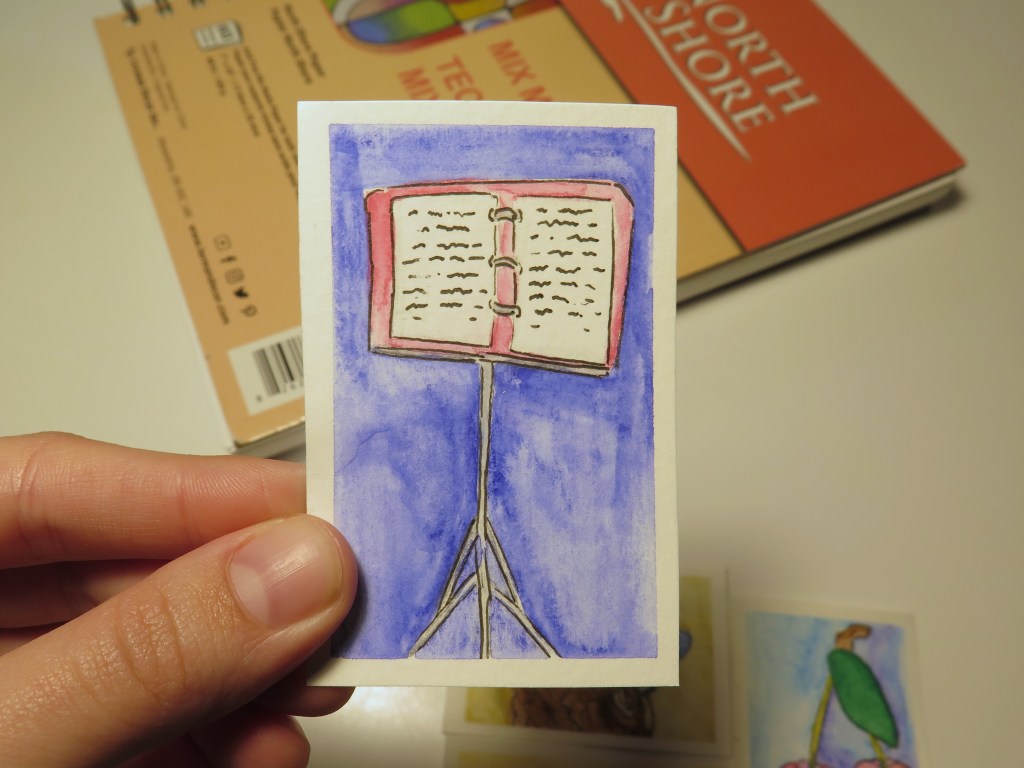
28. Music stand
29. A person (Need to work on my angles…)

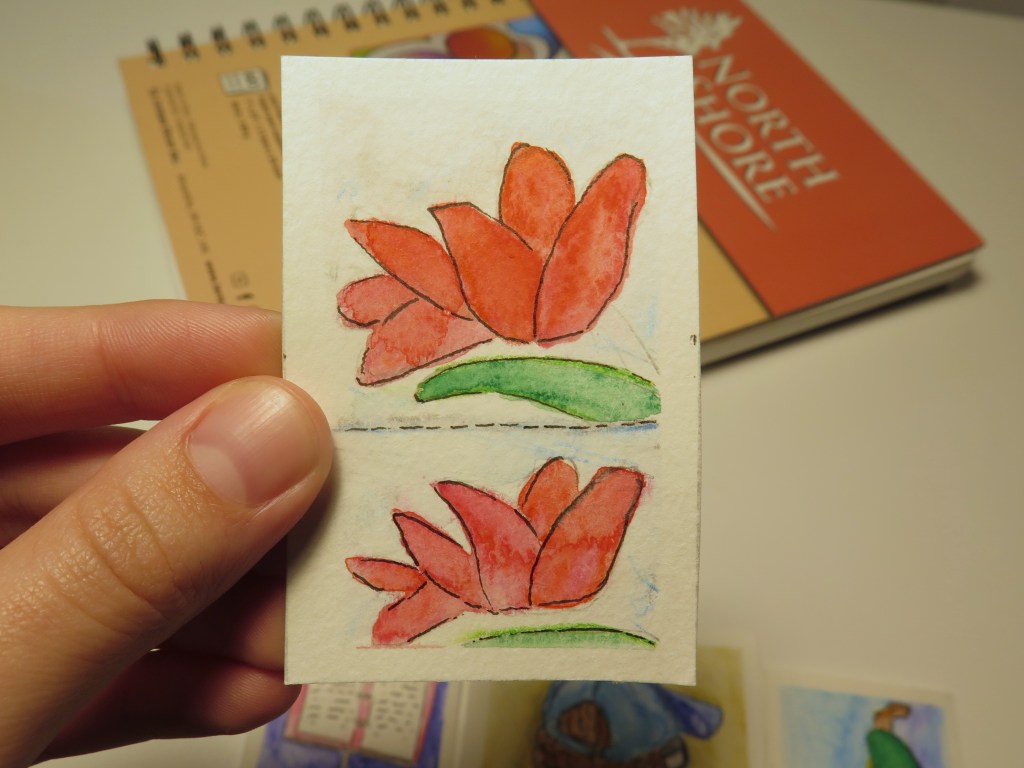
30. A quilt pattern
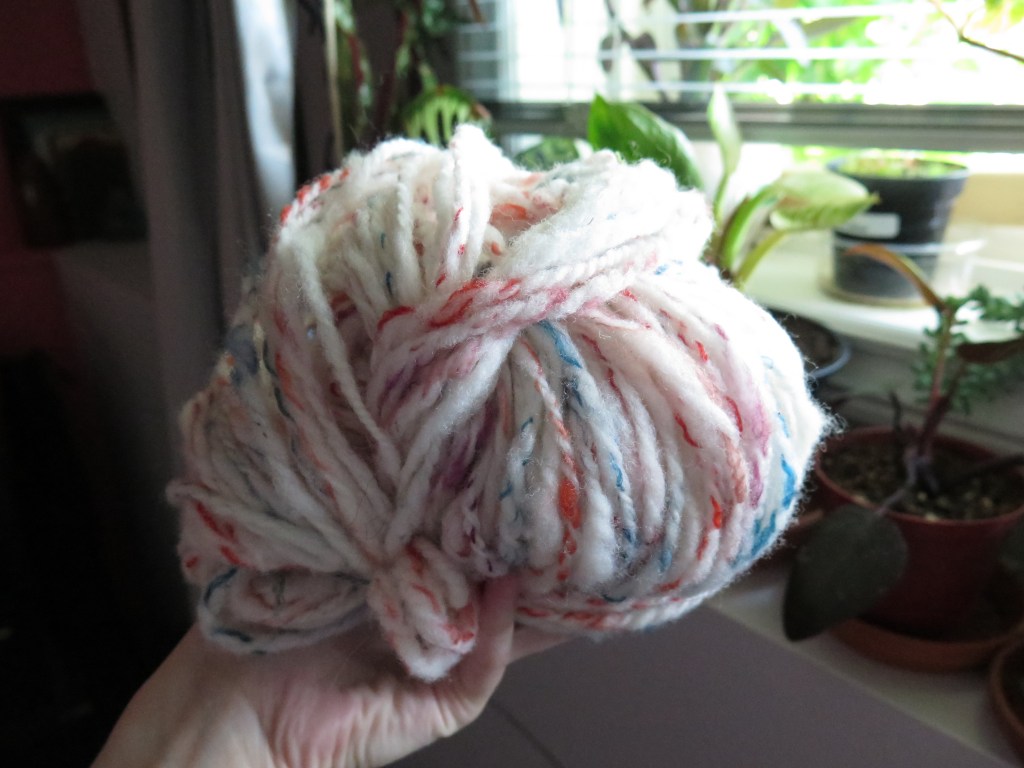
A couple years ago I learned how to spin wool into yarn. Since then, I’ve had all this bulky weight yarn I didn’t know what to do with.
I couldn’t use it for anything that sat against my bare skin because of my Autistic sensory sensitivities.
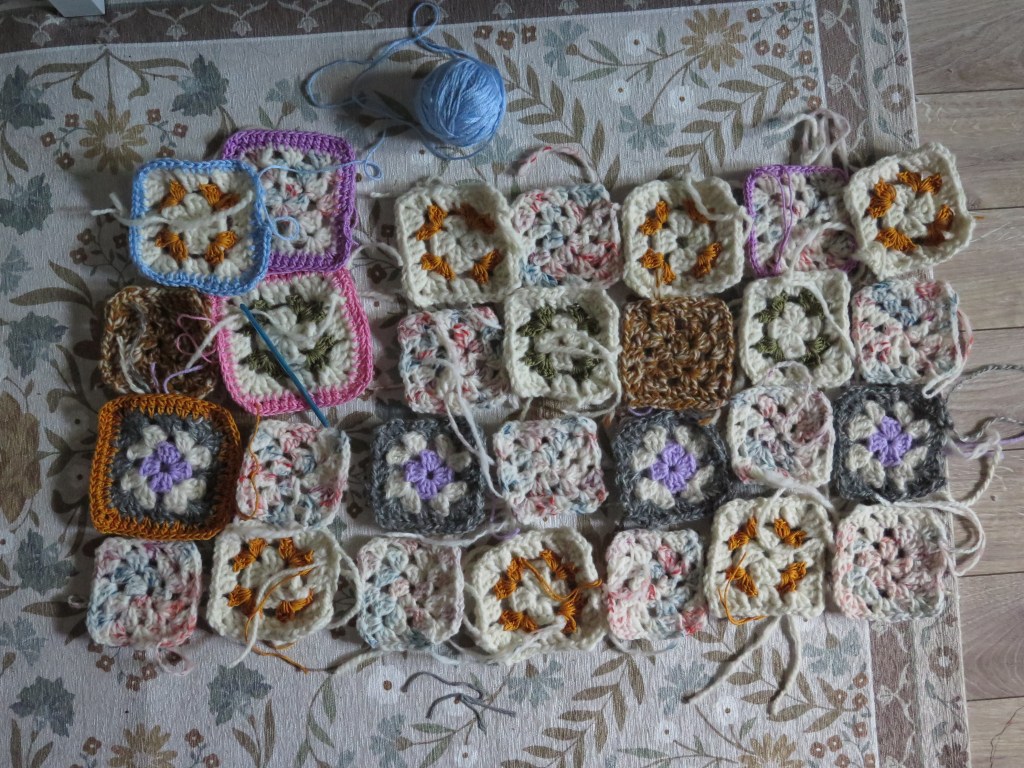
I bought some new yarn in fun colours recently. I started playing around with them and my hand spun to make granny squares. Once I figured it, out I started to crochet… and didn’t stop for 5 days straight.
I got into a hyperfocus flow where all I wanted to do was crochet.
I lost some skin on my tension holding finger, got a blister on my thumb, forgot to eat multiple times, and probably had several more important tasks to do. But I loved doing it and it felt good.

Below is 1 and 1/2 days of work.
After another day and 1/2 of work, I finished adding all the colourful borders and joined the squares all together.

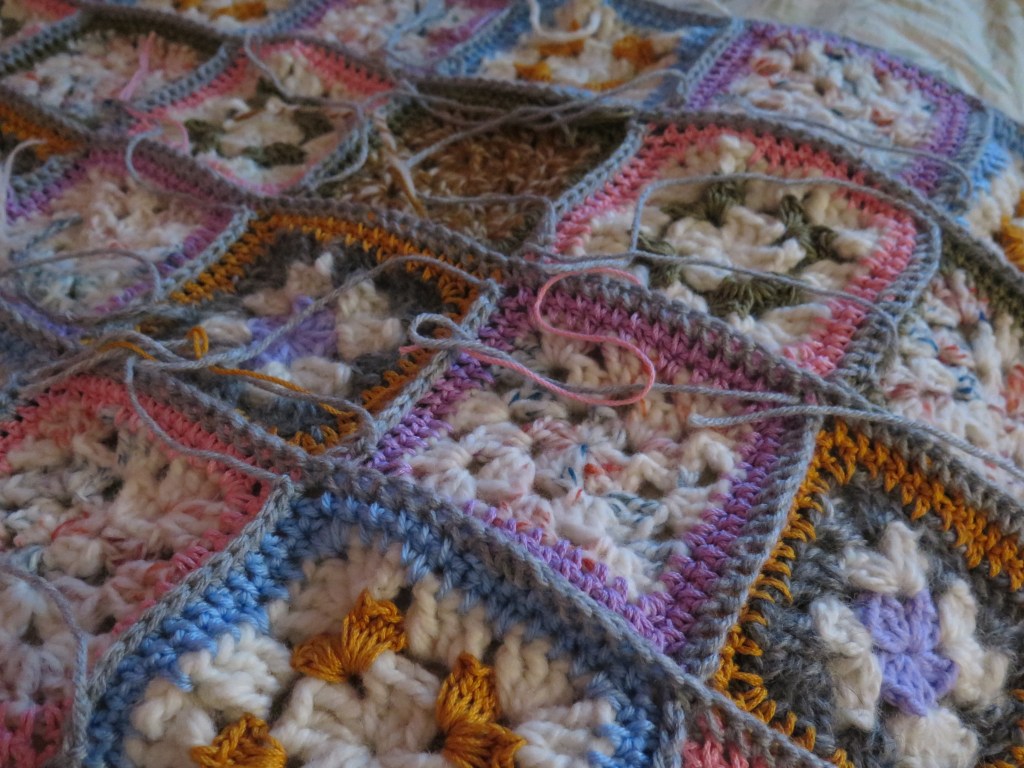
I spent the next 2 days weaving in all the ends. So. many. ends.

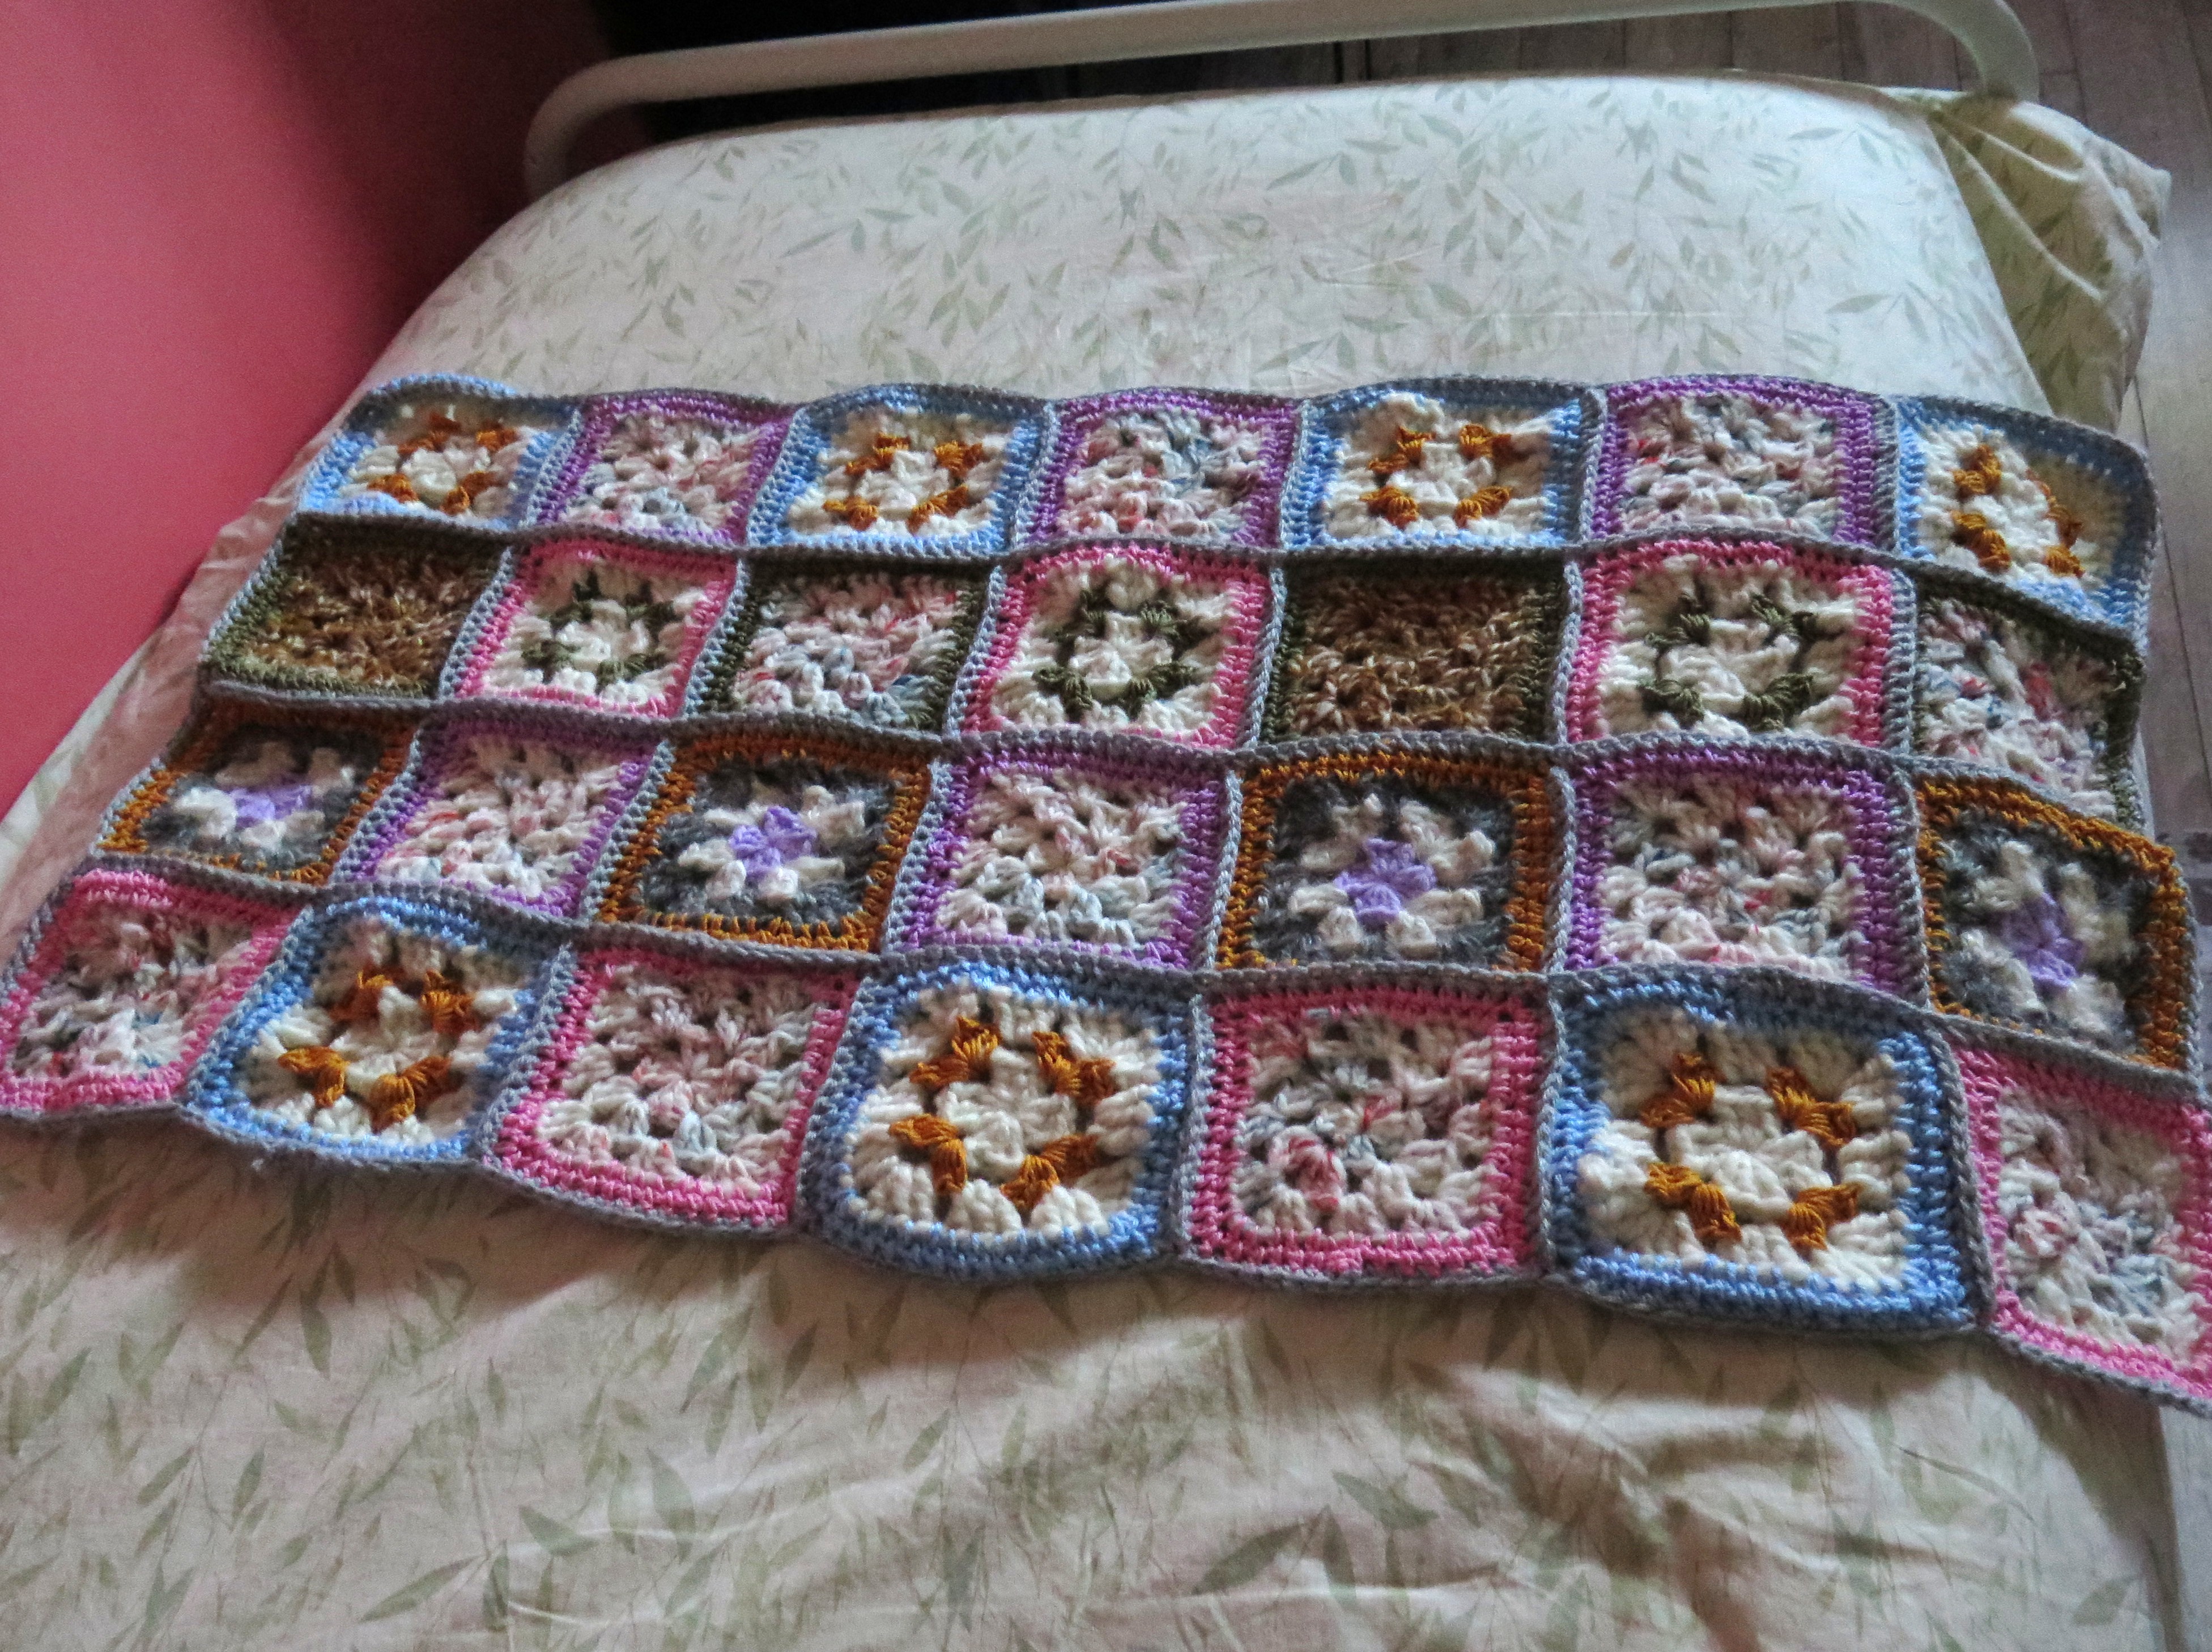

I love it and it makes me happy.
(P.S. Sorry for any weirdly focused photos, I’m learning how to use a better camera than my crappy phone one. I don’t always realise until later the photos weren’t focused right!)
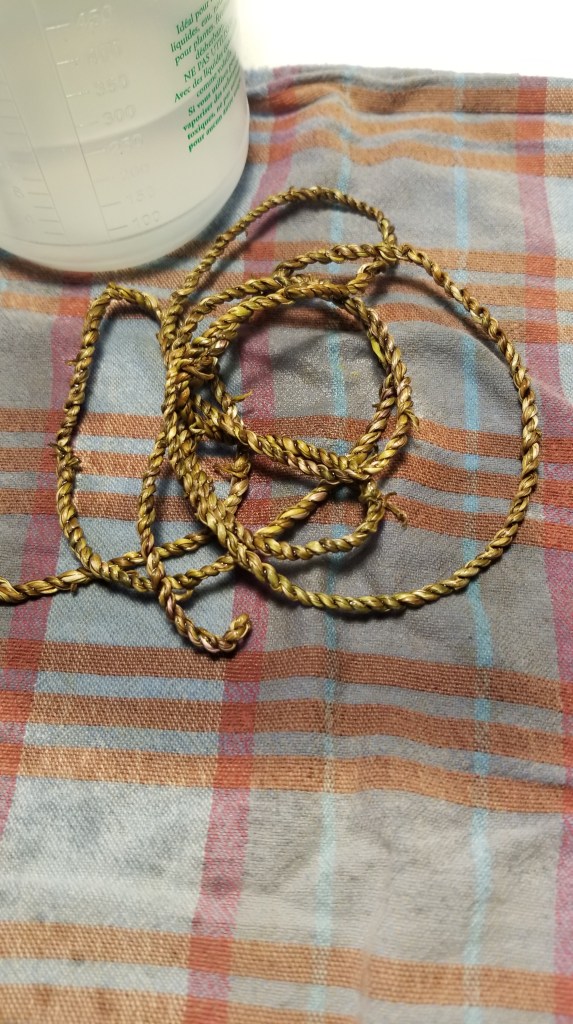
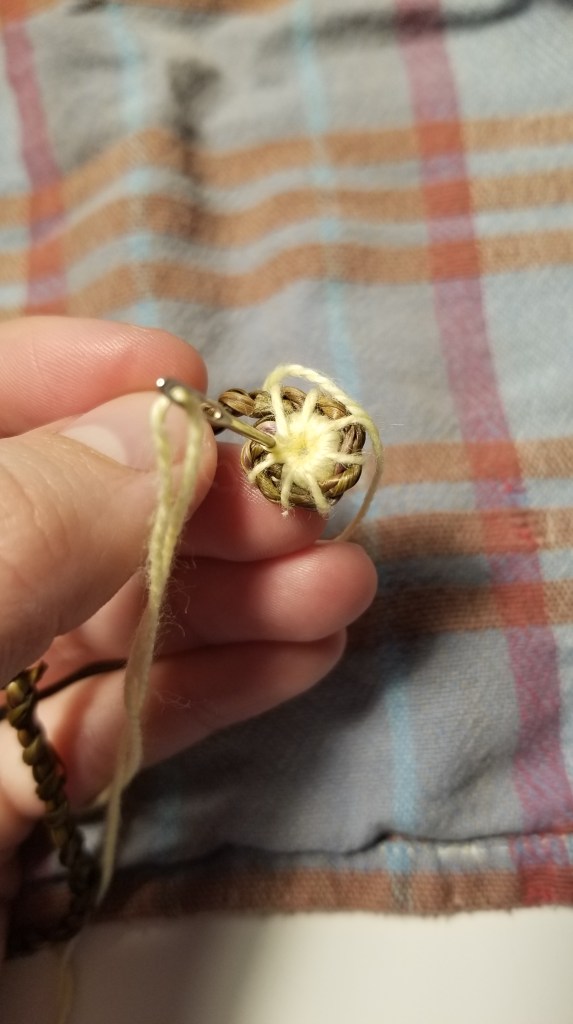
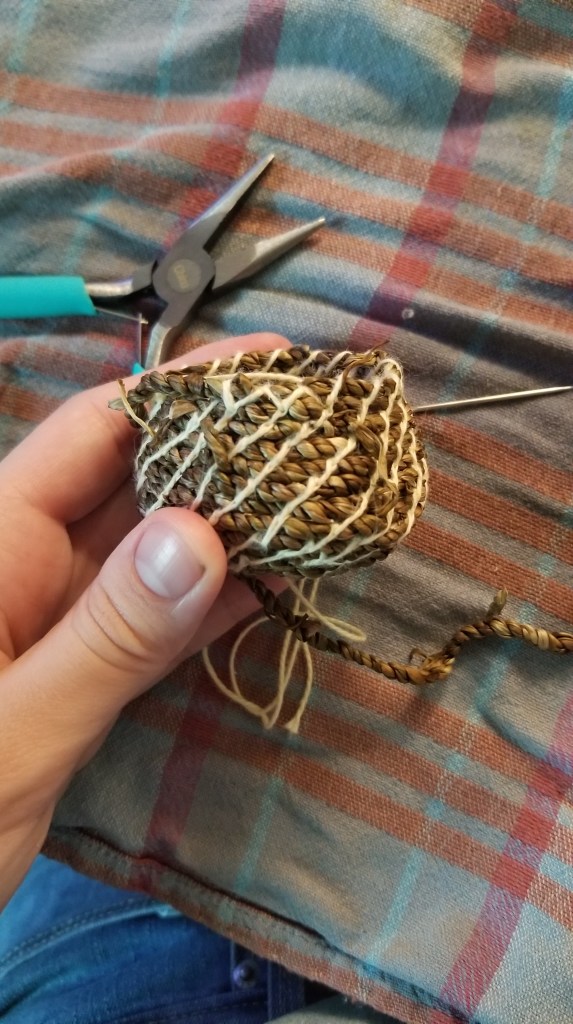
I found out recently you can use spent dandelion flower stems to make cordage. I’ve made baskets with pine needles using the coiling method before, so why not dandelions! It’s difficult to forage for natural materials where I live, but dandelions grow everywhere. At least until the city sprayed all the ones in the parks. . . but I still got a backyard full to work with.
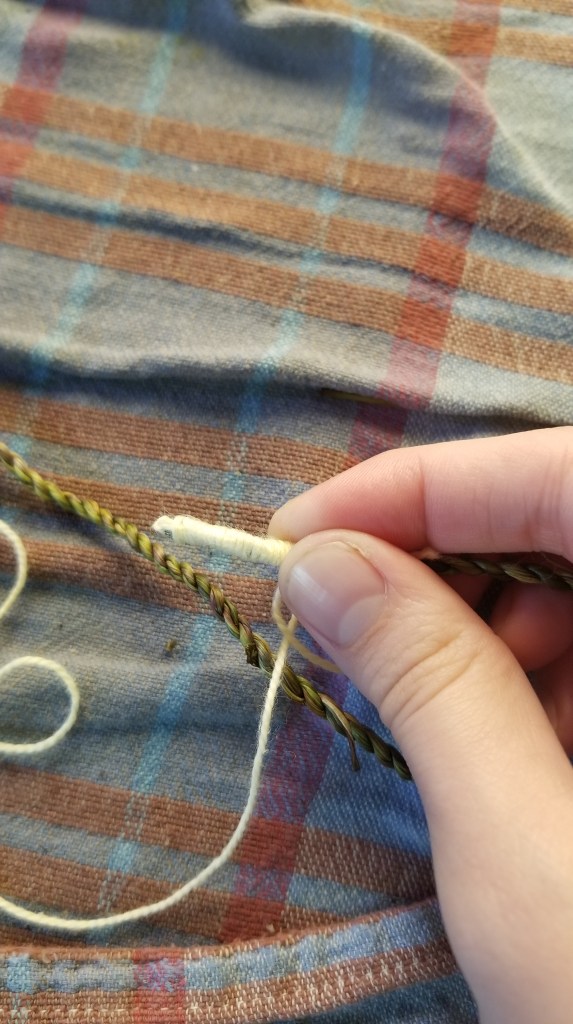
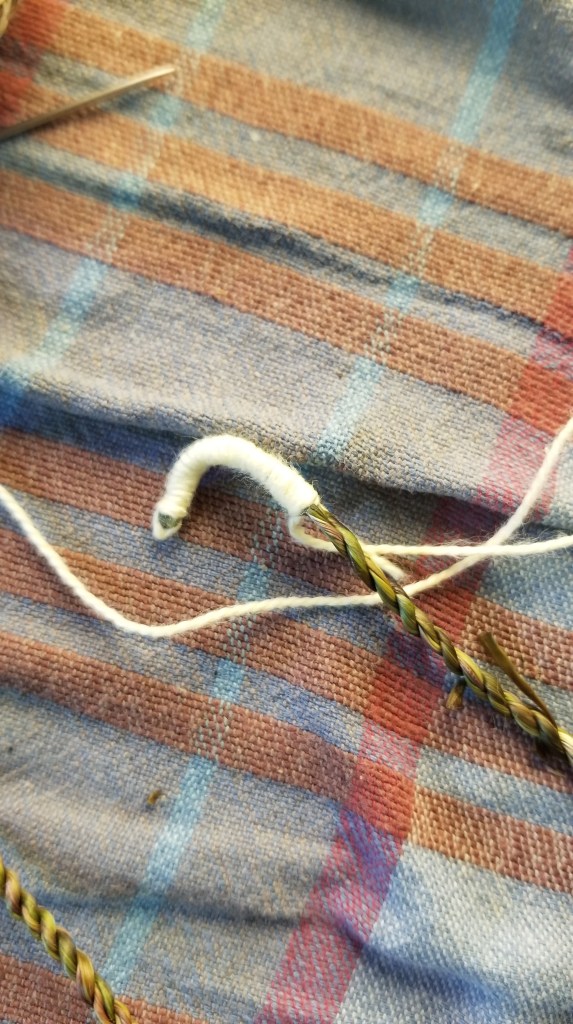
I have this cordage I made last week. I’m wetting it with a spray bottle and damp towel to make it less brittle.
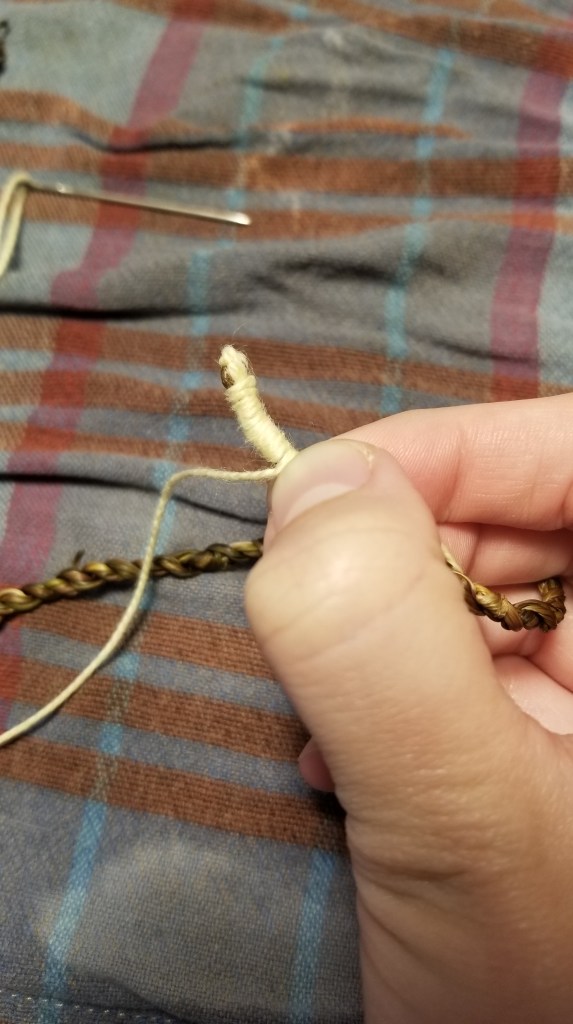
I trying some cotton embroidery floss from the dollar store. Which I later regretted. It was only 2 ply and it snapped multiple times. Because of this I couldn’t pull my thread as tightly as I like.
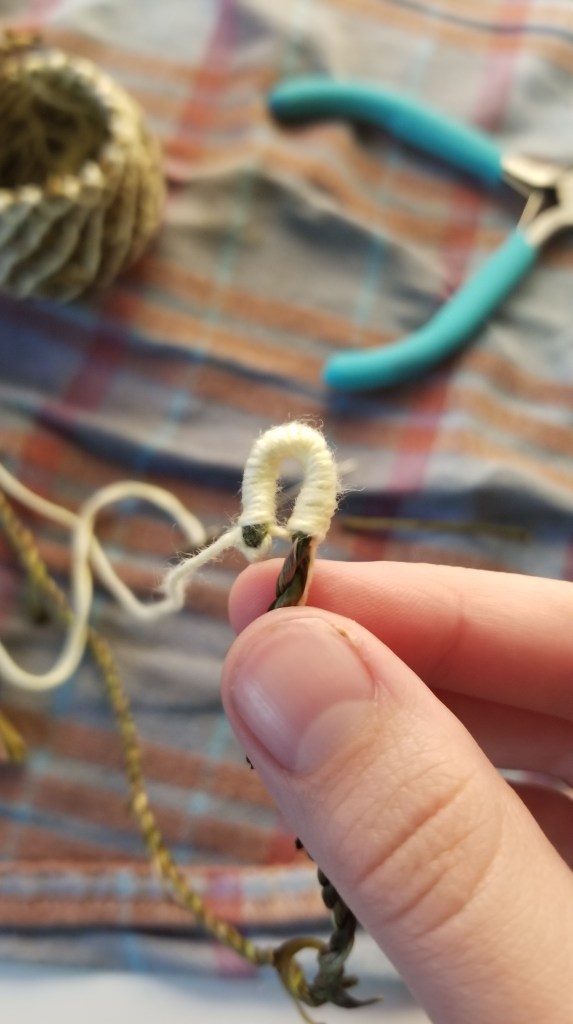
I tie a knot onto start of the cordage (where the twist starts making a loop). Then start wrapping the thread.


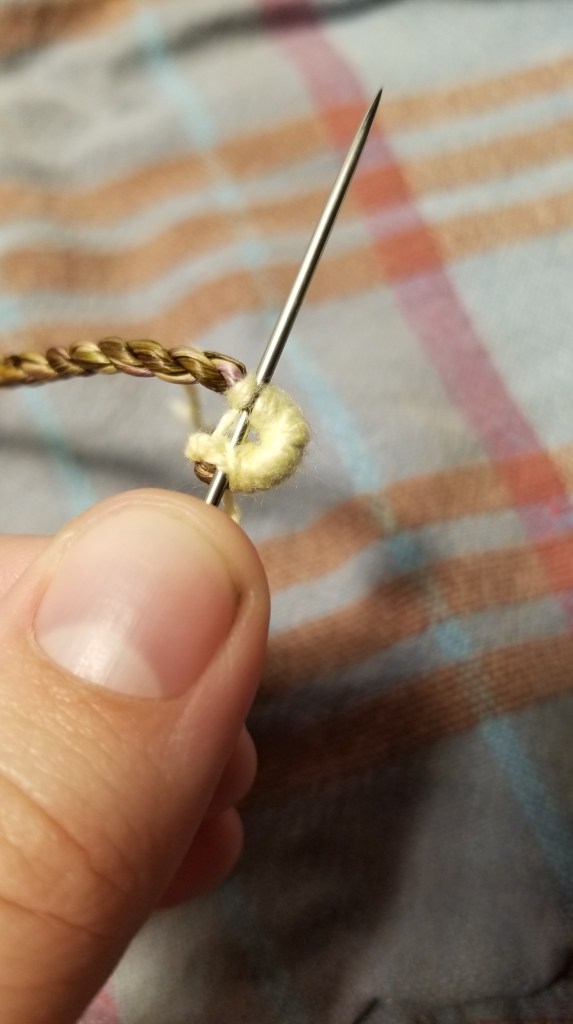
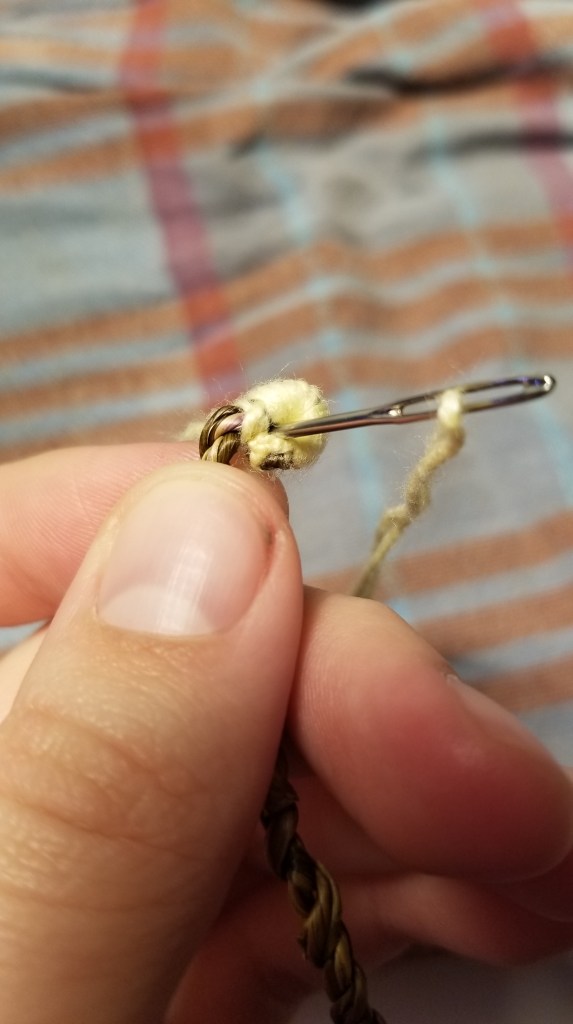
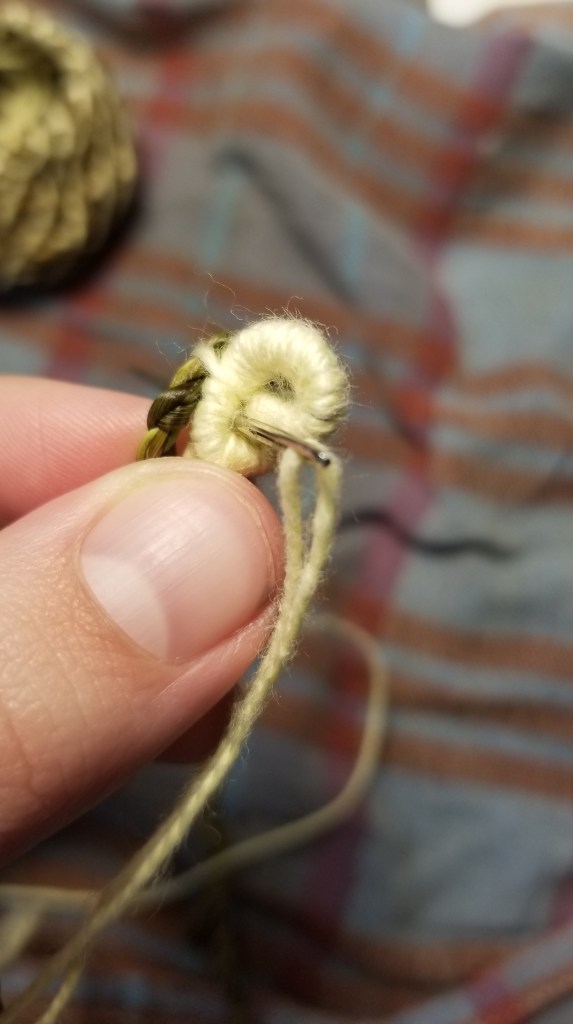
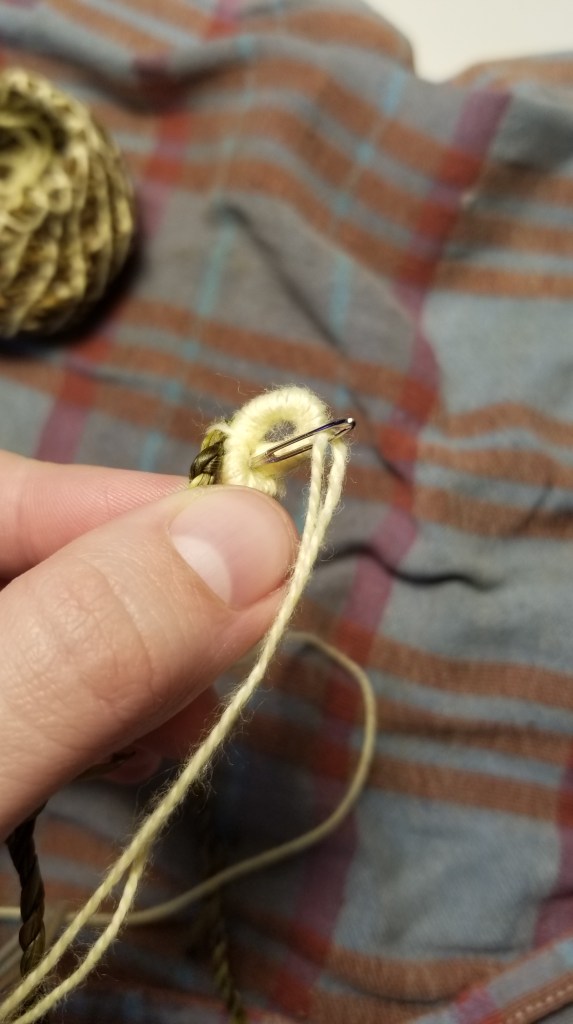
Once I’ve got enough, I start to coil it. I pierce through it with a needle (using pliers as needed) to start a base. Then start stitching around it.
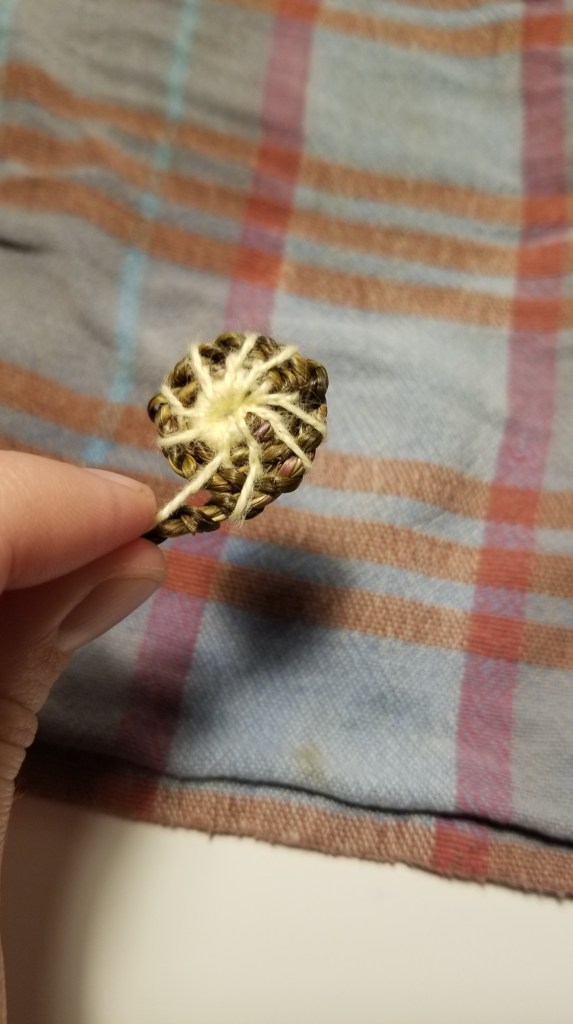


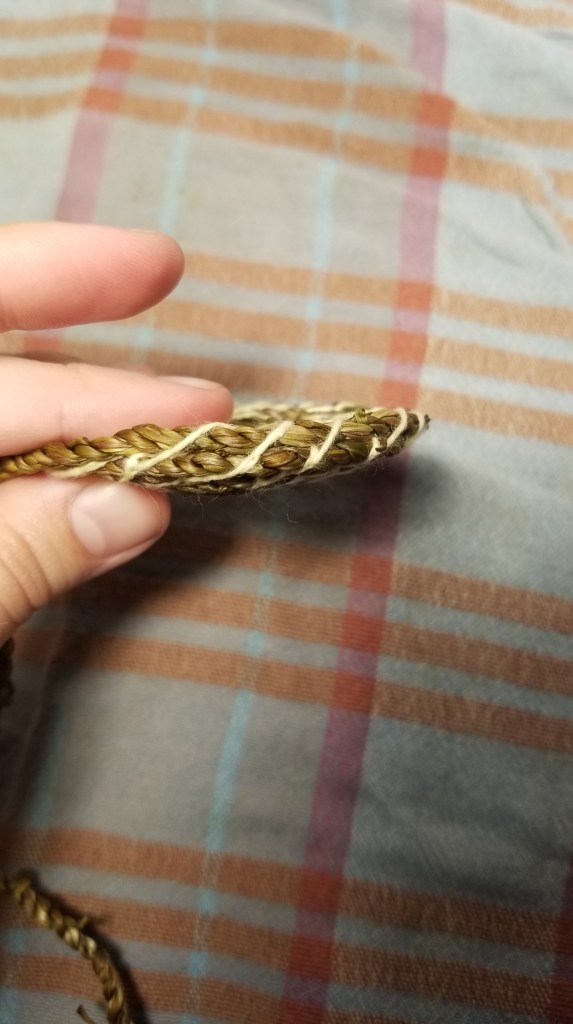

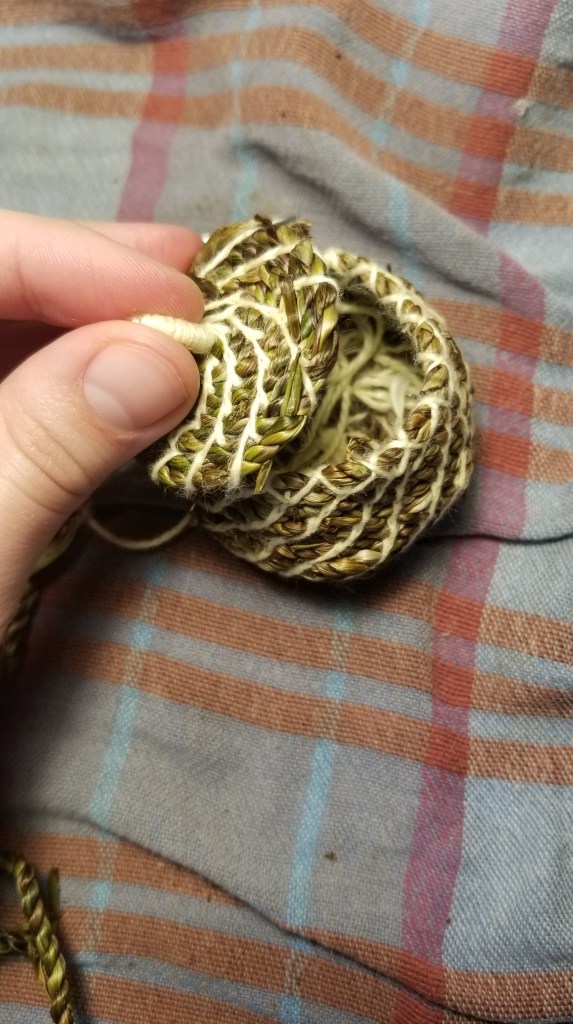
3 episodes of The Simpsons later and I got a nice disk for a bottom. Then I start shaping the sides, making it steadily narrower.
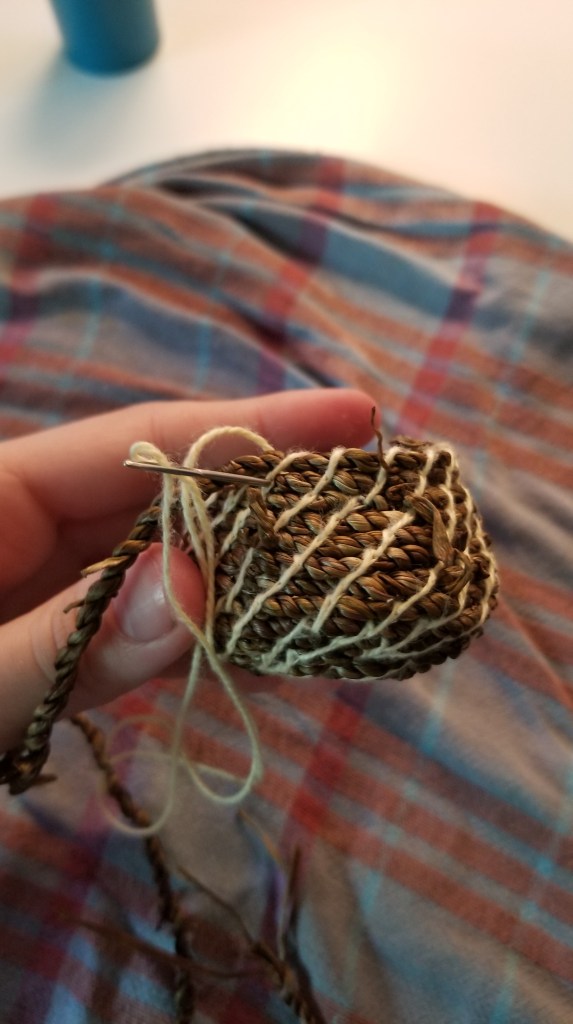

A couple more hours and I got a little basket! I backstitched along the top to help keep it secure.
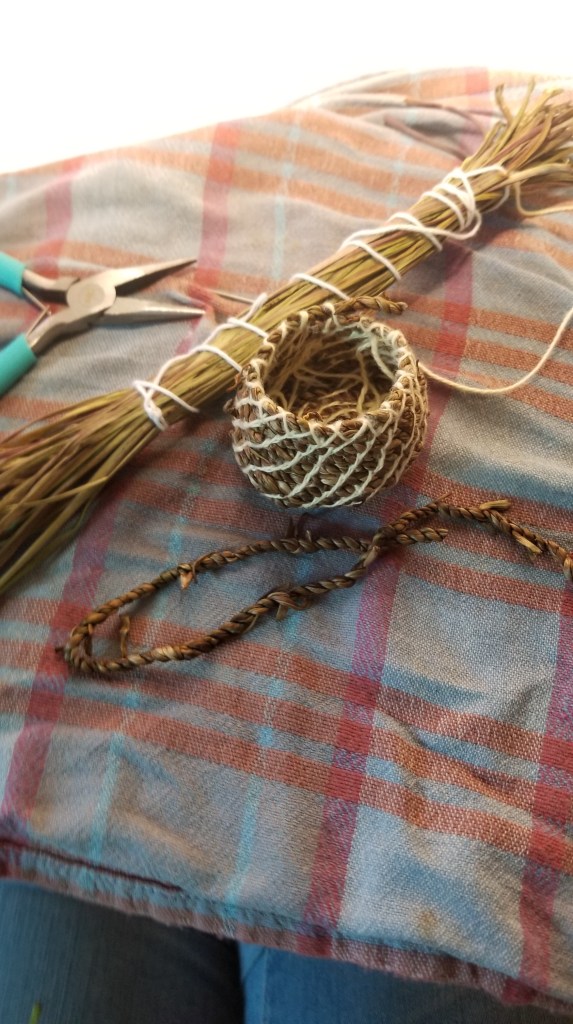
Now to make a lid, which every tiny whimsical basket needs. It’s a pain to make, but I included a little handle.
I triple knotted the ends, trimmed any stray bits and it’s done!
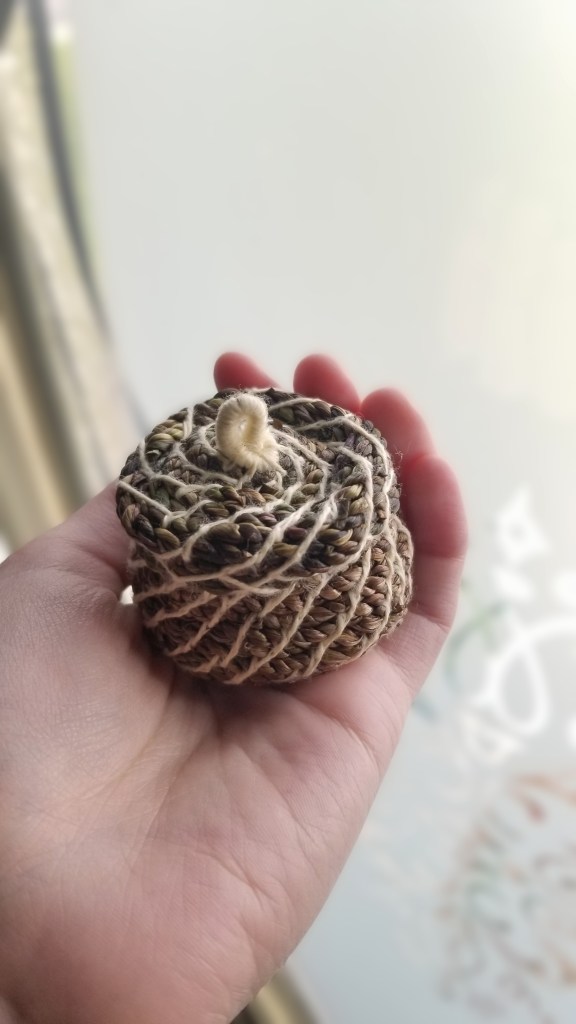
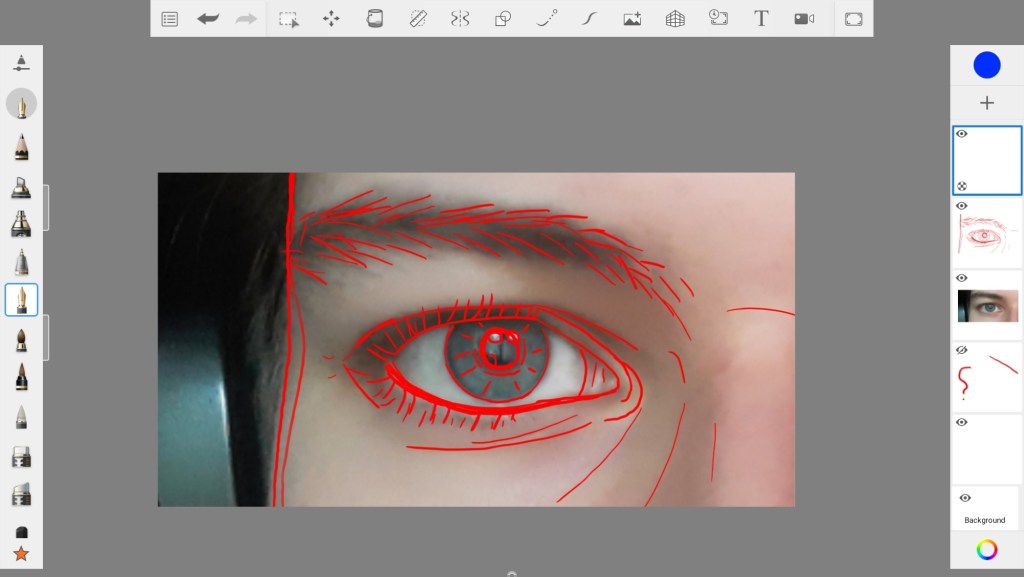
I have some posts I was going to publish soon, but I randomly decided to wait and make my own art for the thumbnails. I sometimes like to make digital art on my tablet using the Sketchbook app. I knew I wanted something with an eye, so I took a picture of mine.
I set the canvas dimensions to 1200 x 630 pixels and arranged my image how I wanted. Though now I realised I have all my blog thumbnails set to squares and next time I should do a square.
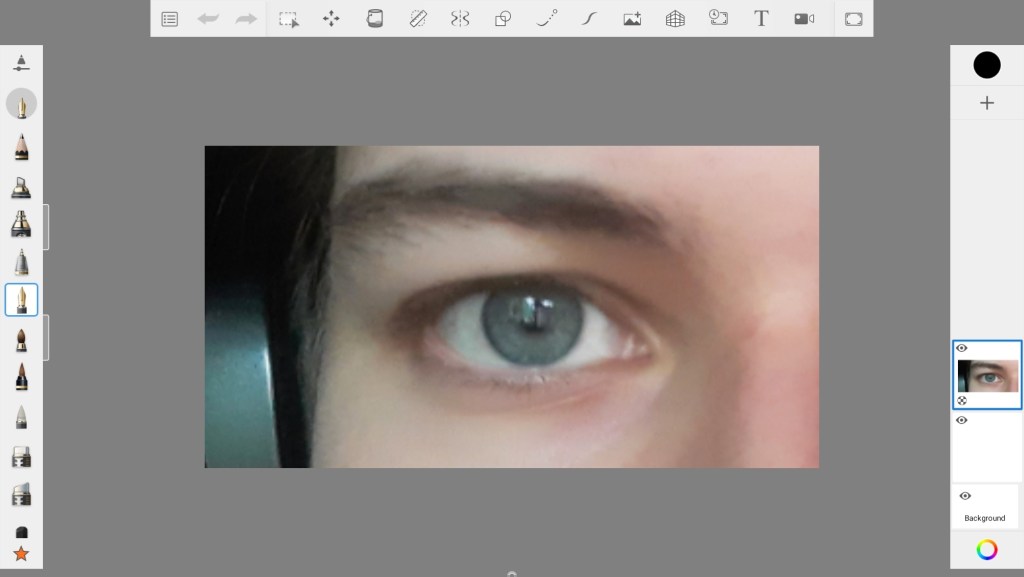
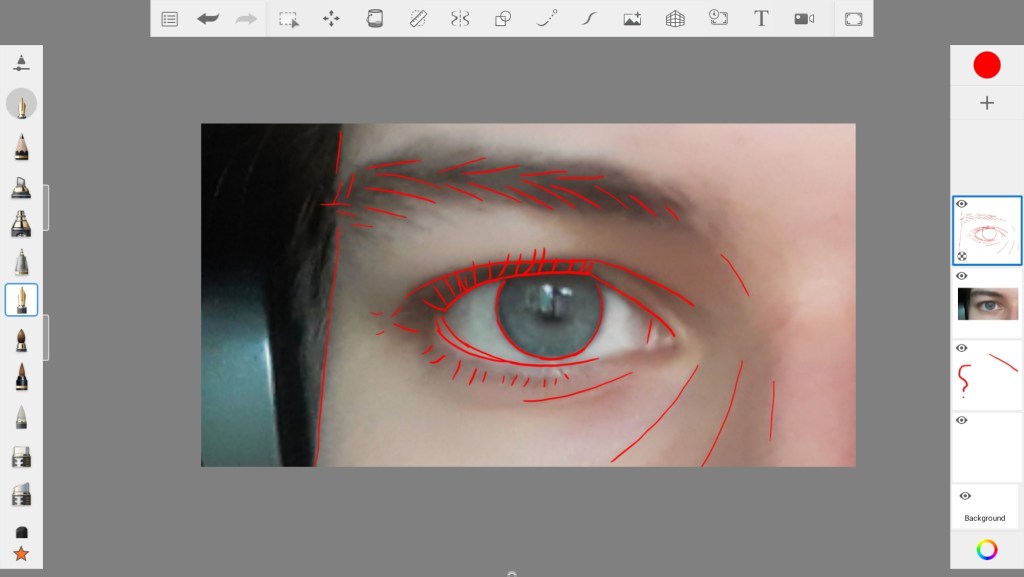
I didn’t have any idea of what I wanted, (I have a difficult time picturing things in my mind’s eye) so I just started tracing.

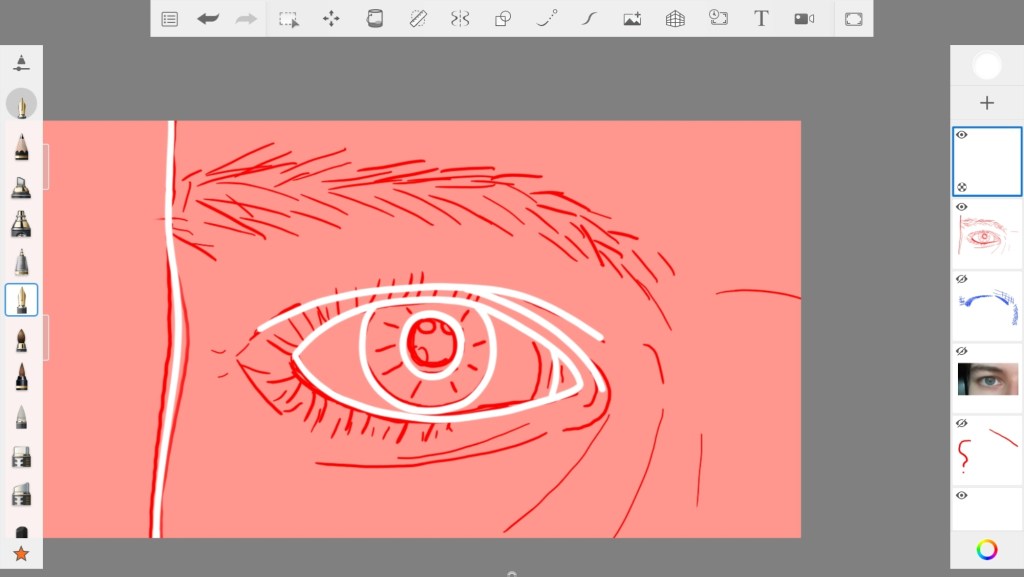
I added a few more lines and adjusted the face shape.
For fun I tried seeing what cross-hatching would look like (A skill I’m still working on)

I realised I wanted to keep it simple. I tried a black background with white lines, then settled on a coral pink instead. I changed my brush size to a 7, and started tracing over the lines I thought were most important in white.
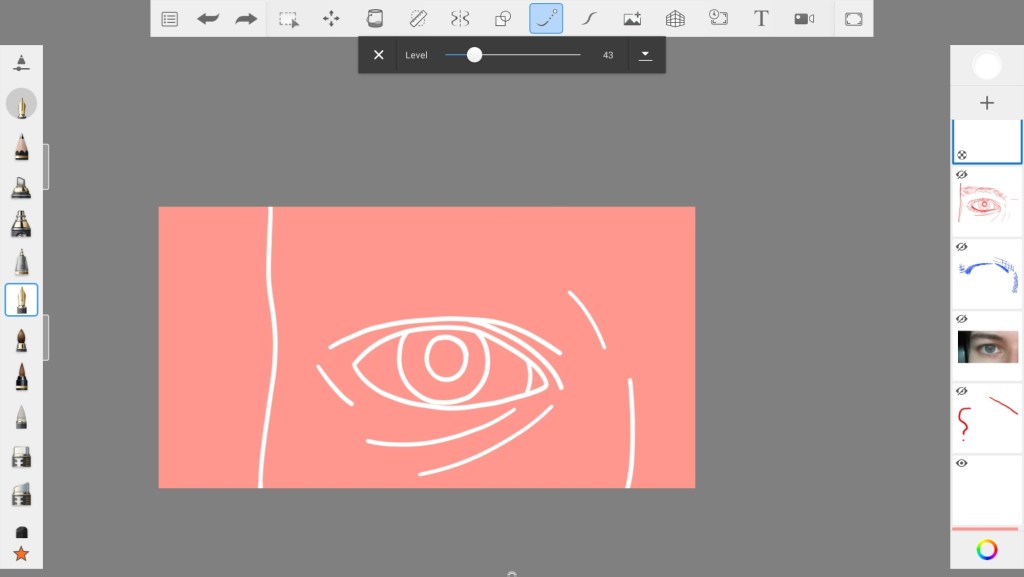
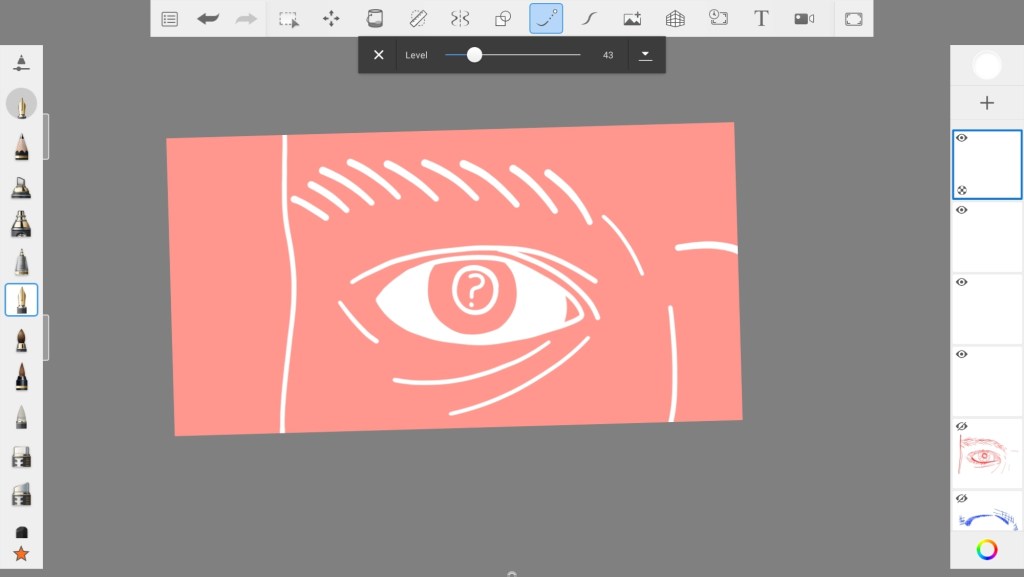
I put a question mark in the pupil, which goes with the content of my post.
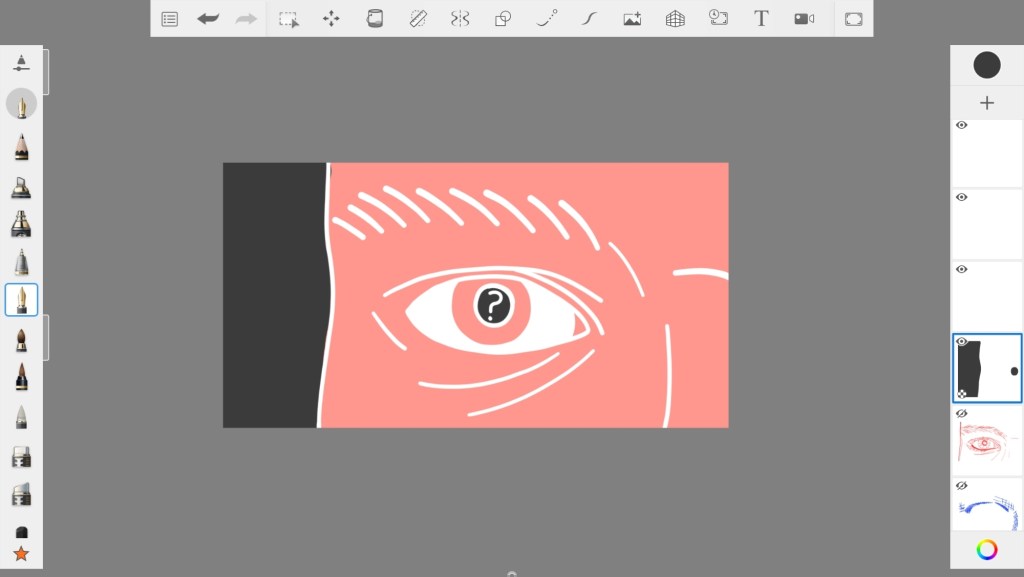
I added some dark grey in places.

After cleaning up some lines I finished! It was pretty fast and satisfying to make! I can see a lot of possible variations on this too.
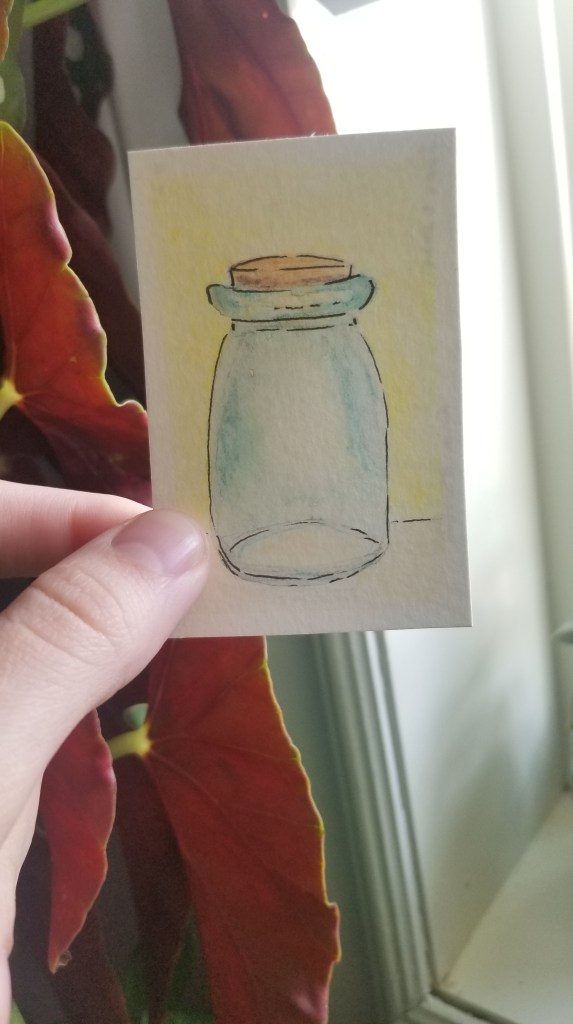
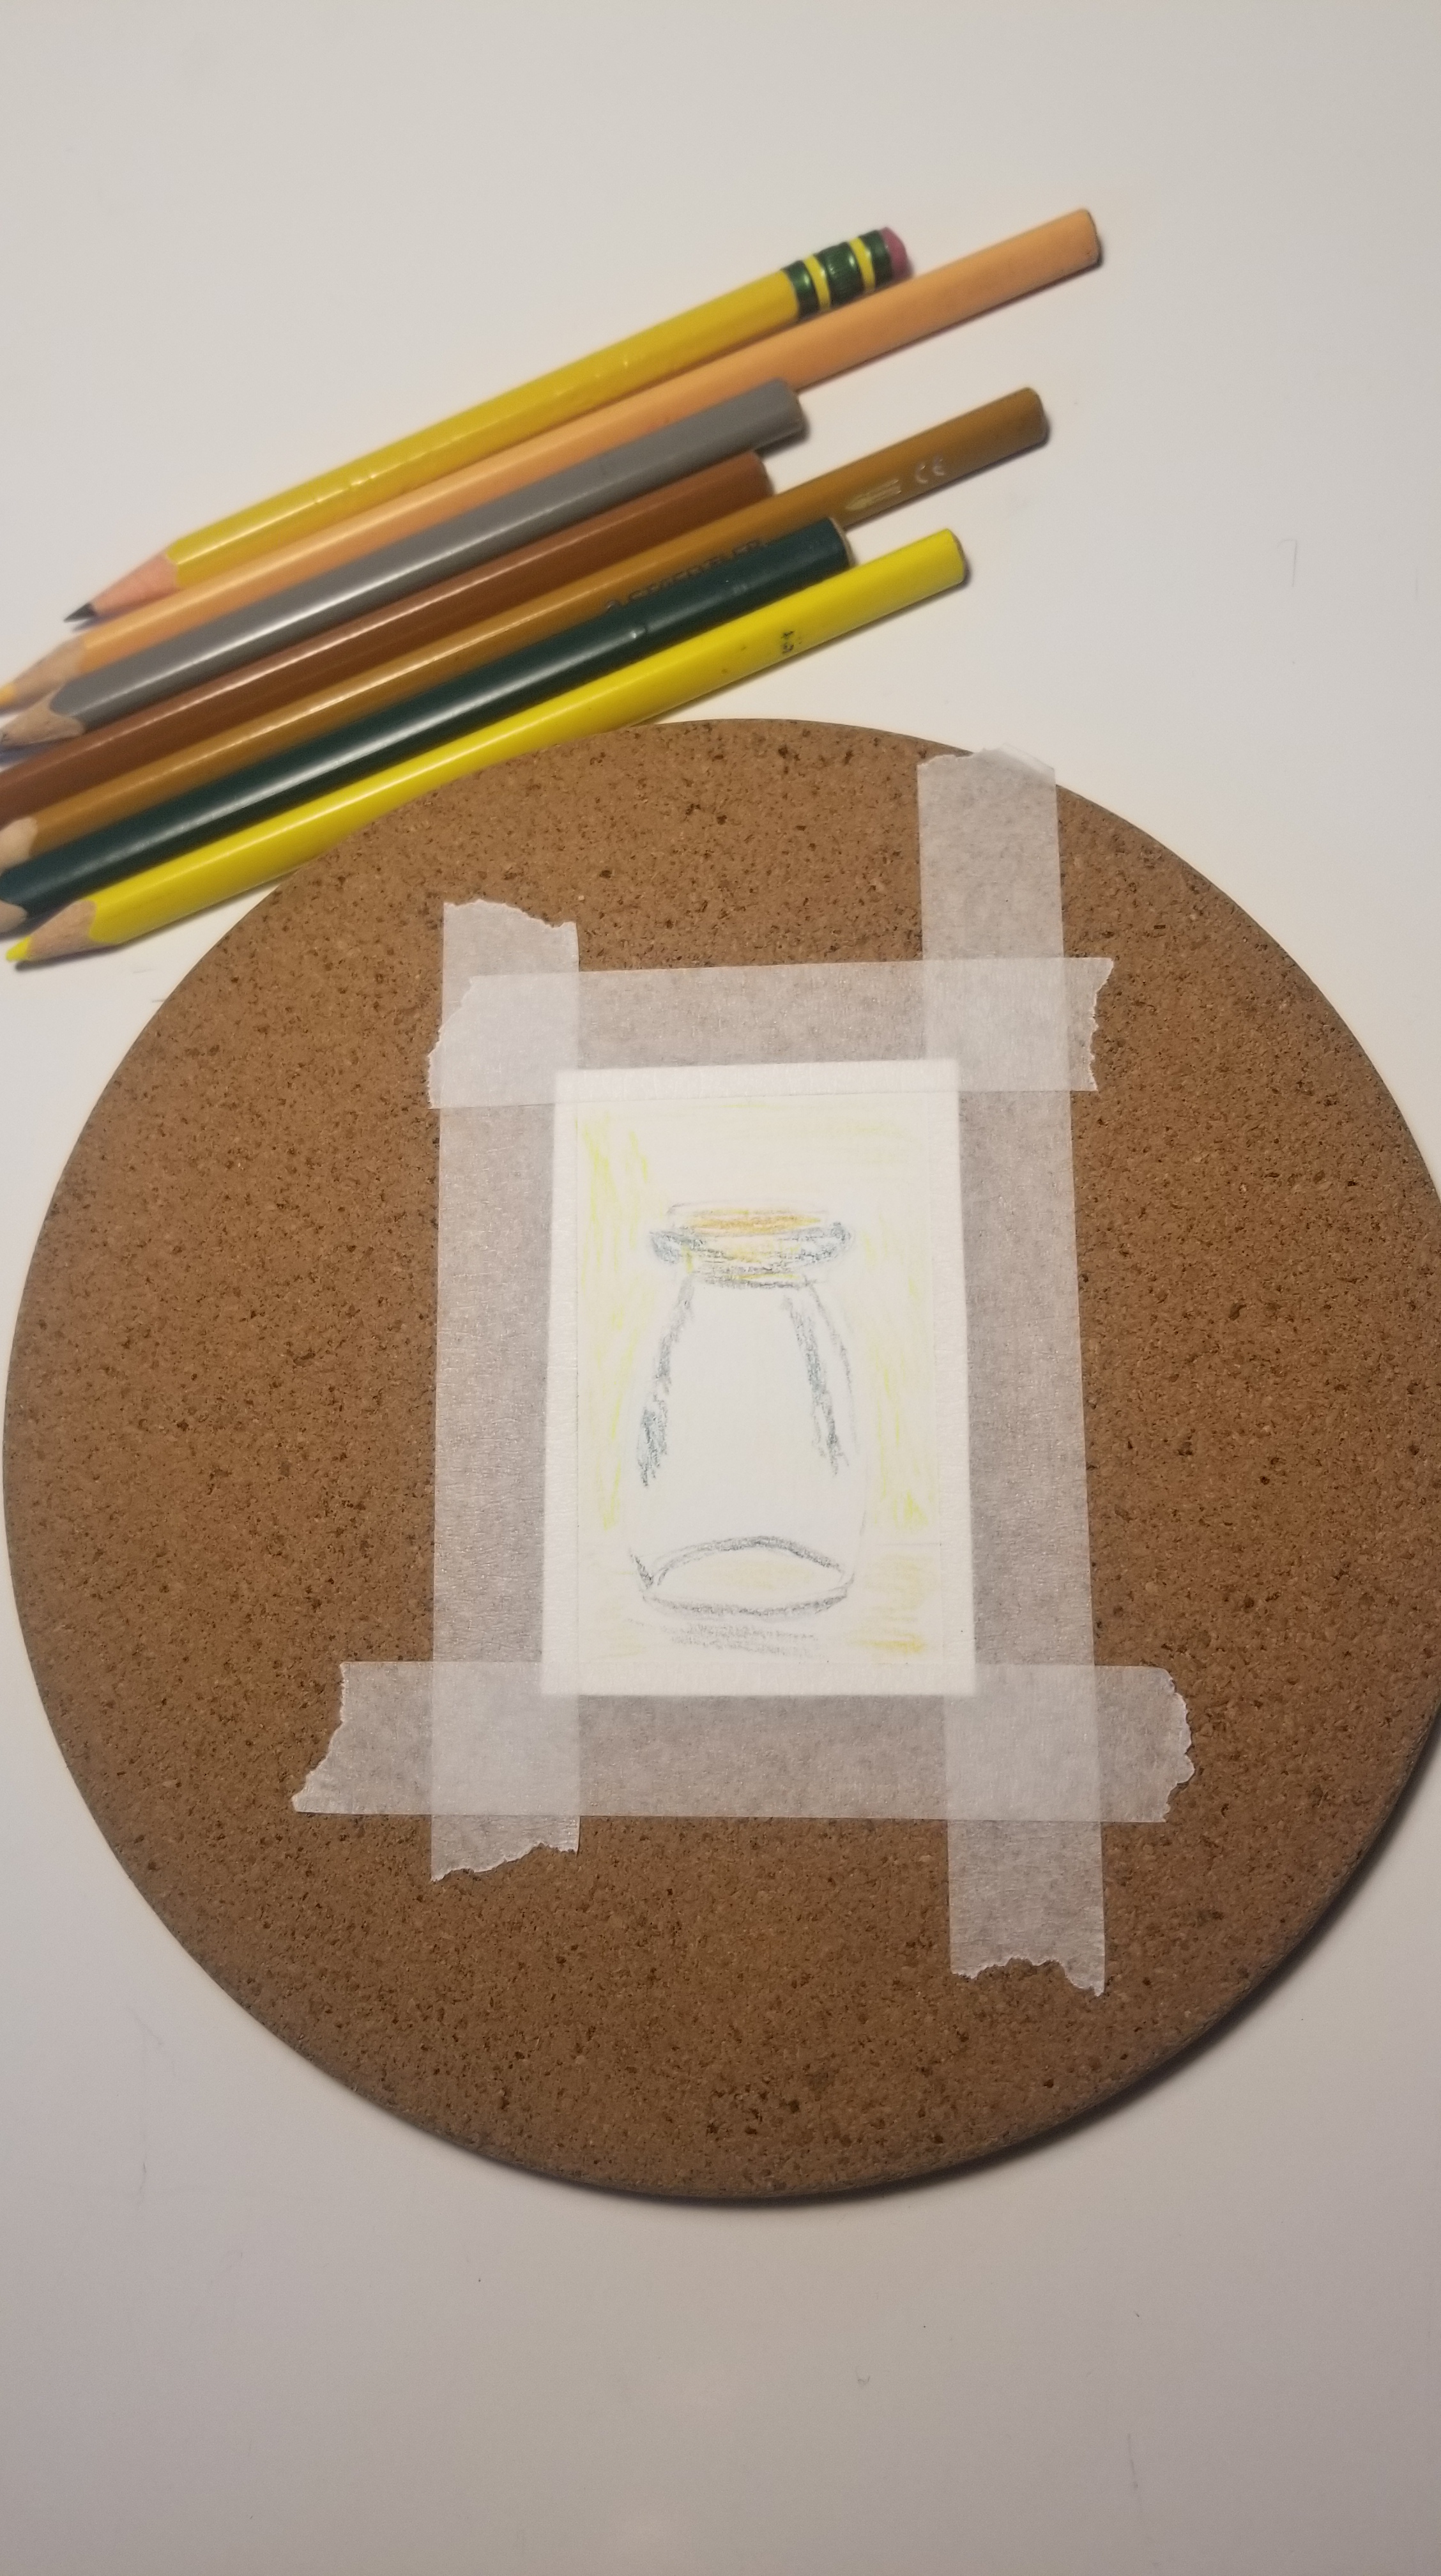
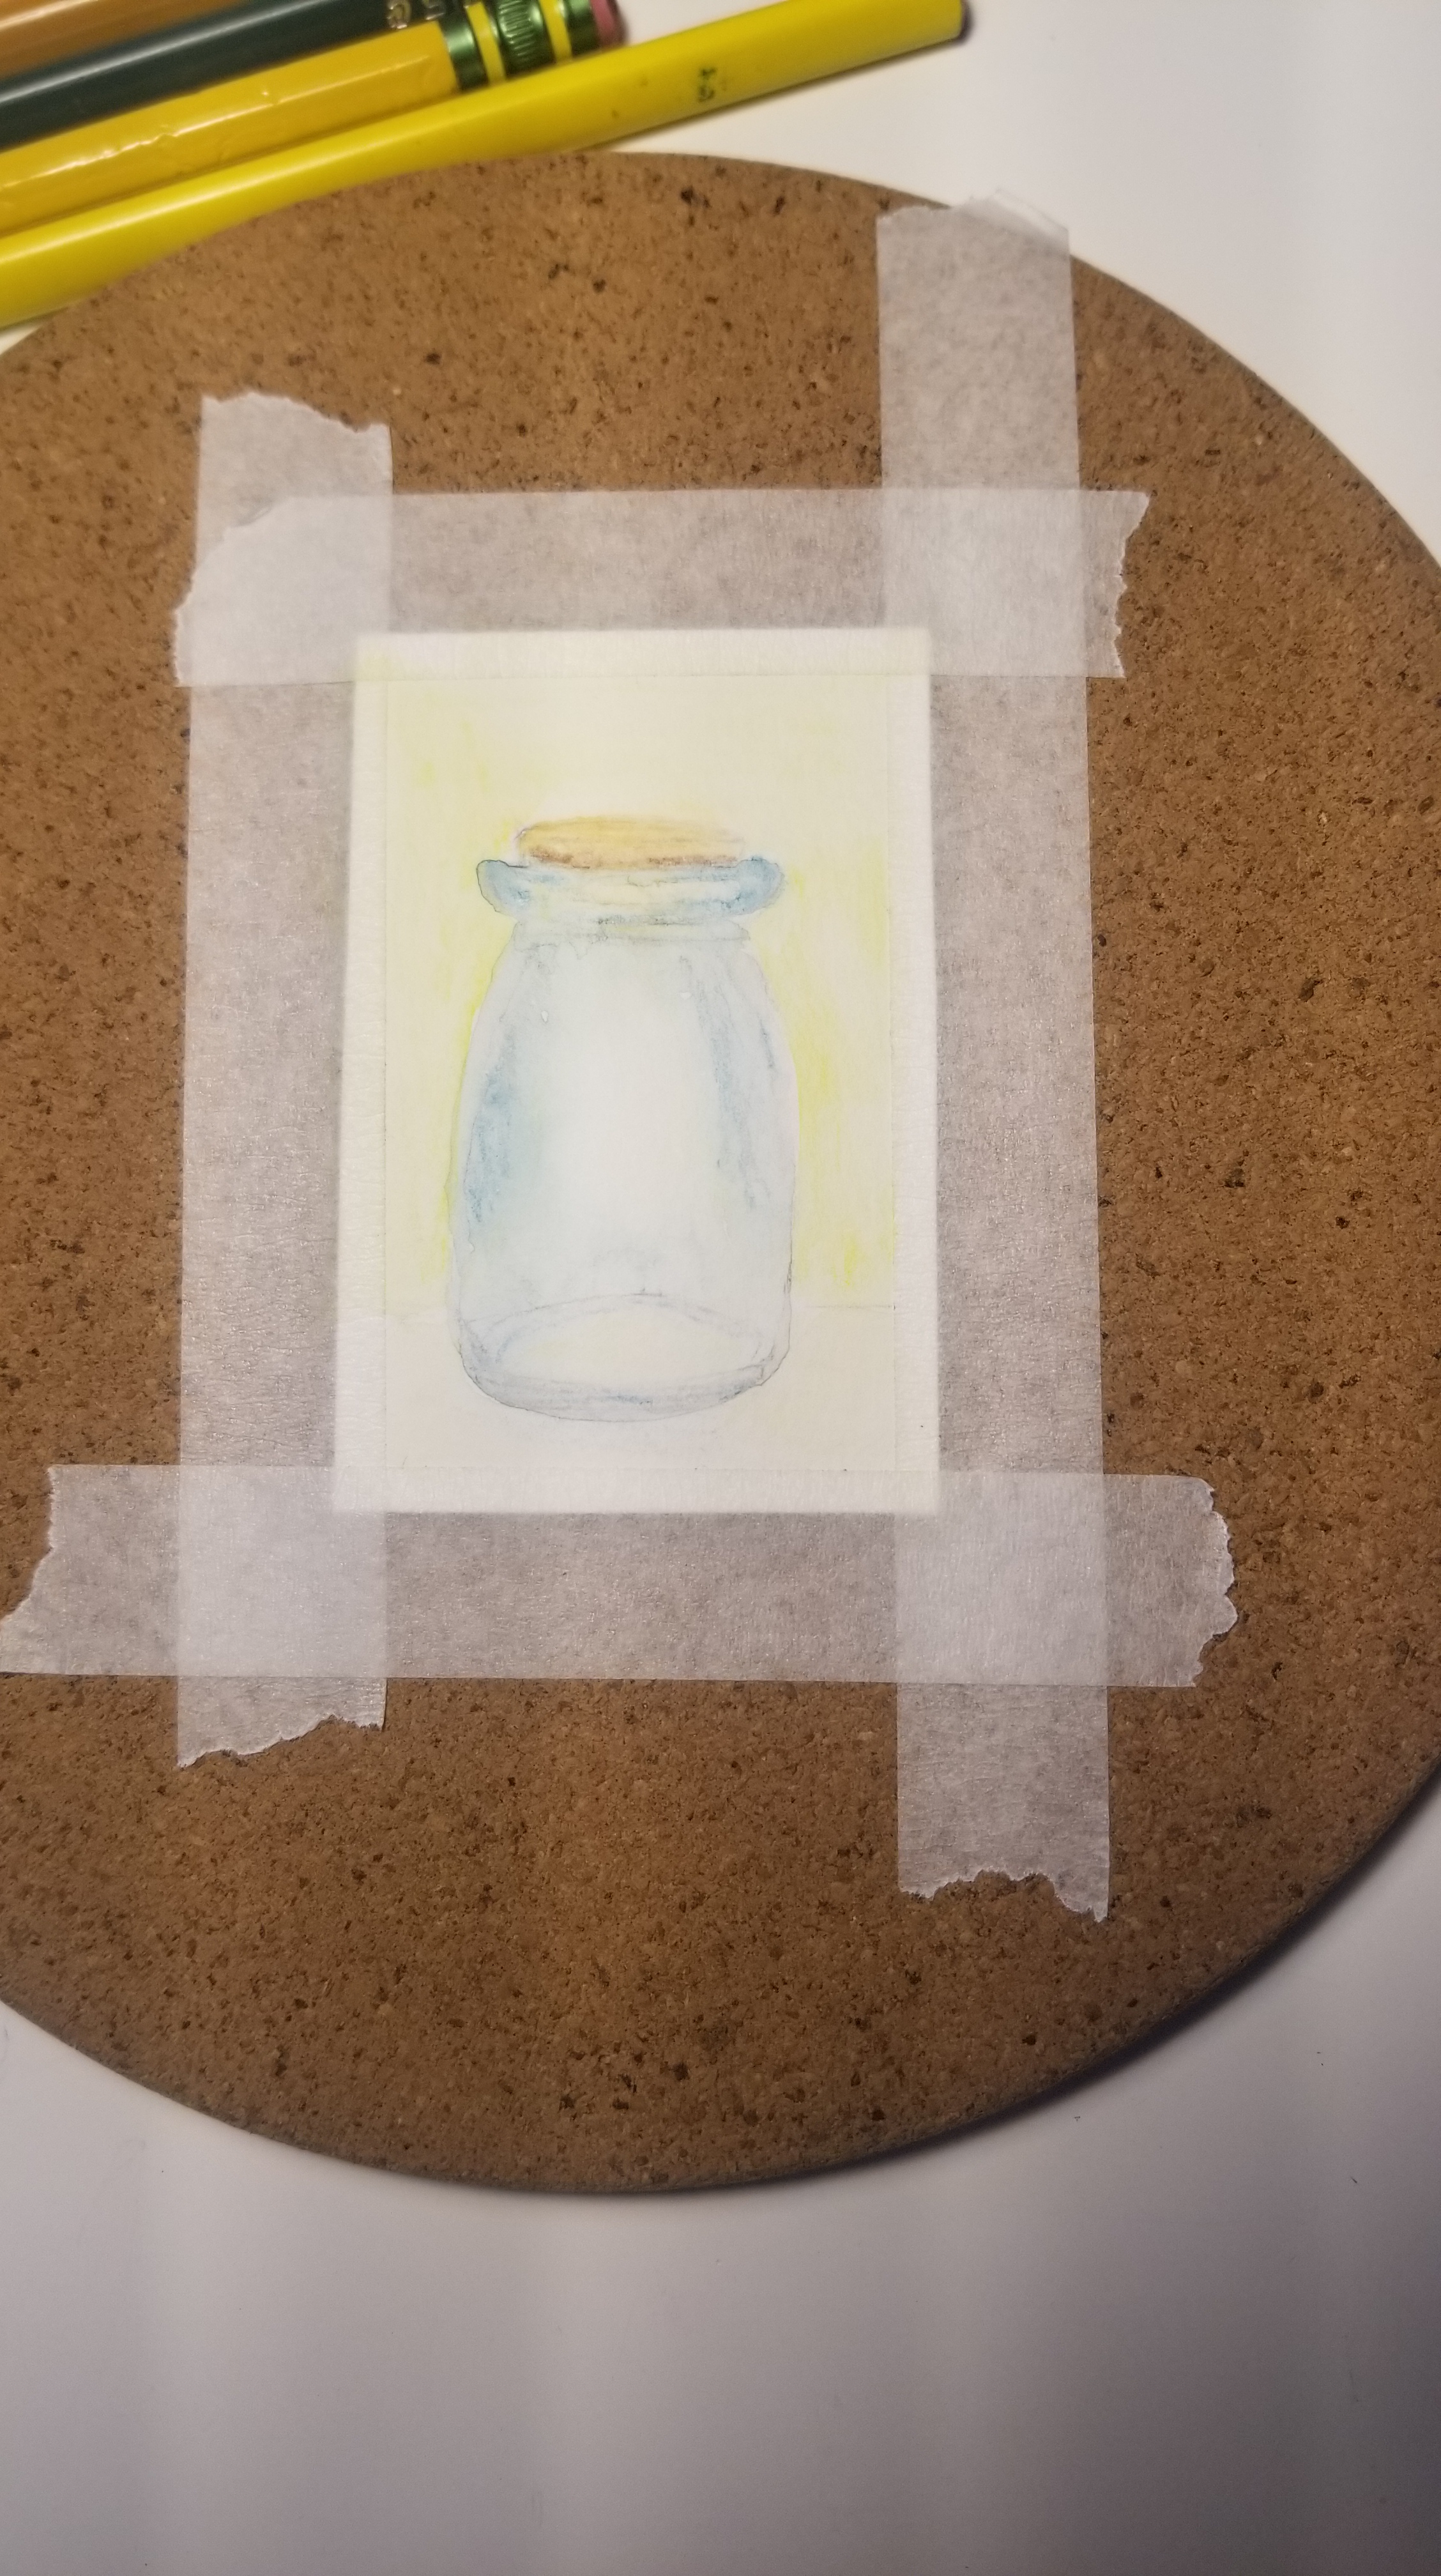
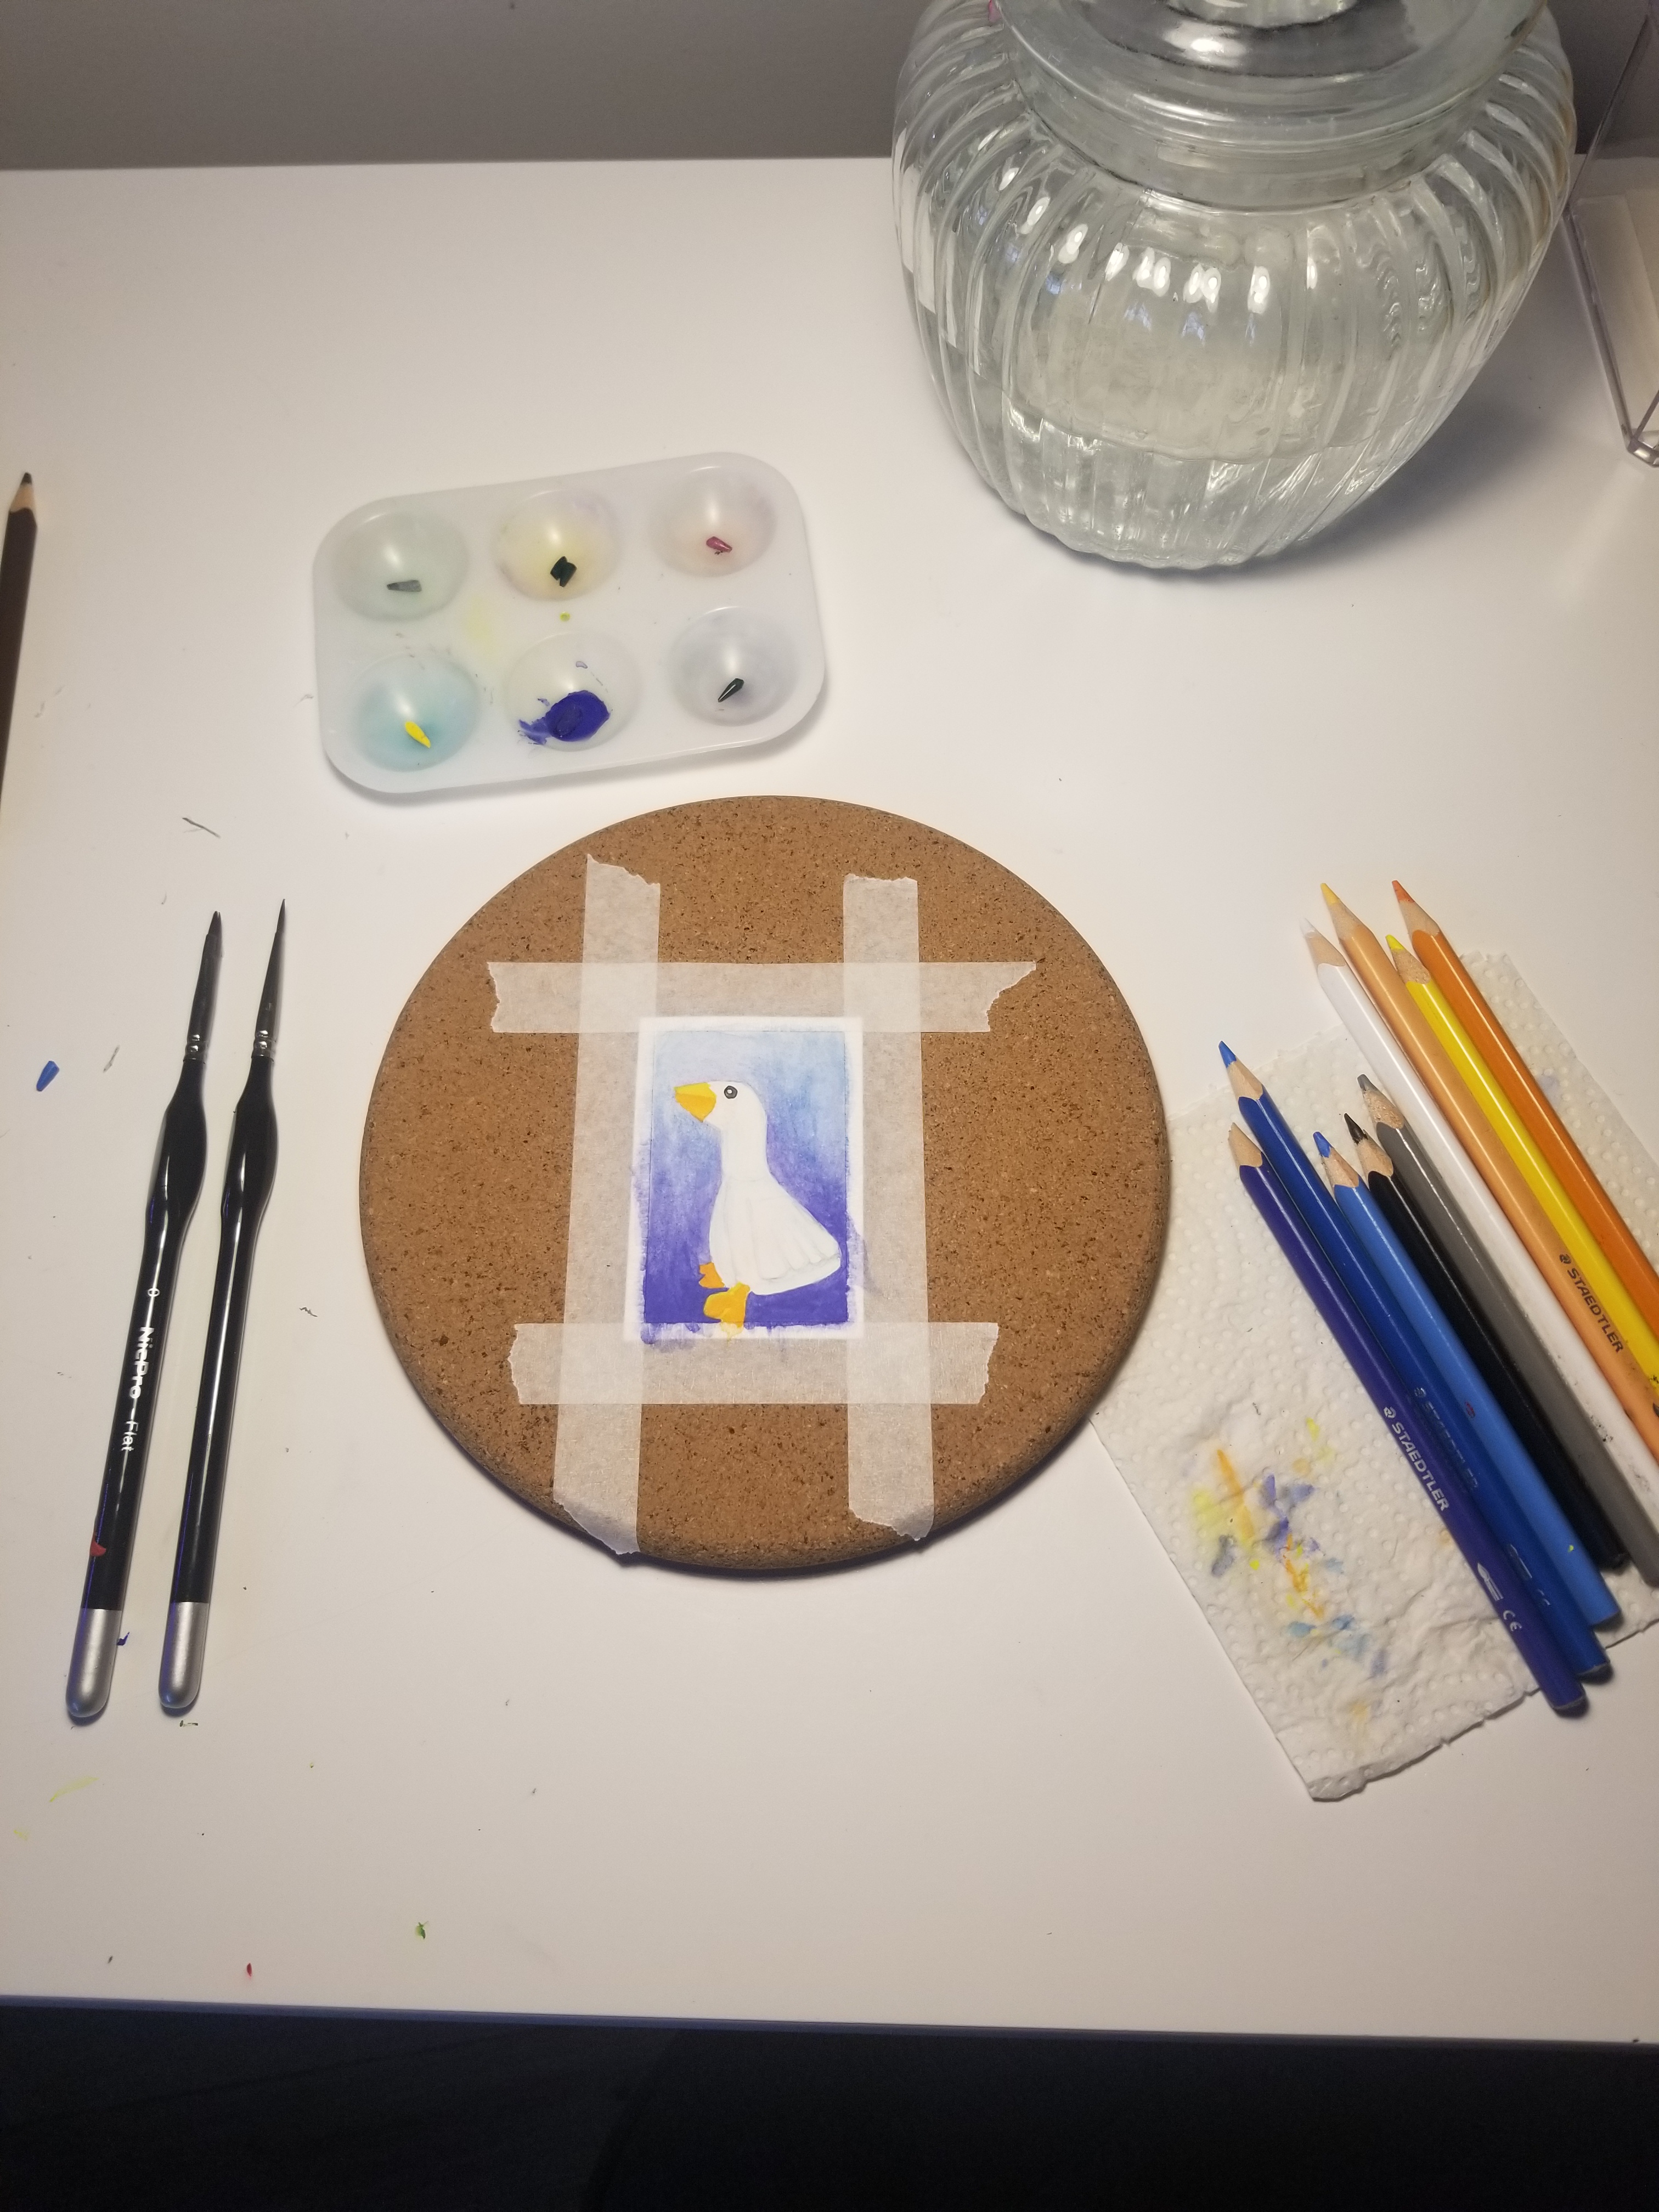
Here we are again with 5 more paintings! The idea is to simply practice, not try for perfection (OCD I’m looking at you!). Like most of my other paintings, these are just small objects from around my room. I’m using Staedtler watercolour pencils and a fine tip Sharpie.
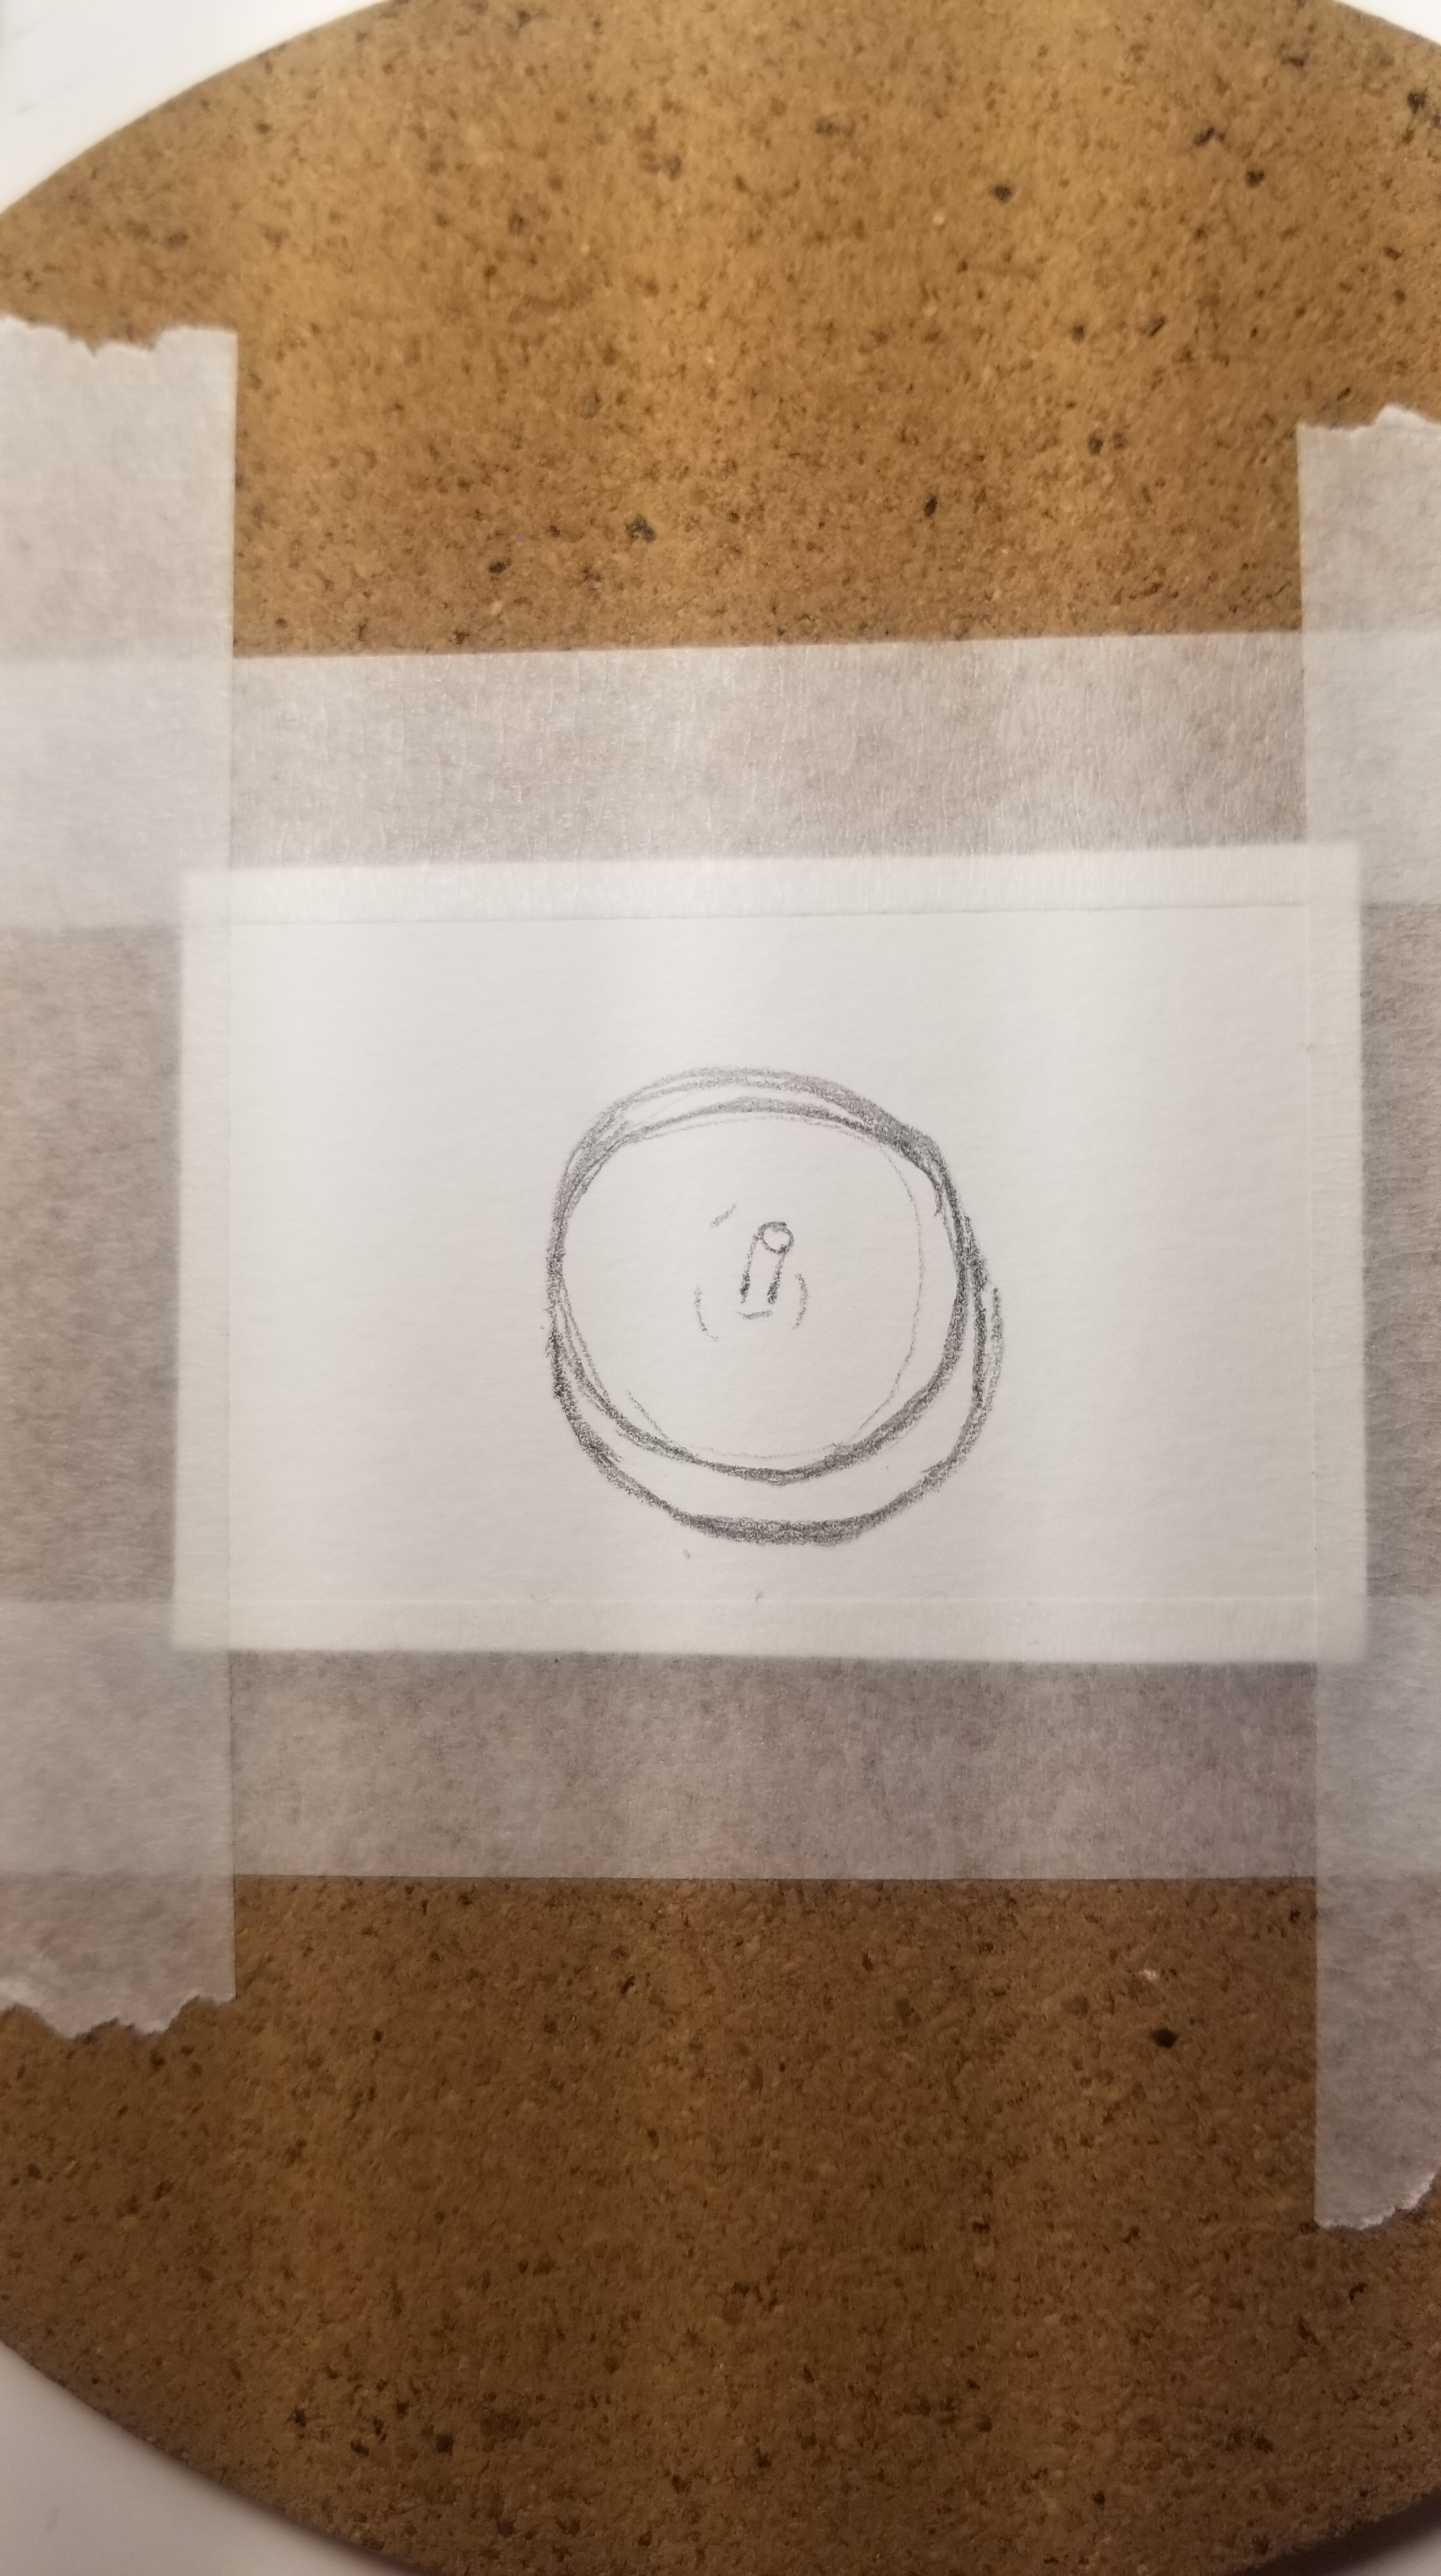
21. A small glass jar.


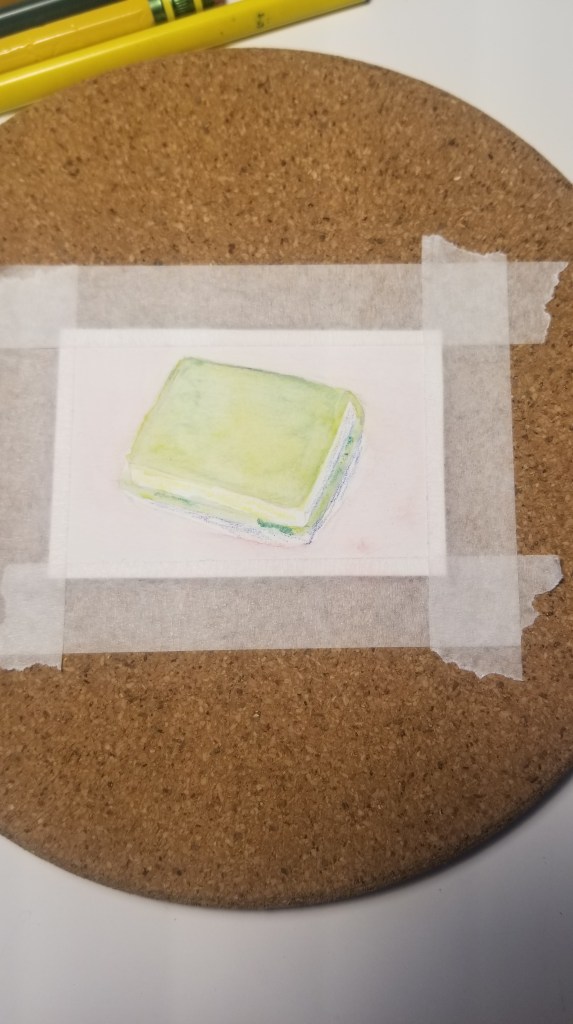
22. An old green leather book


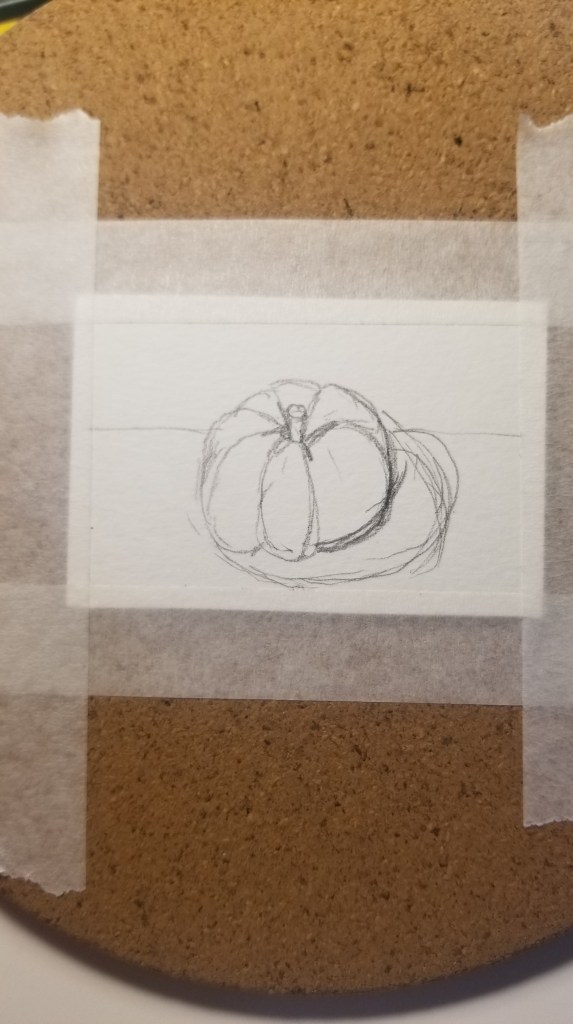
23. A small felted pumpkin I made.


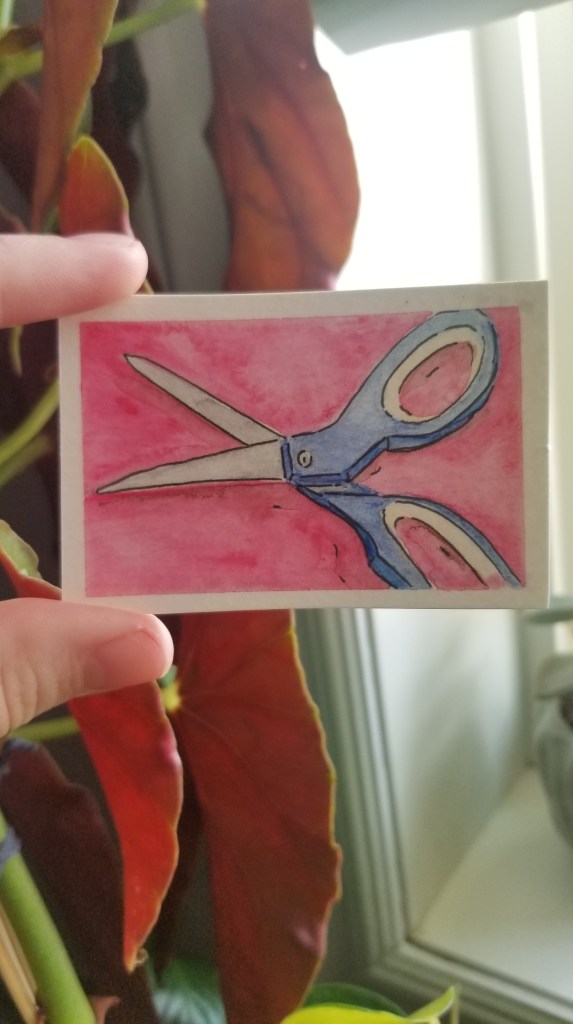
24. Scissors


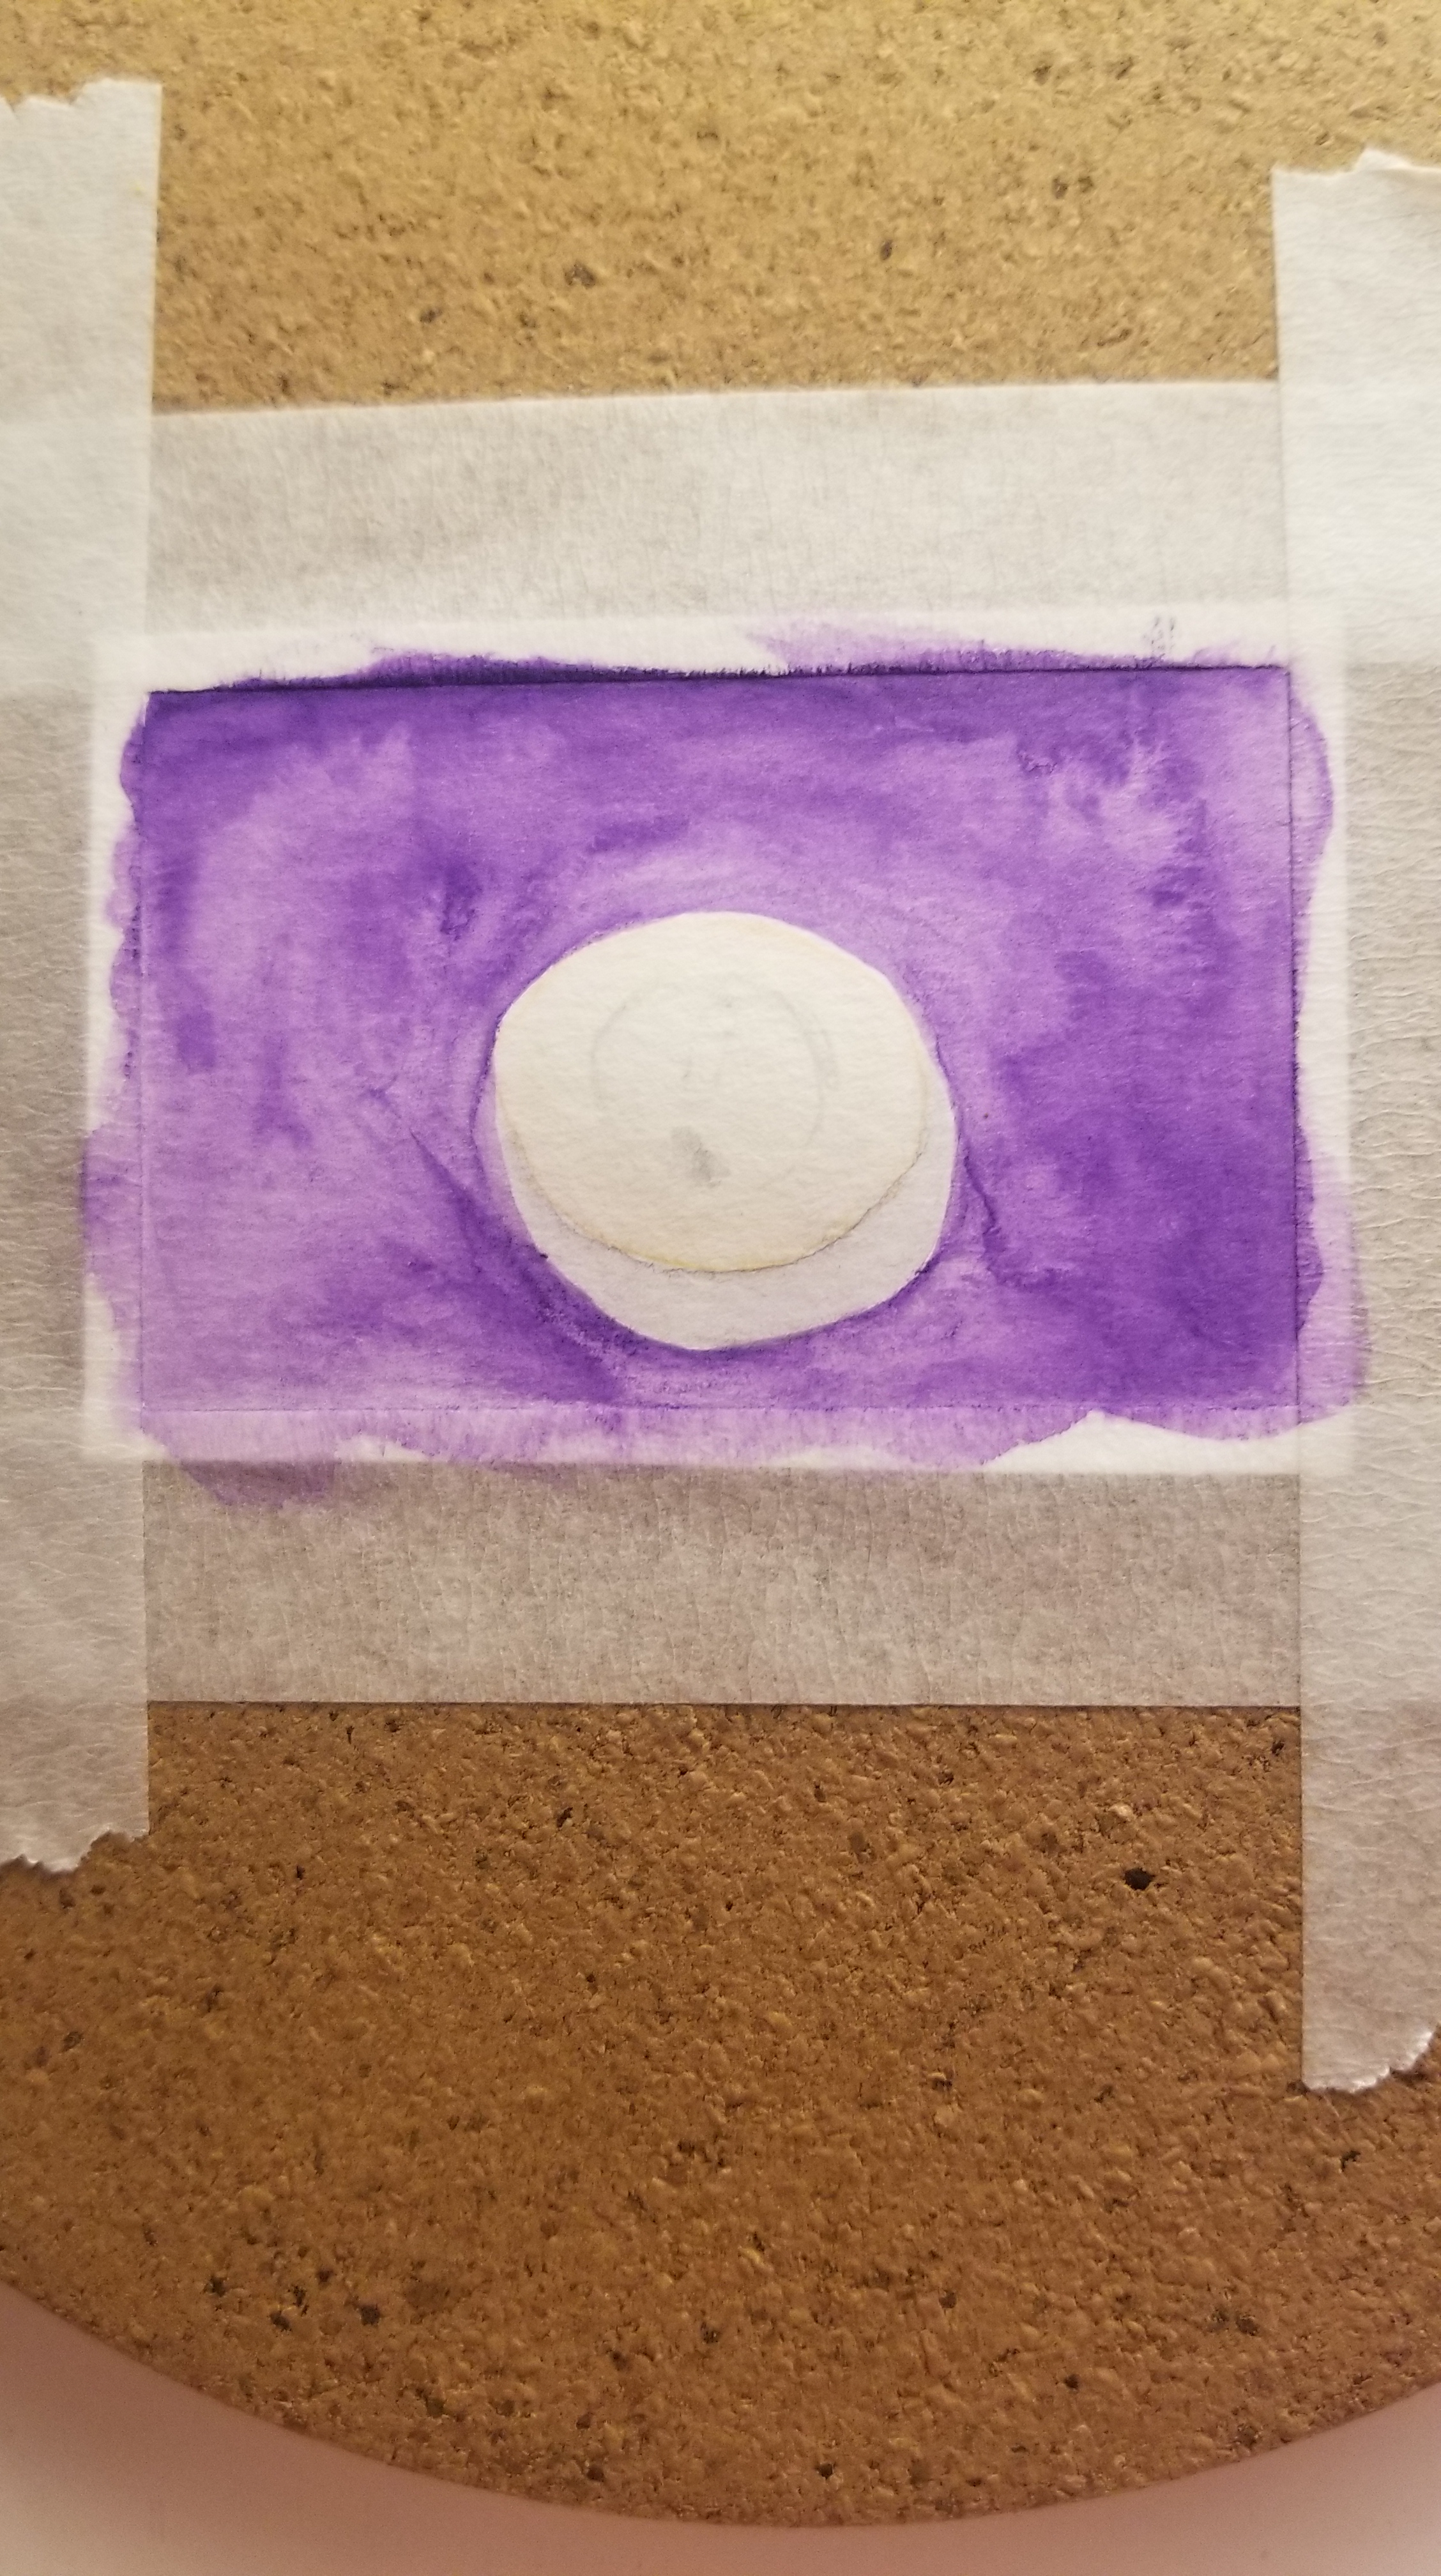
25. A tealight candle. I think this is the hardest to make look right, because of the shades of white. I know how I’d try it with regular watercolours, but pencils I’m not sure. I did try adding some depth on the white part, but it doesn’t really show.


Well that titles a mouthful.
I’ve never used “the good” paints before. I used Crayola watercolours and Staedtler watercolour pencils, neither of which I loved. For my birthday I got this sweet little palette with all the basic colours. I tried it out painting a picture of a pond.
I haven’t used regular watercolours in a while, there’s definitely some things I would do differently. But overall I’m pleased
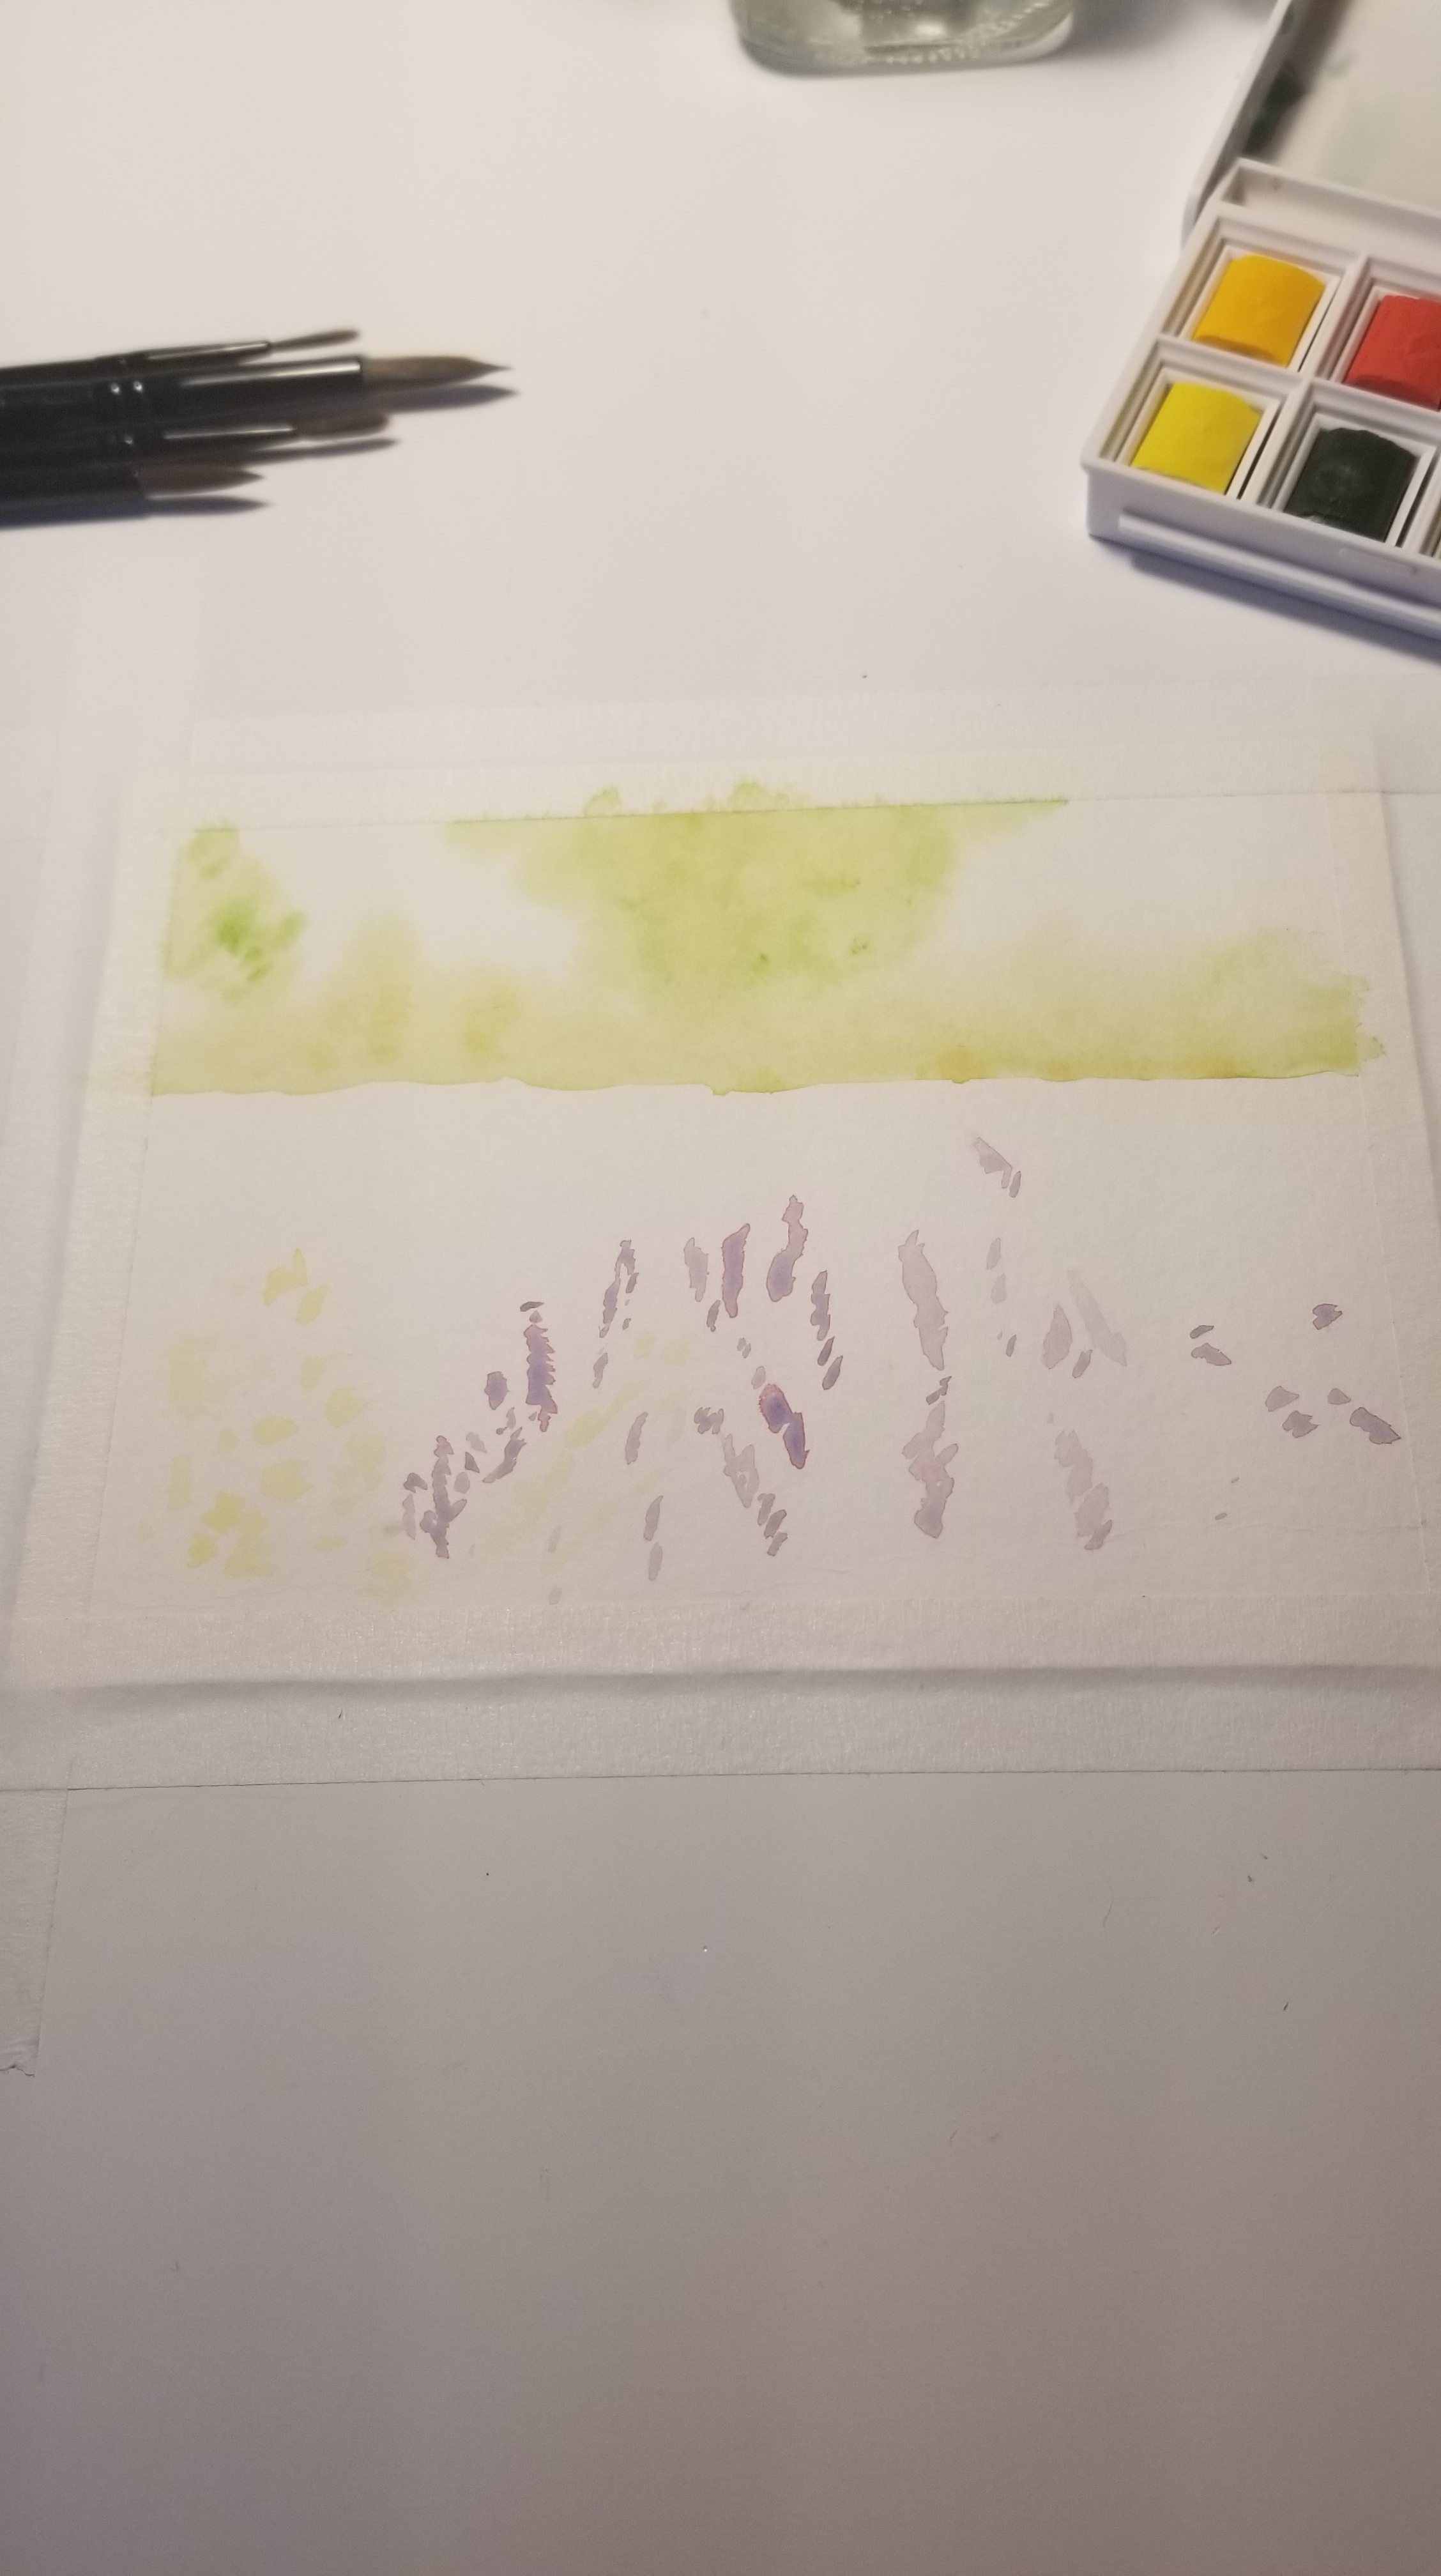

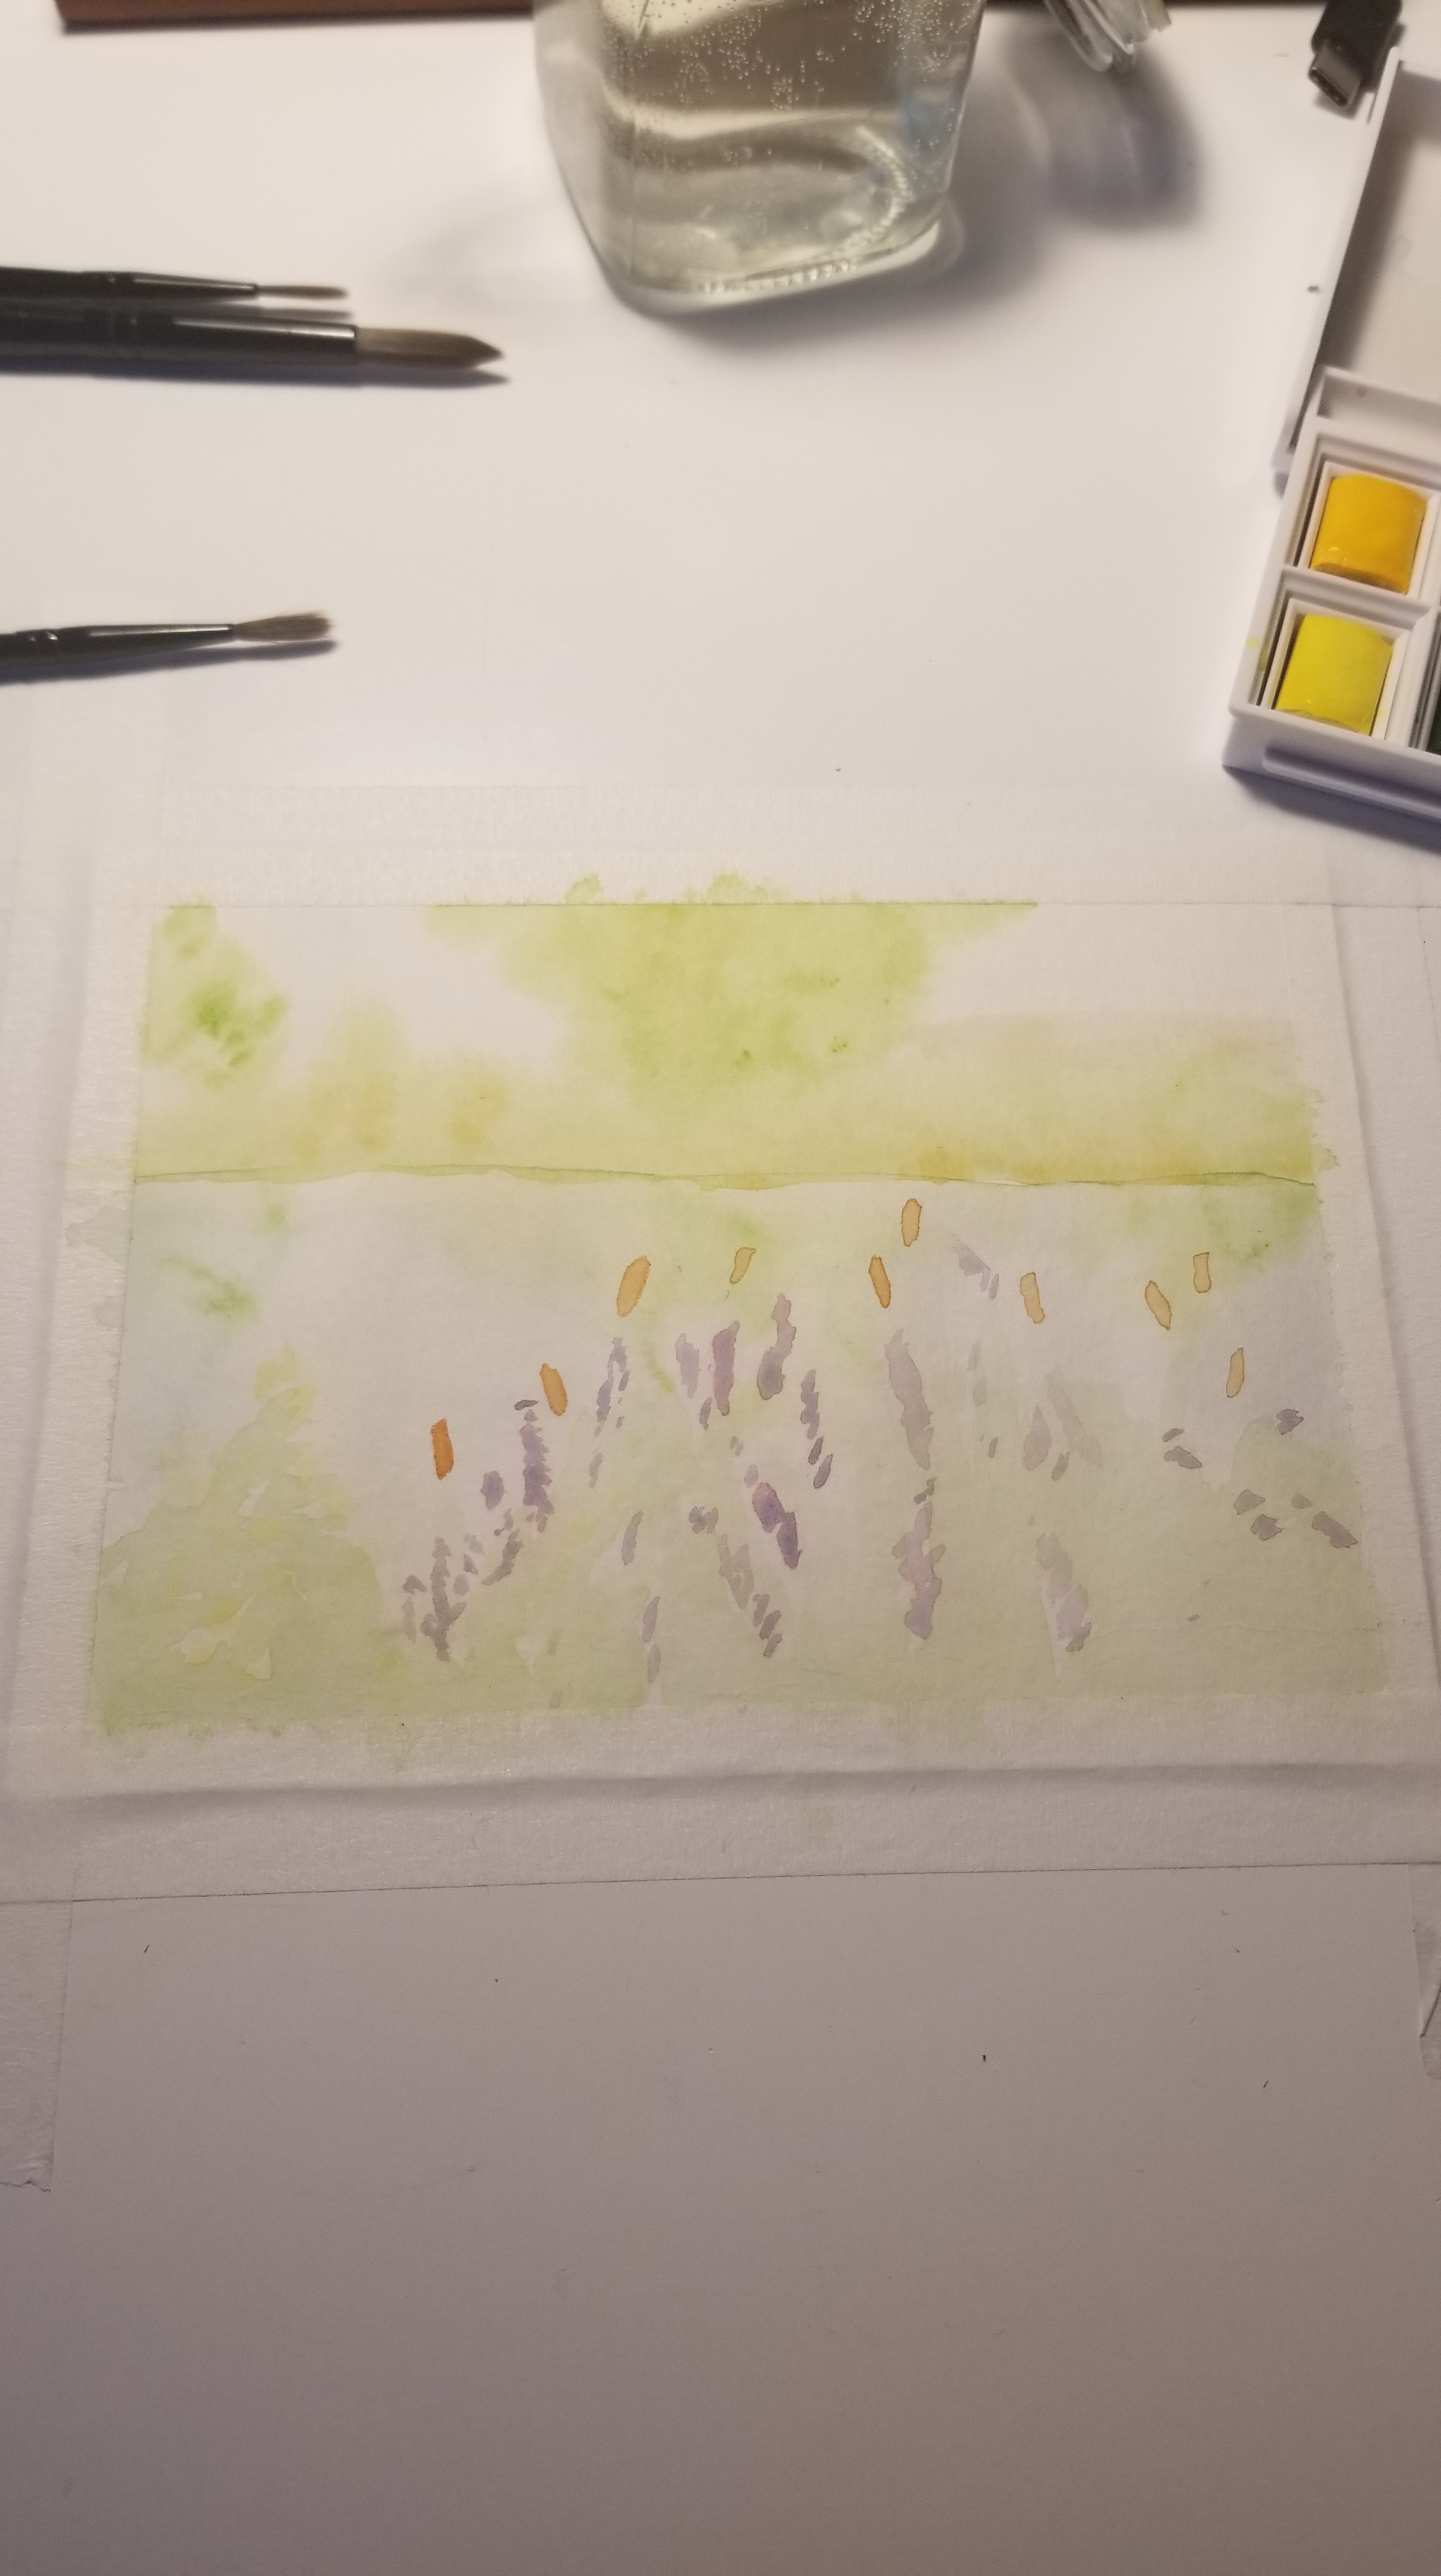

I used to watch a lot of videos of loose watercolour and ink. I decided not to add ink to this one. I wasn’t trying for realism, I just wanted to make the impression of the pond. I’m so happy with the plants! Though I think I need to watch some tutorials for trees…

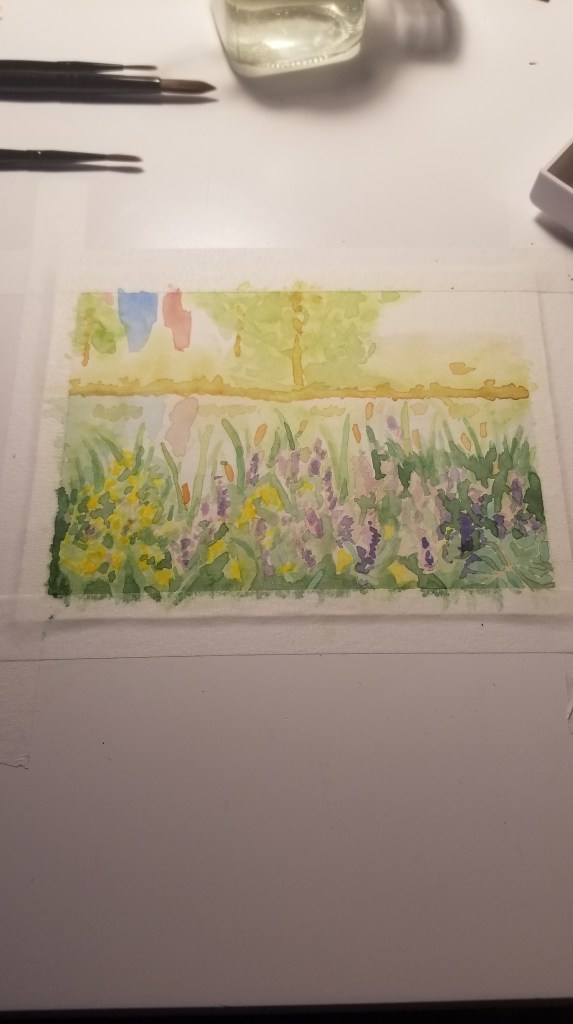
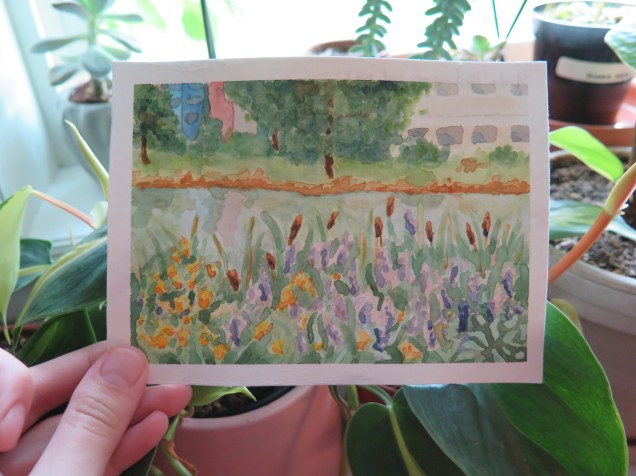
I’m really excited to start painting more with this palette!
1/4 of the way through! (p.s. Actually 1/5; my math isn’t mathing.)
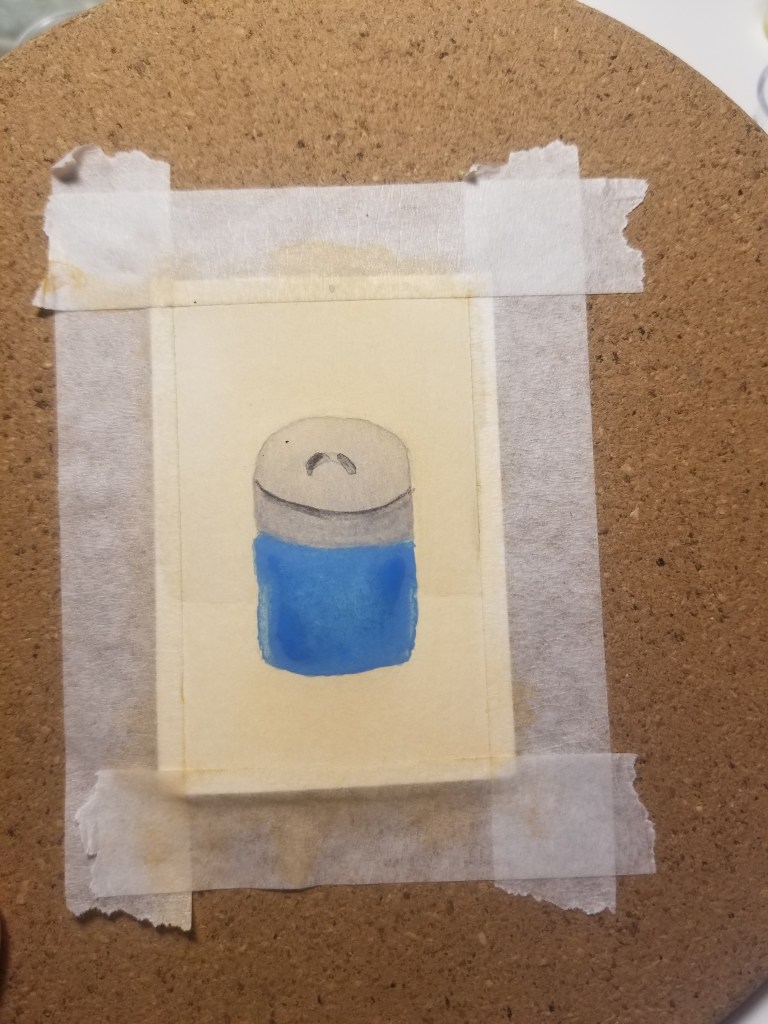
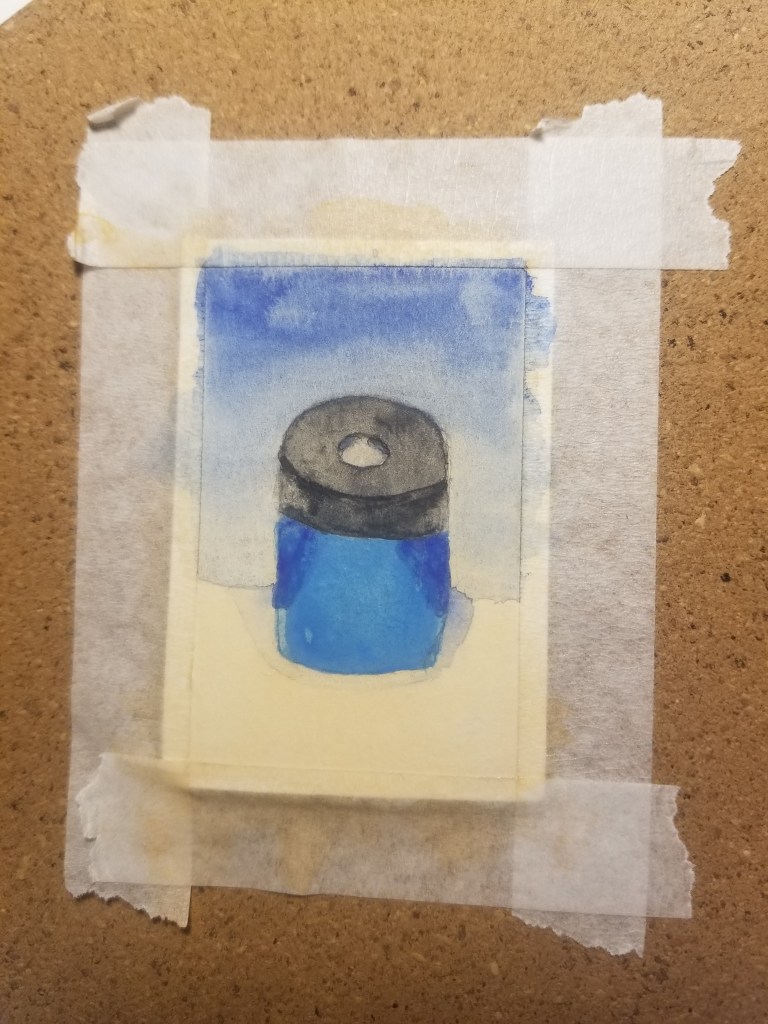
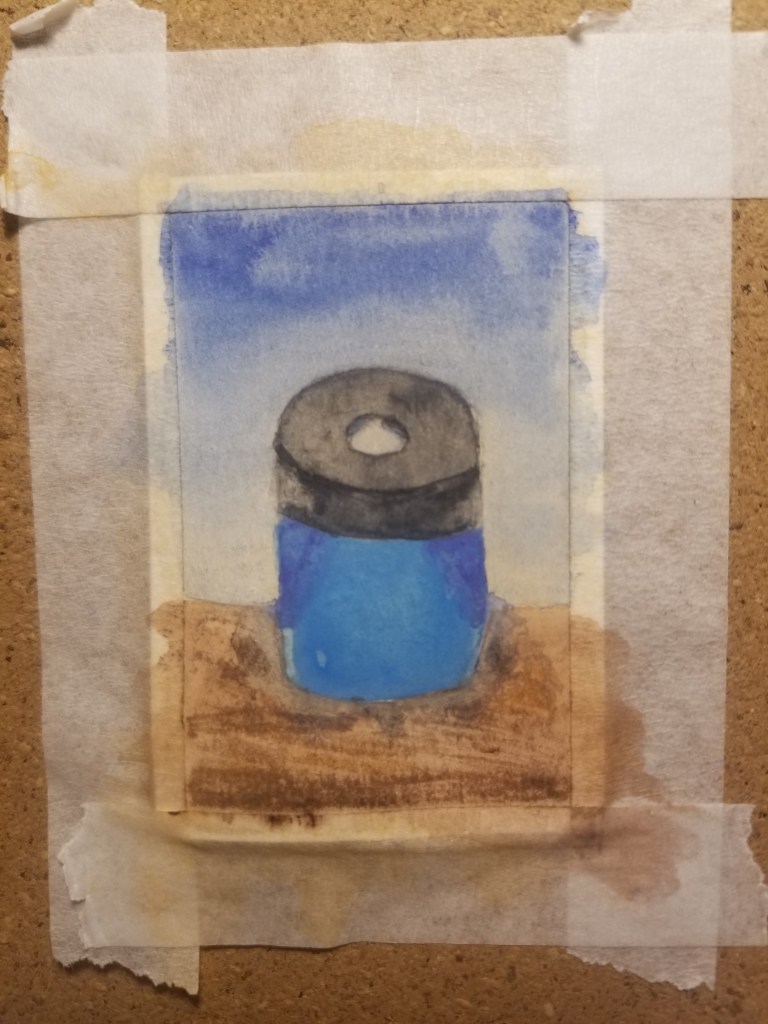
16. A pencil sharpener. I had the notion to try an underpainting of orange just to see what would happen. It gave me the shade of blue I wanted, but I regret putting it on the entire thing. I also overworked it a bit and wished I had left the table just white.

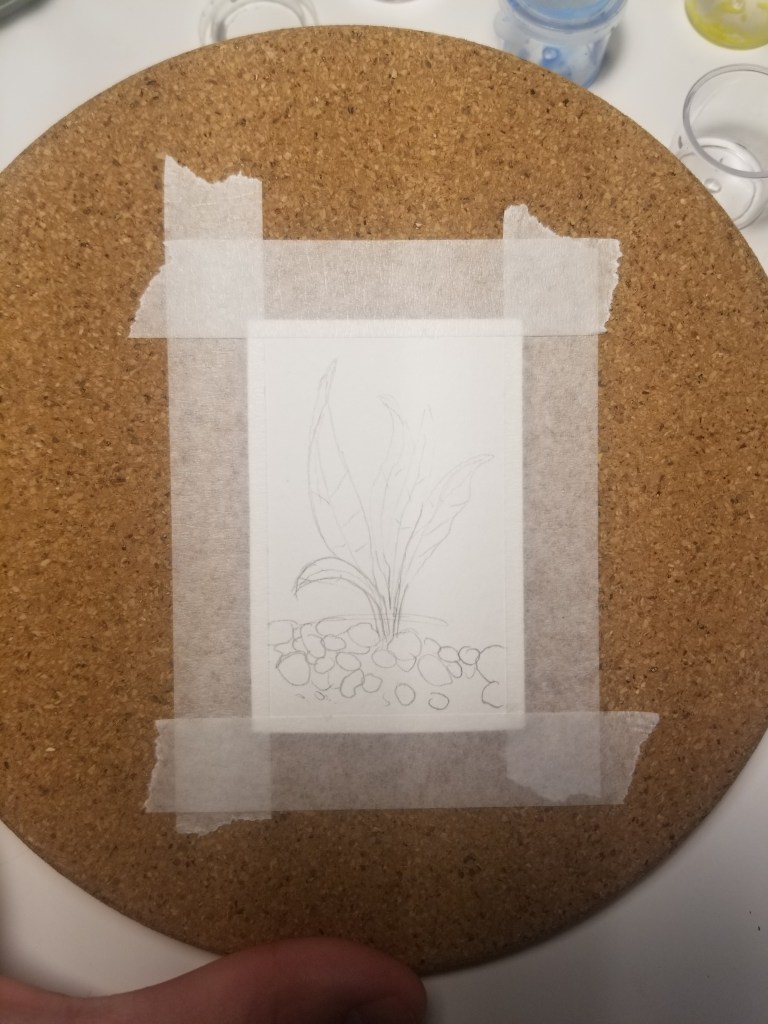
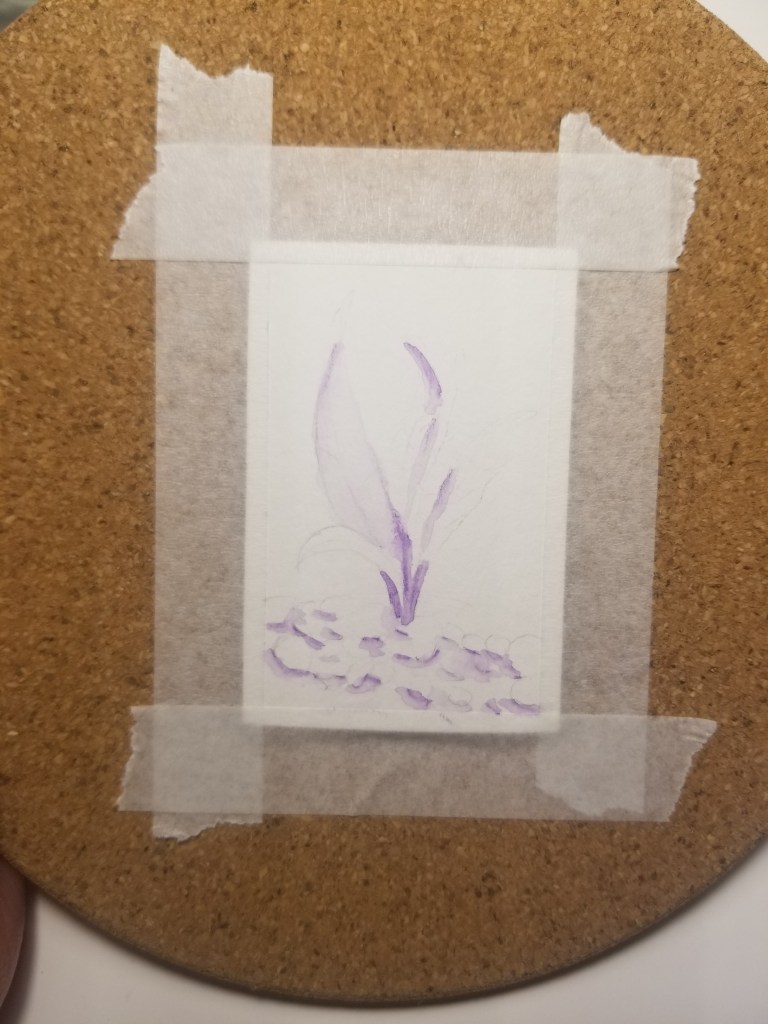
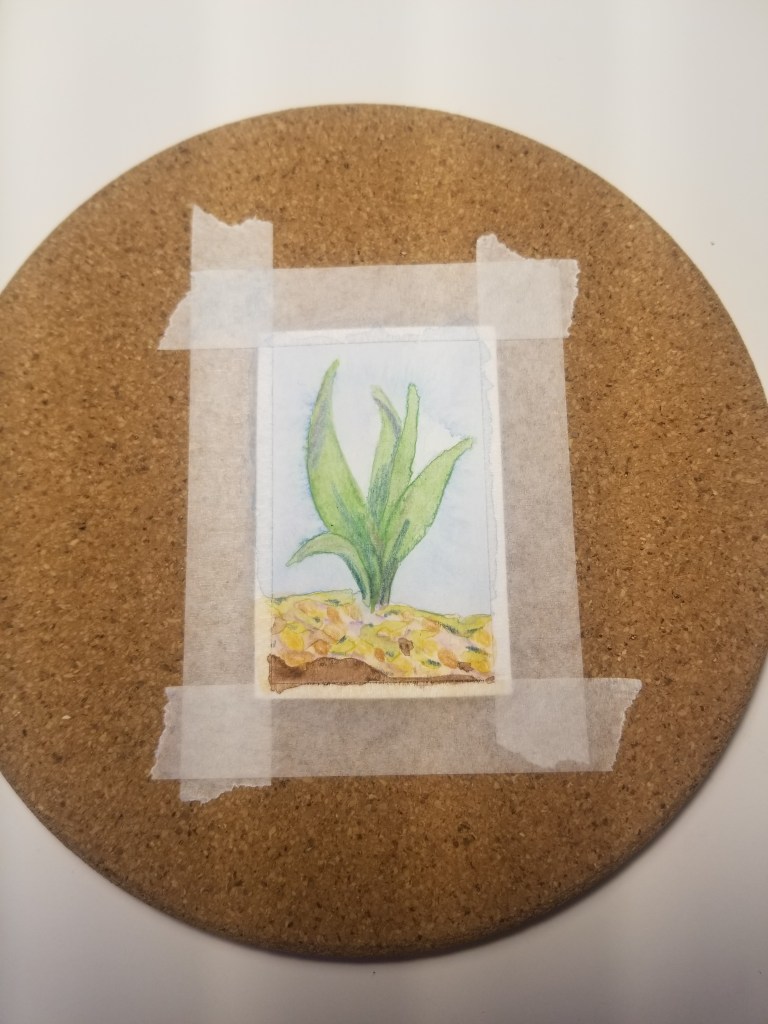
17. An amazon sword plant from my aquarium, I’m quite happy with this one! I let each leaf dry before wetting the next. I painted the shadows in purple.

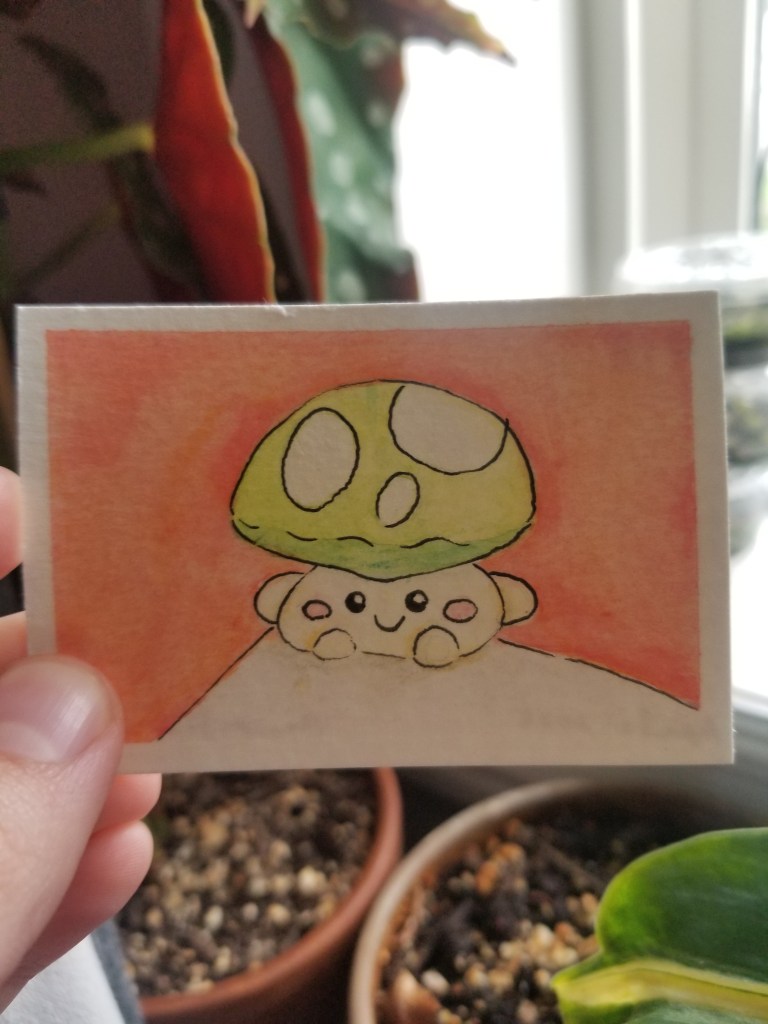
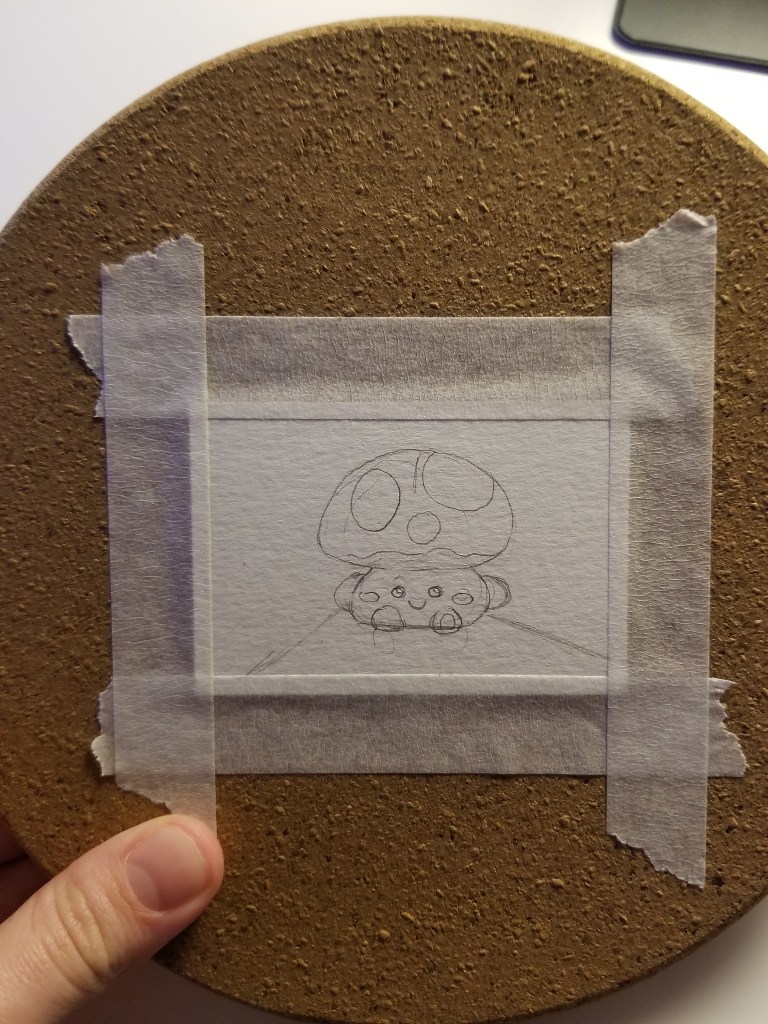
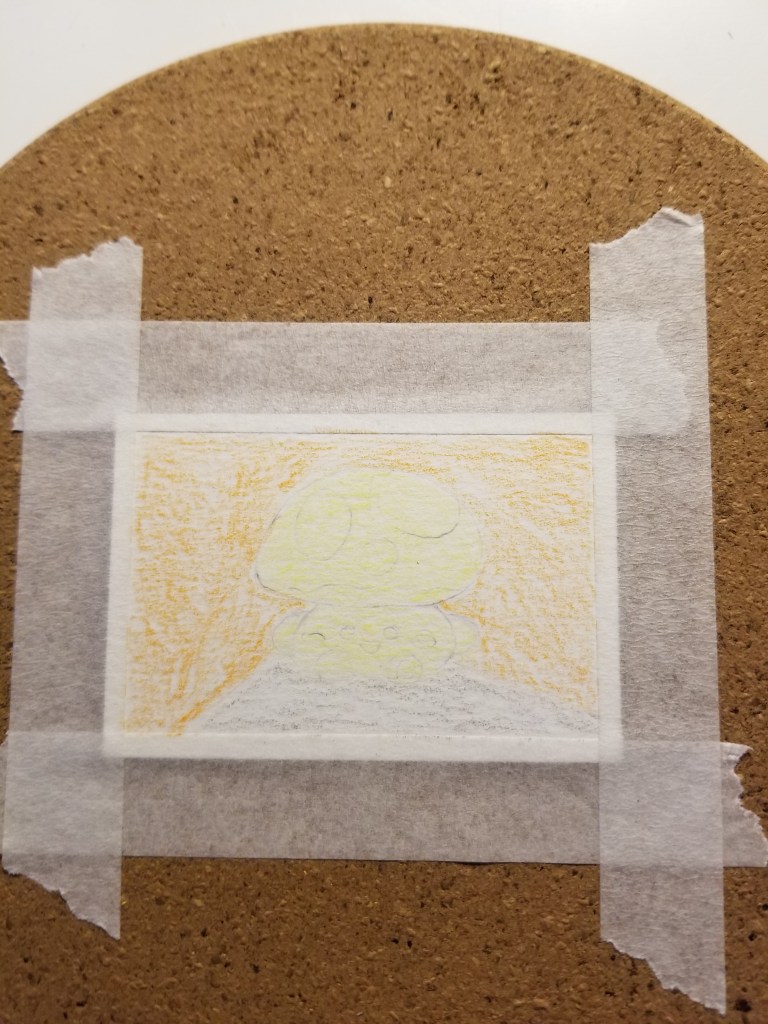
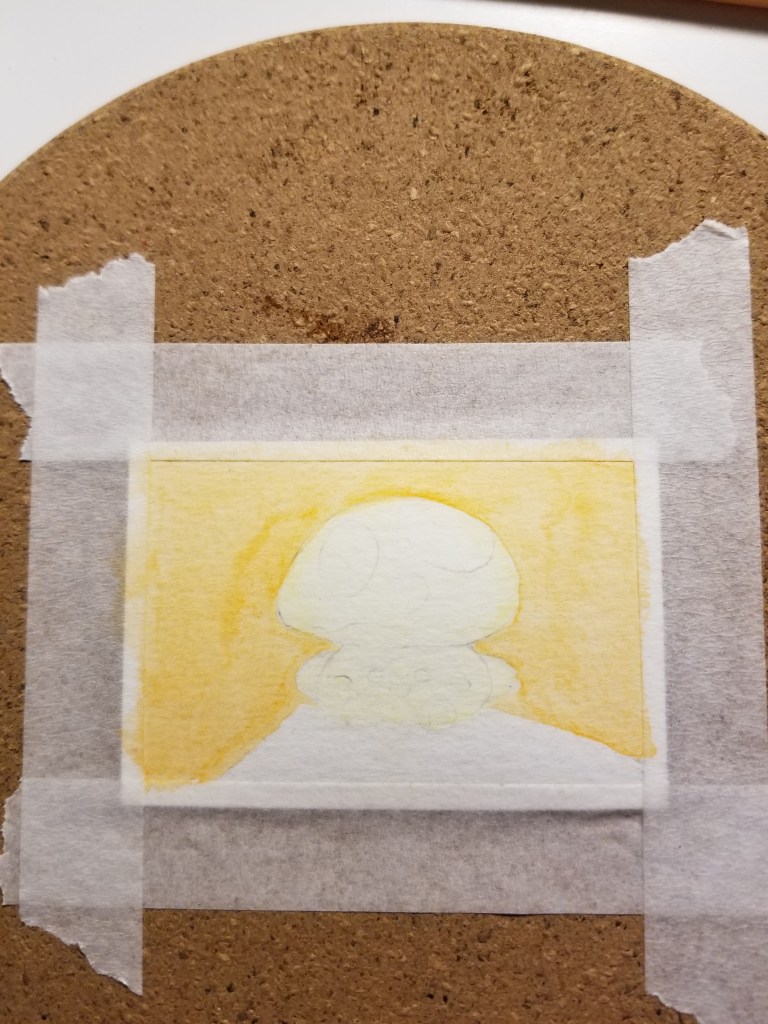
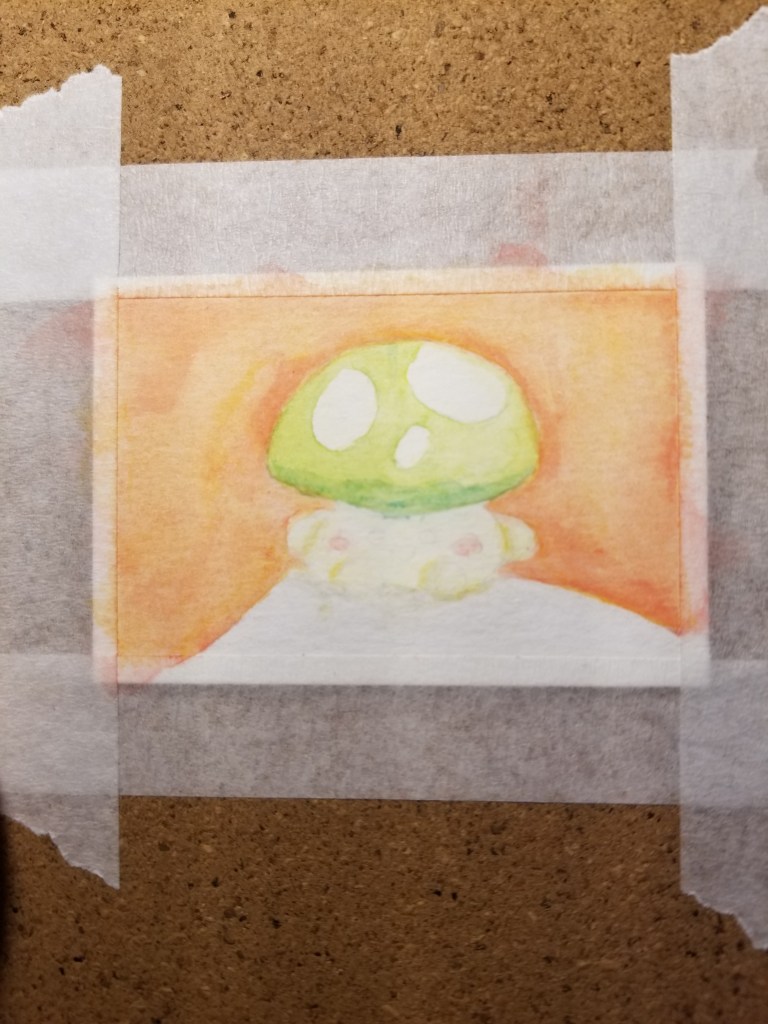
18. This is my favorite one; a little mushroom stuffy I love.

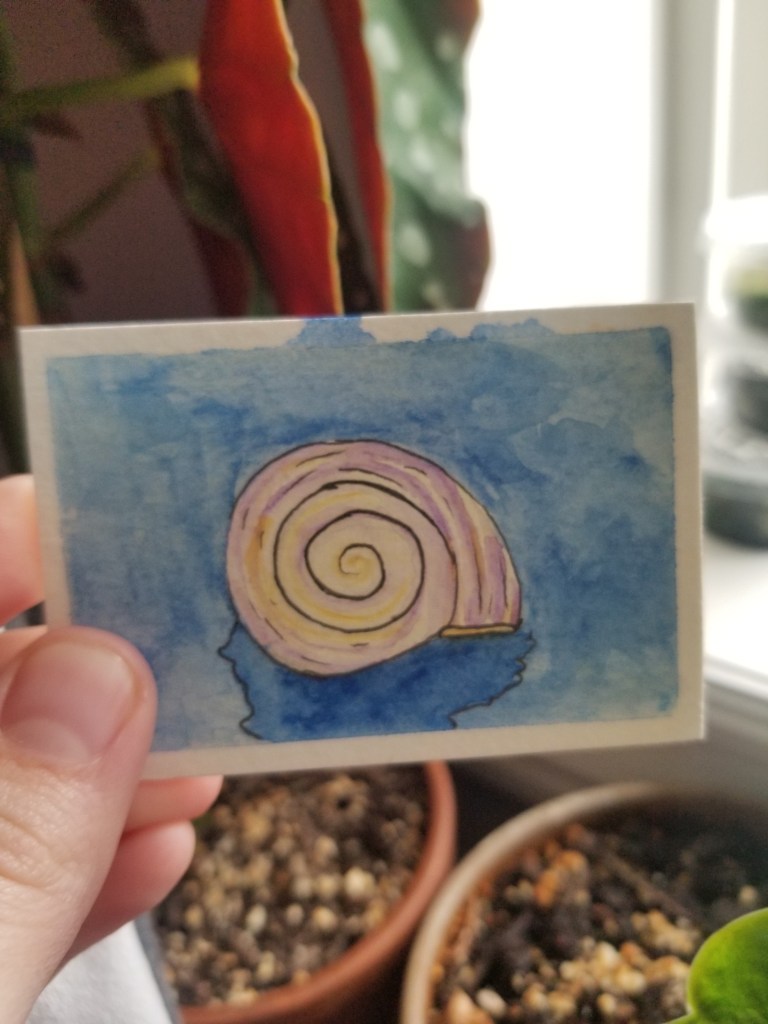
19. After 16 I ran out of paper and the hobby merry-go-round rotated to cross stitching. Cutting paper isn’t the funnest thing. I kept wanting to paint, but not cut-up the paper. This one’s just a shell. I messed up and drew some of the pen lines in the wrong place. I randomly wanted to see what a blue background would look like.


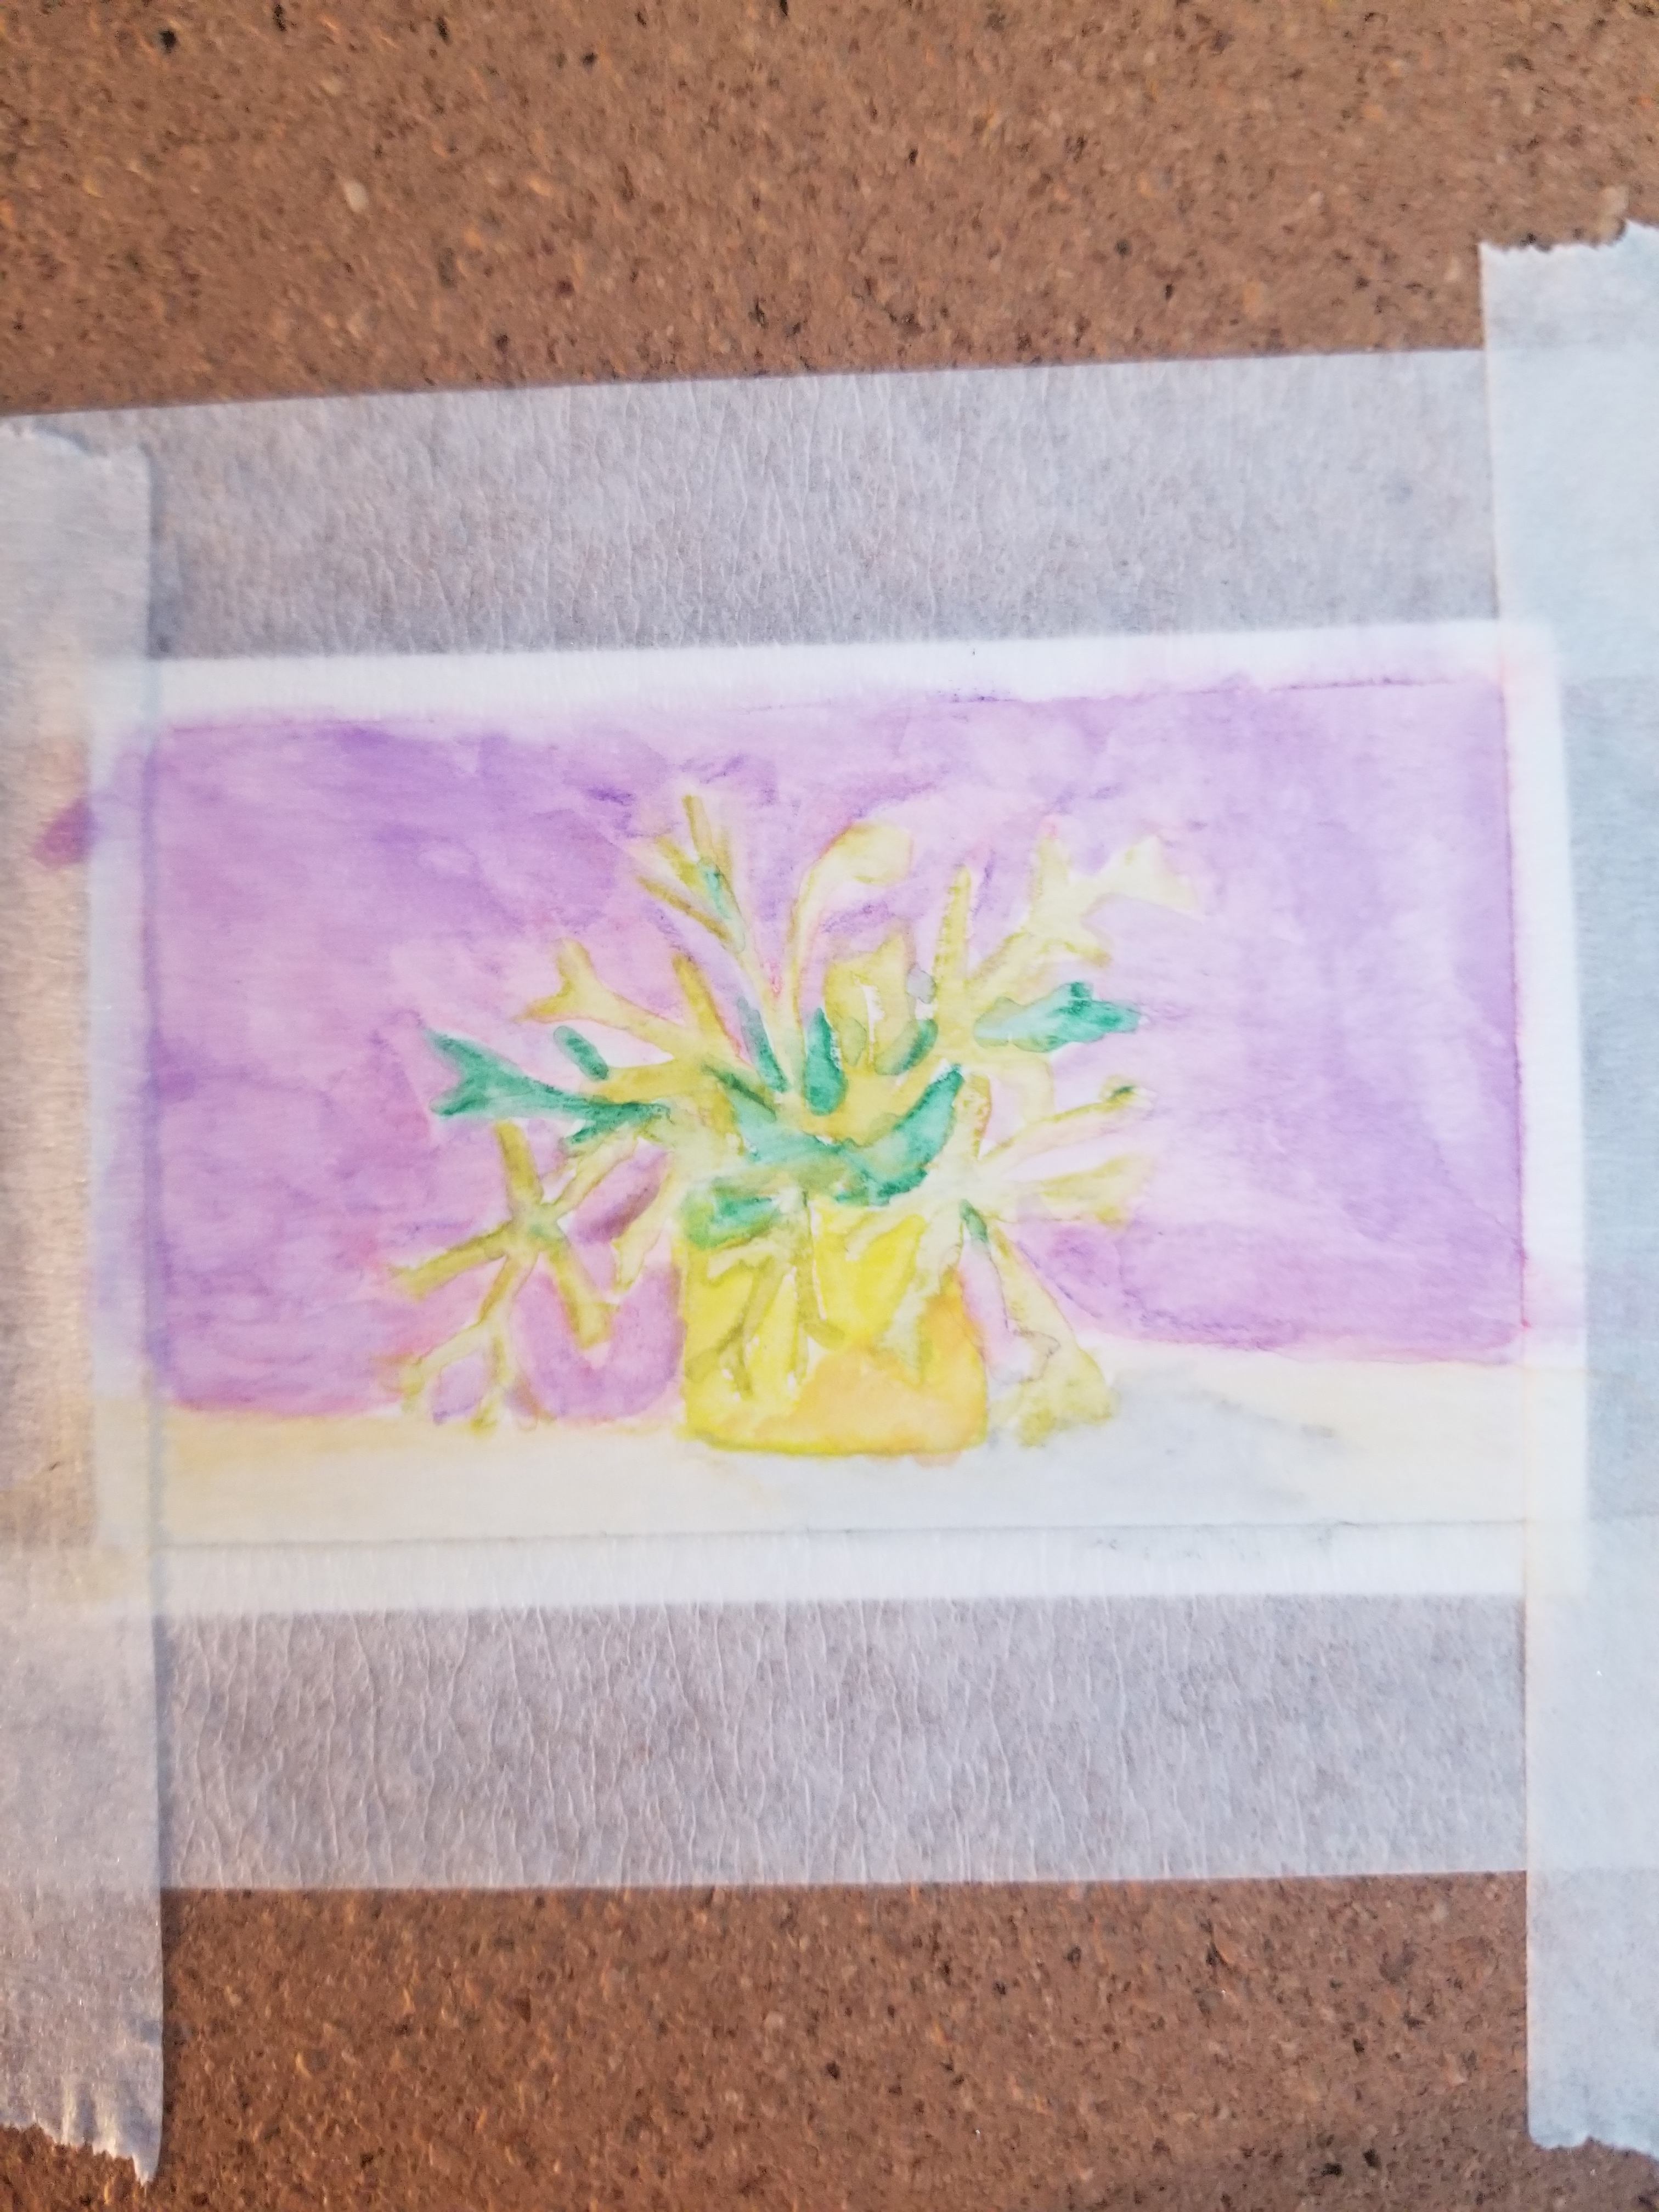
20. Haha! Not my best work… but I didn’t say I was making 100 great tiny paintings! It’s supposed to be a Calathea leaf.

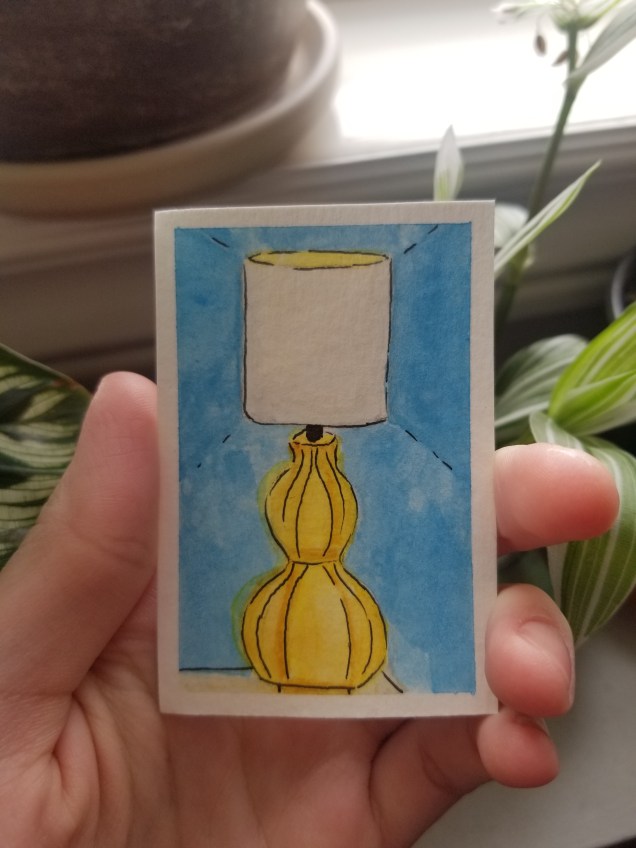
11. My favorite lamp; I tried to make it look like the light is on. I mostly used broken nubs from my pencils like regular watercolours for this one.


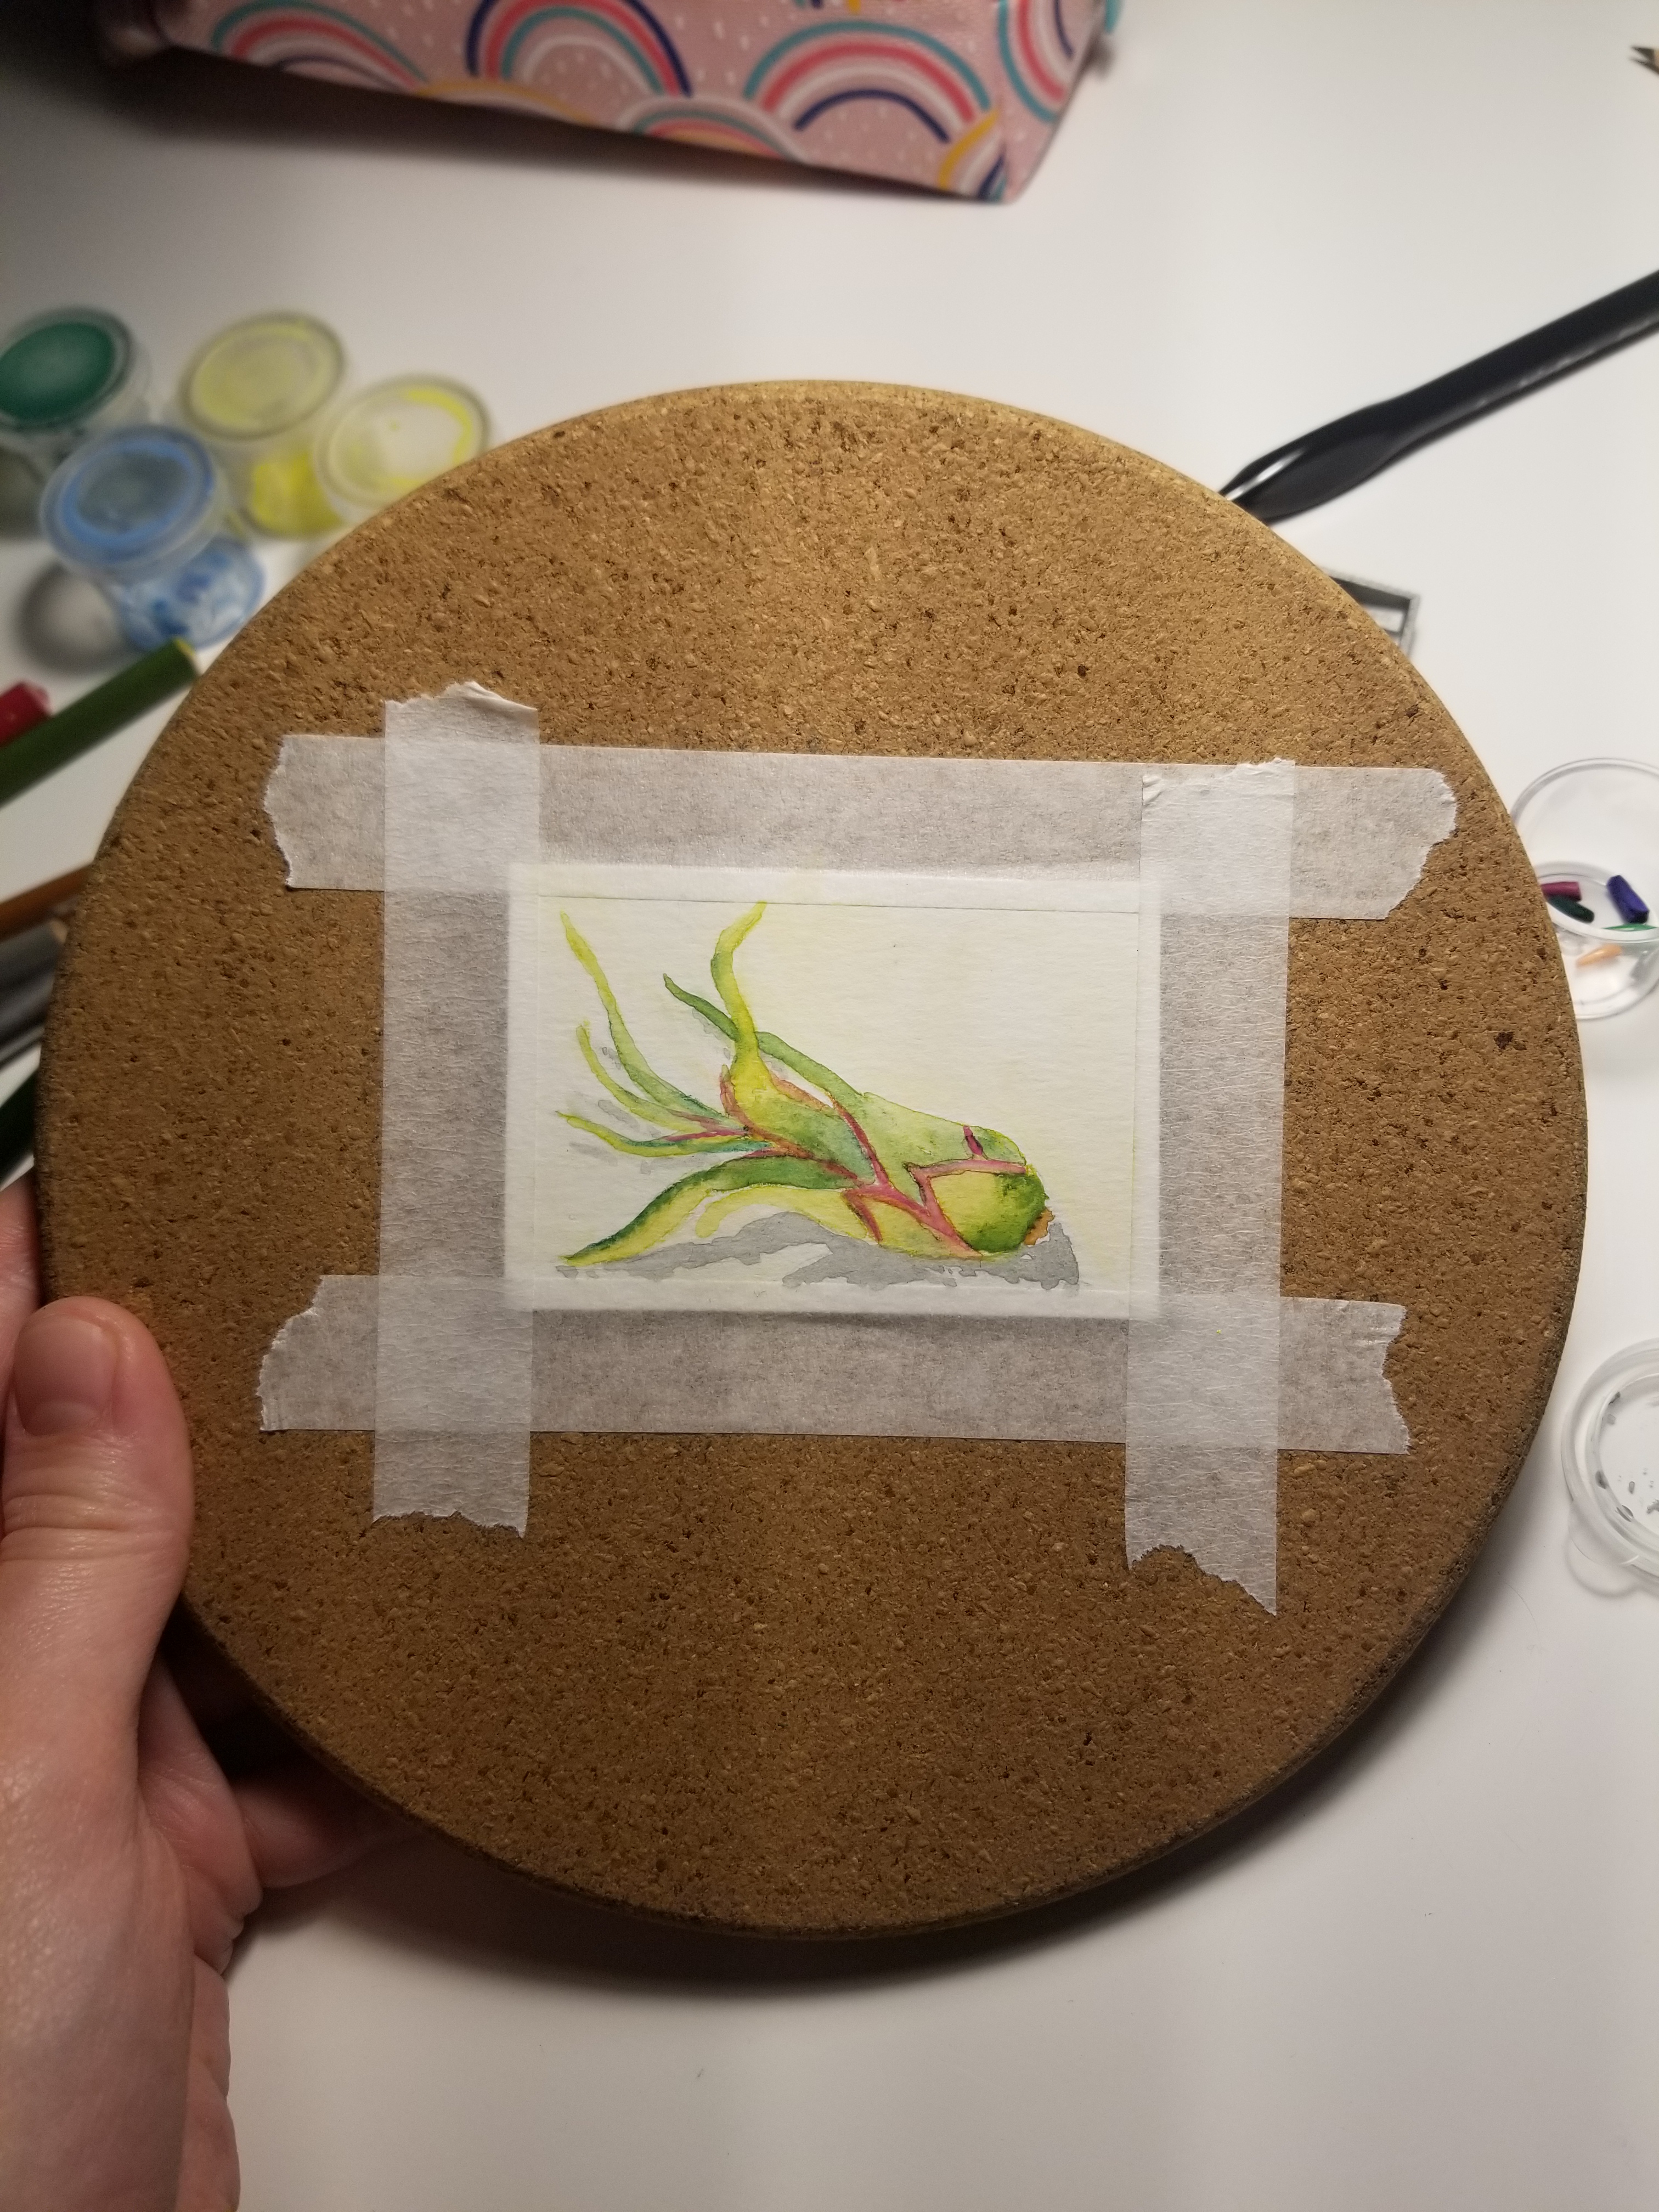
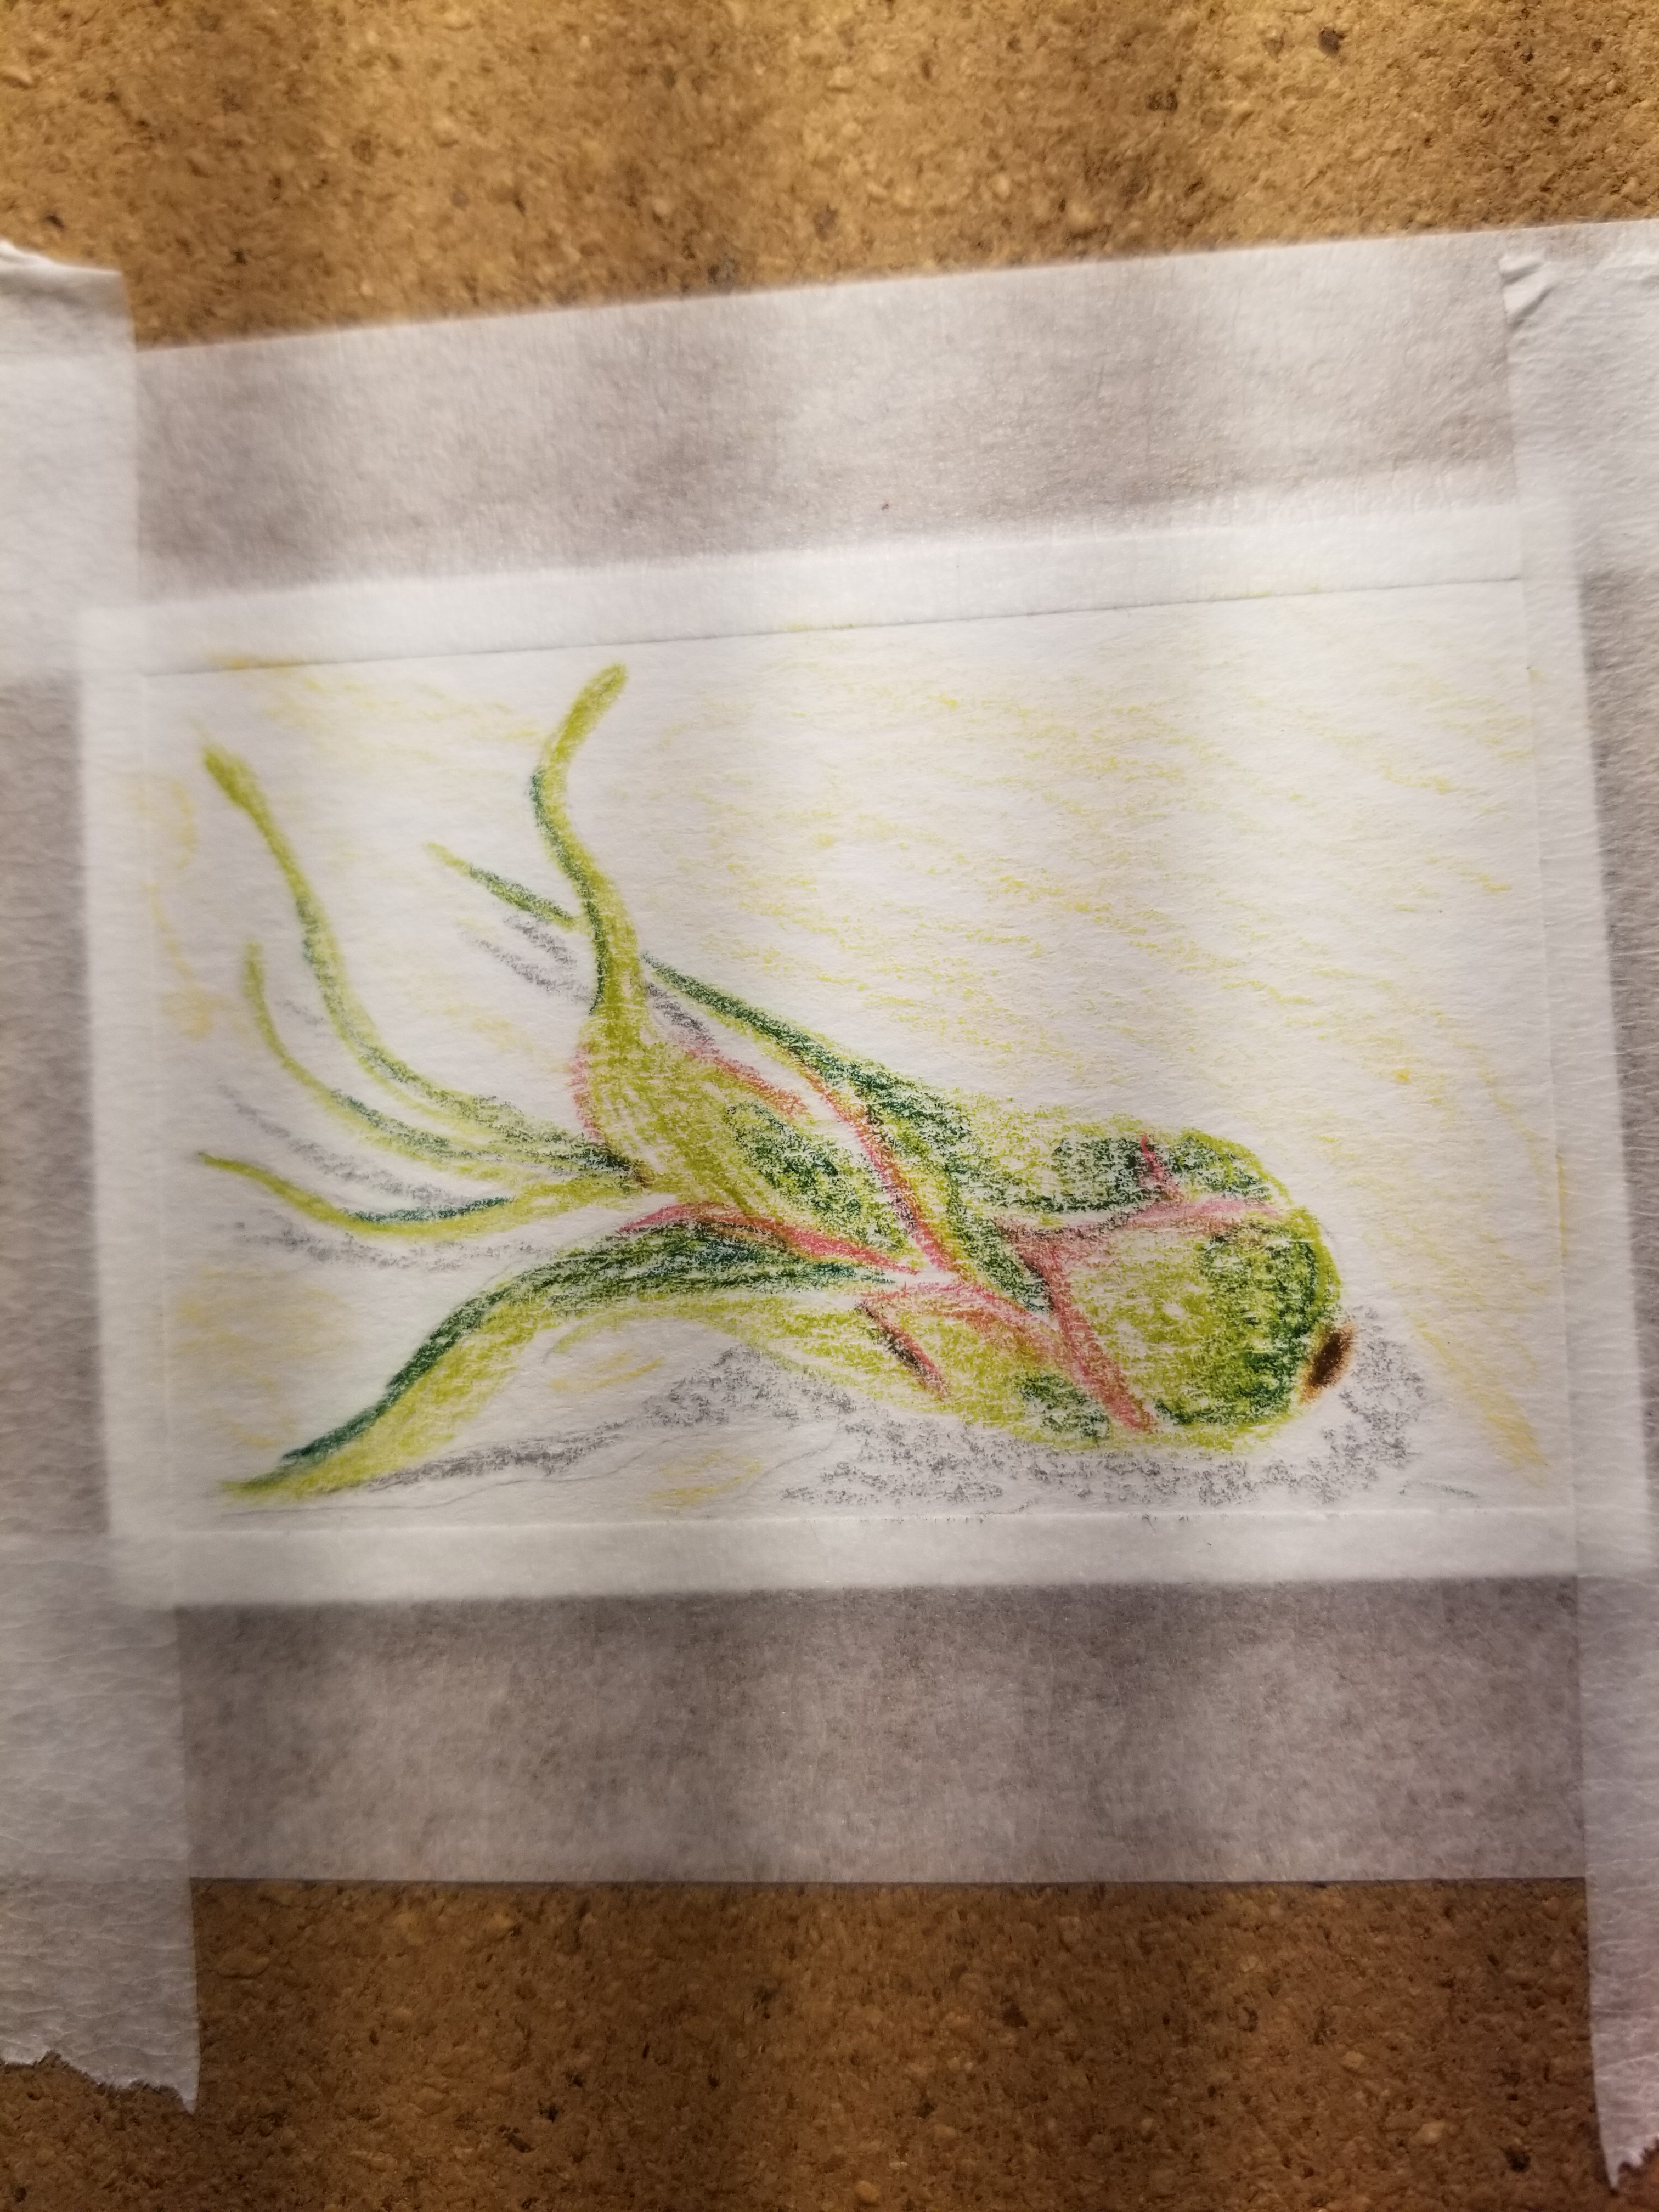
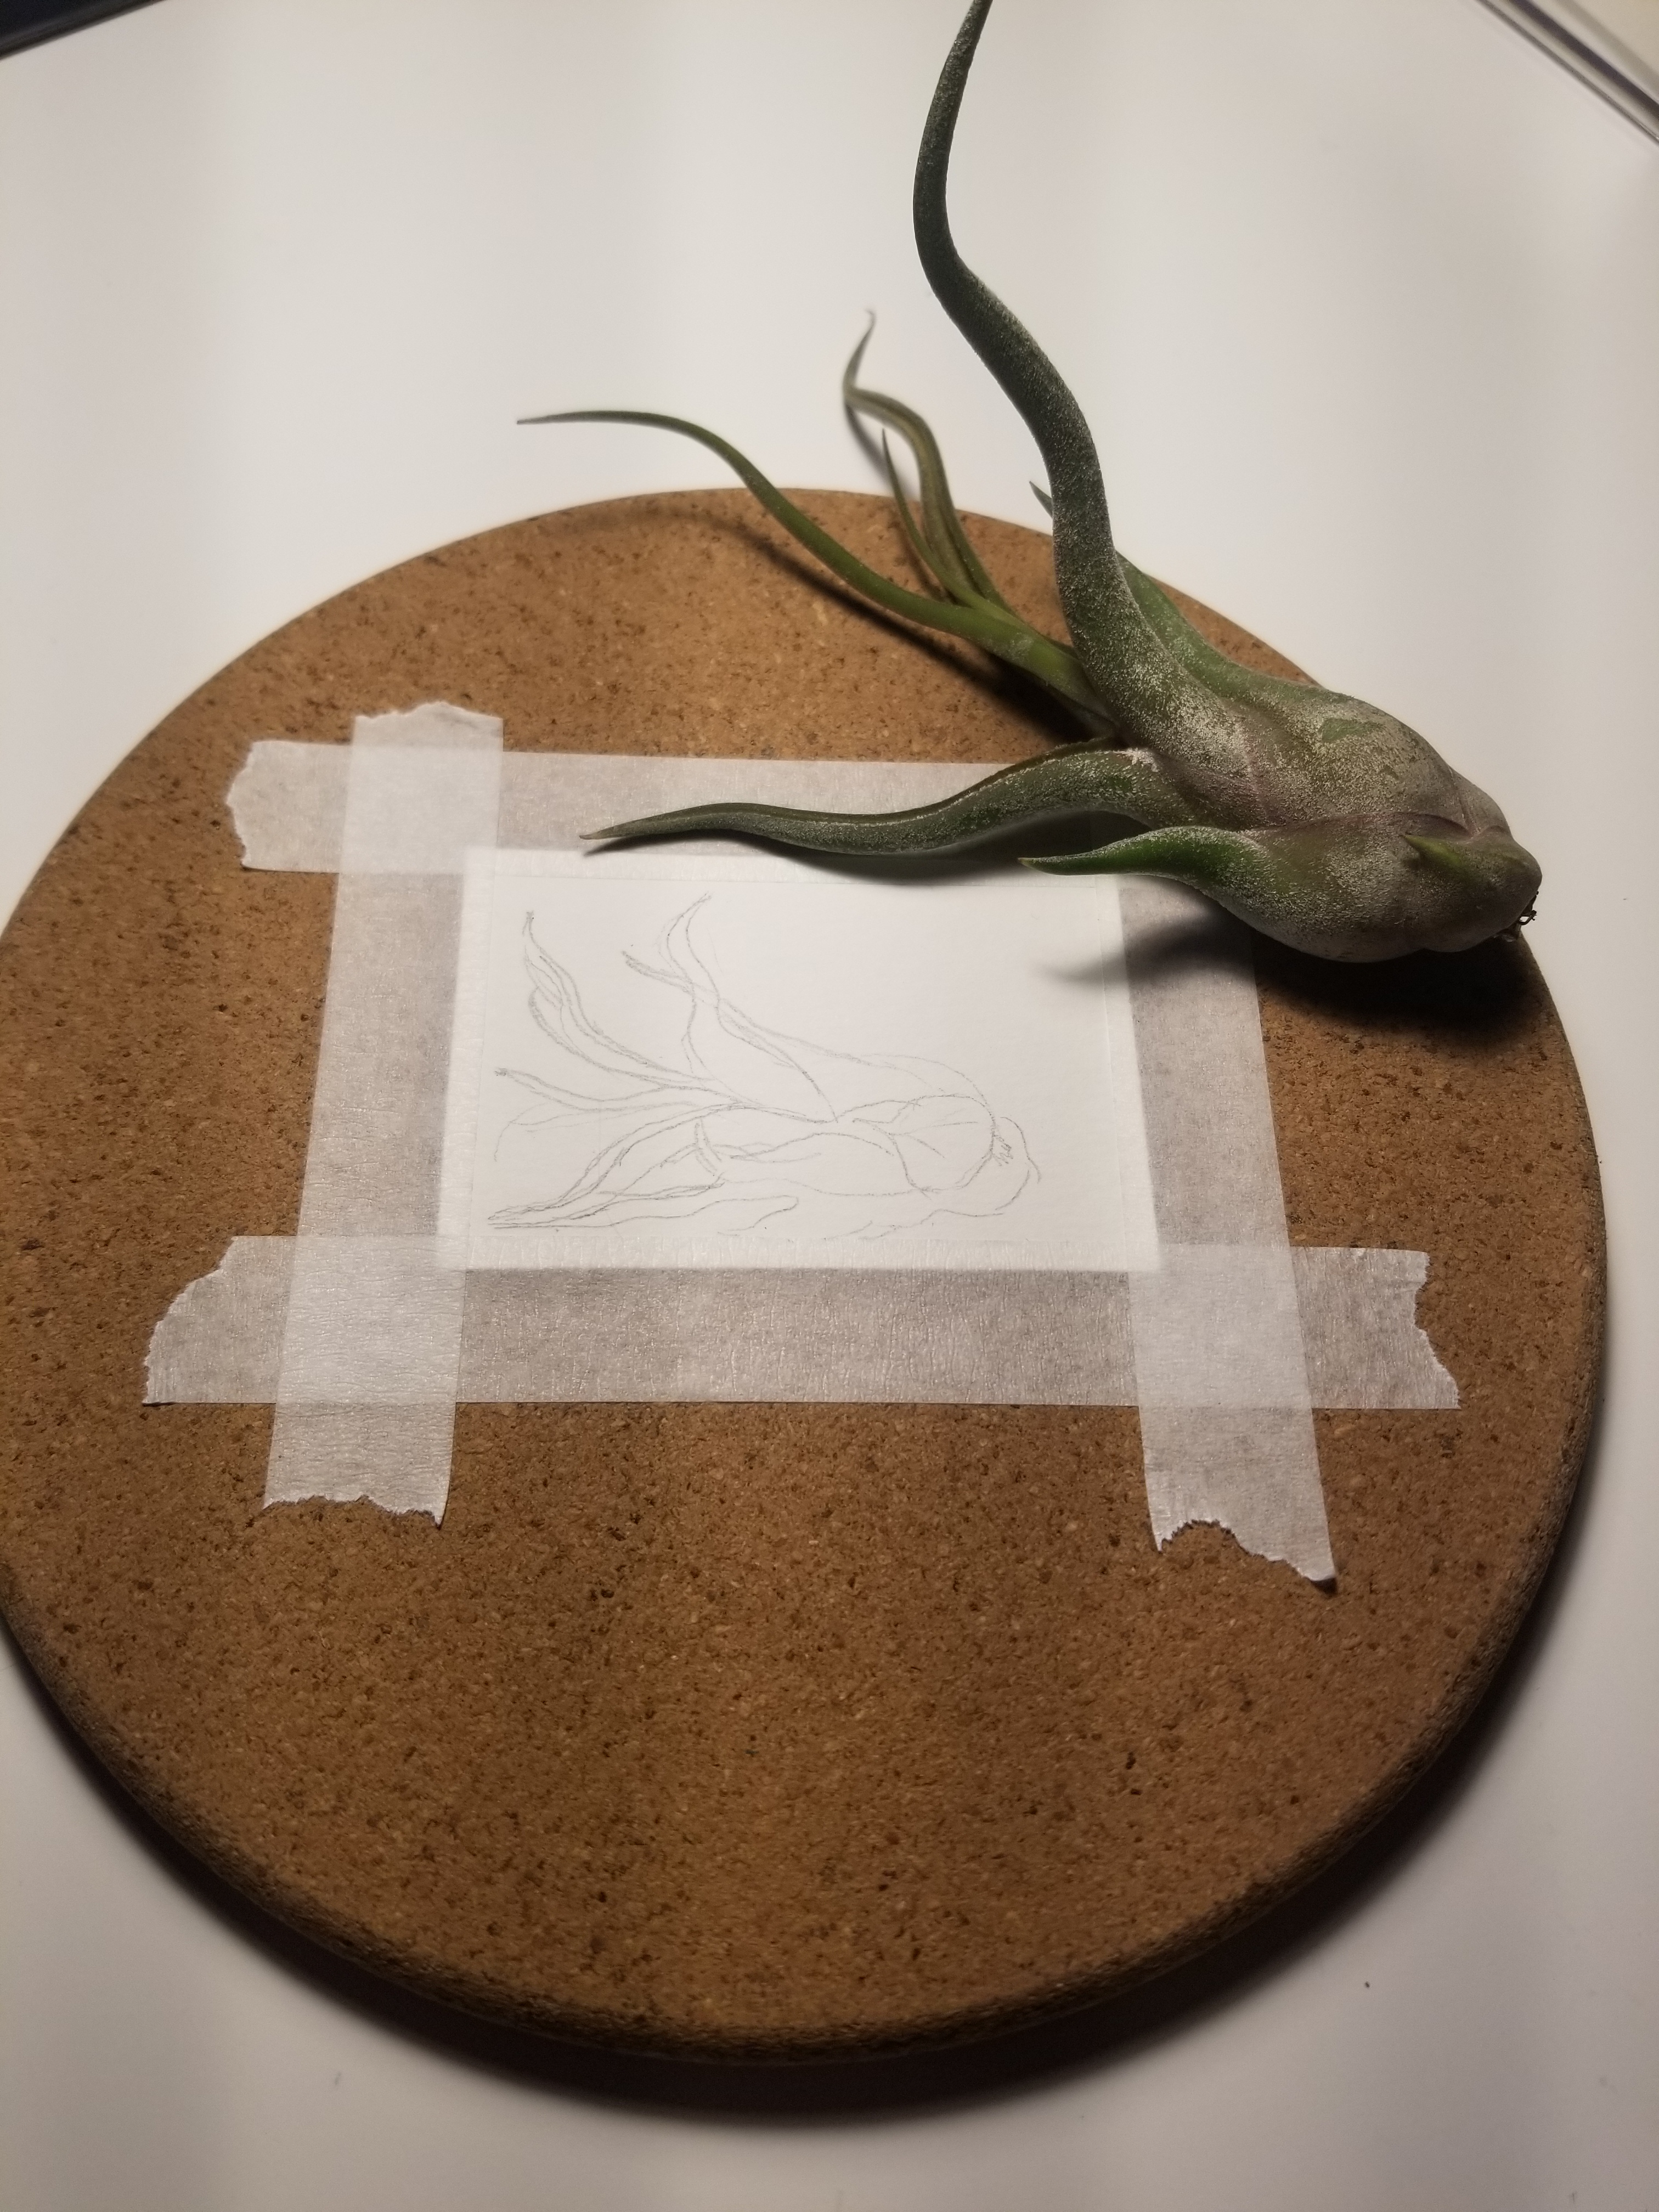
12. My medusa air plant.

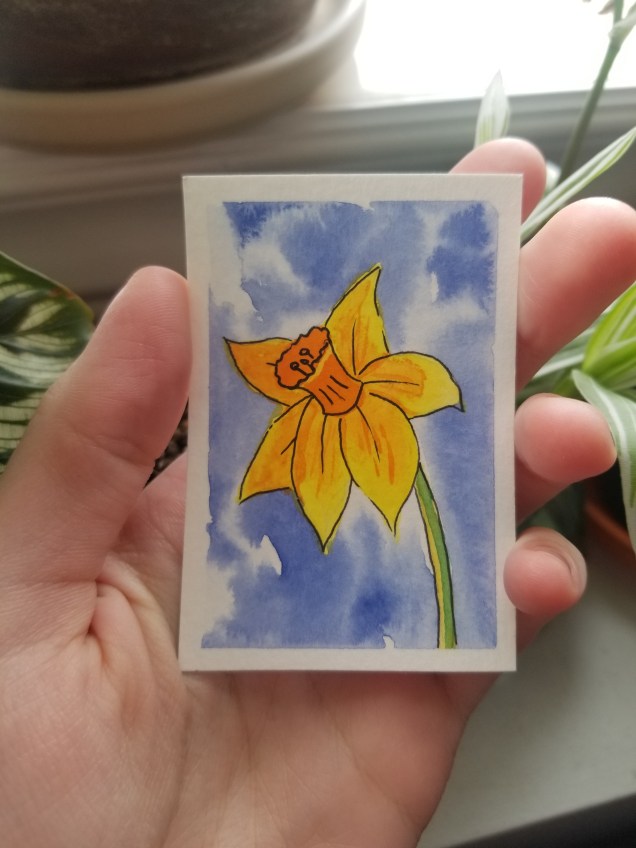
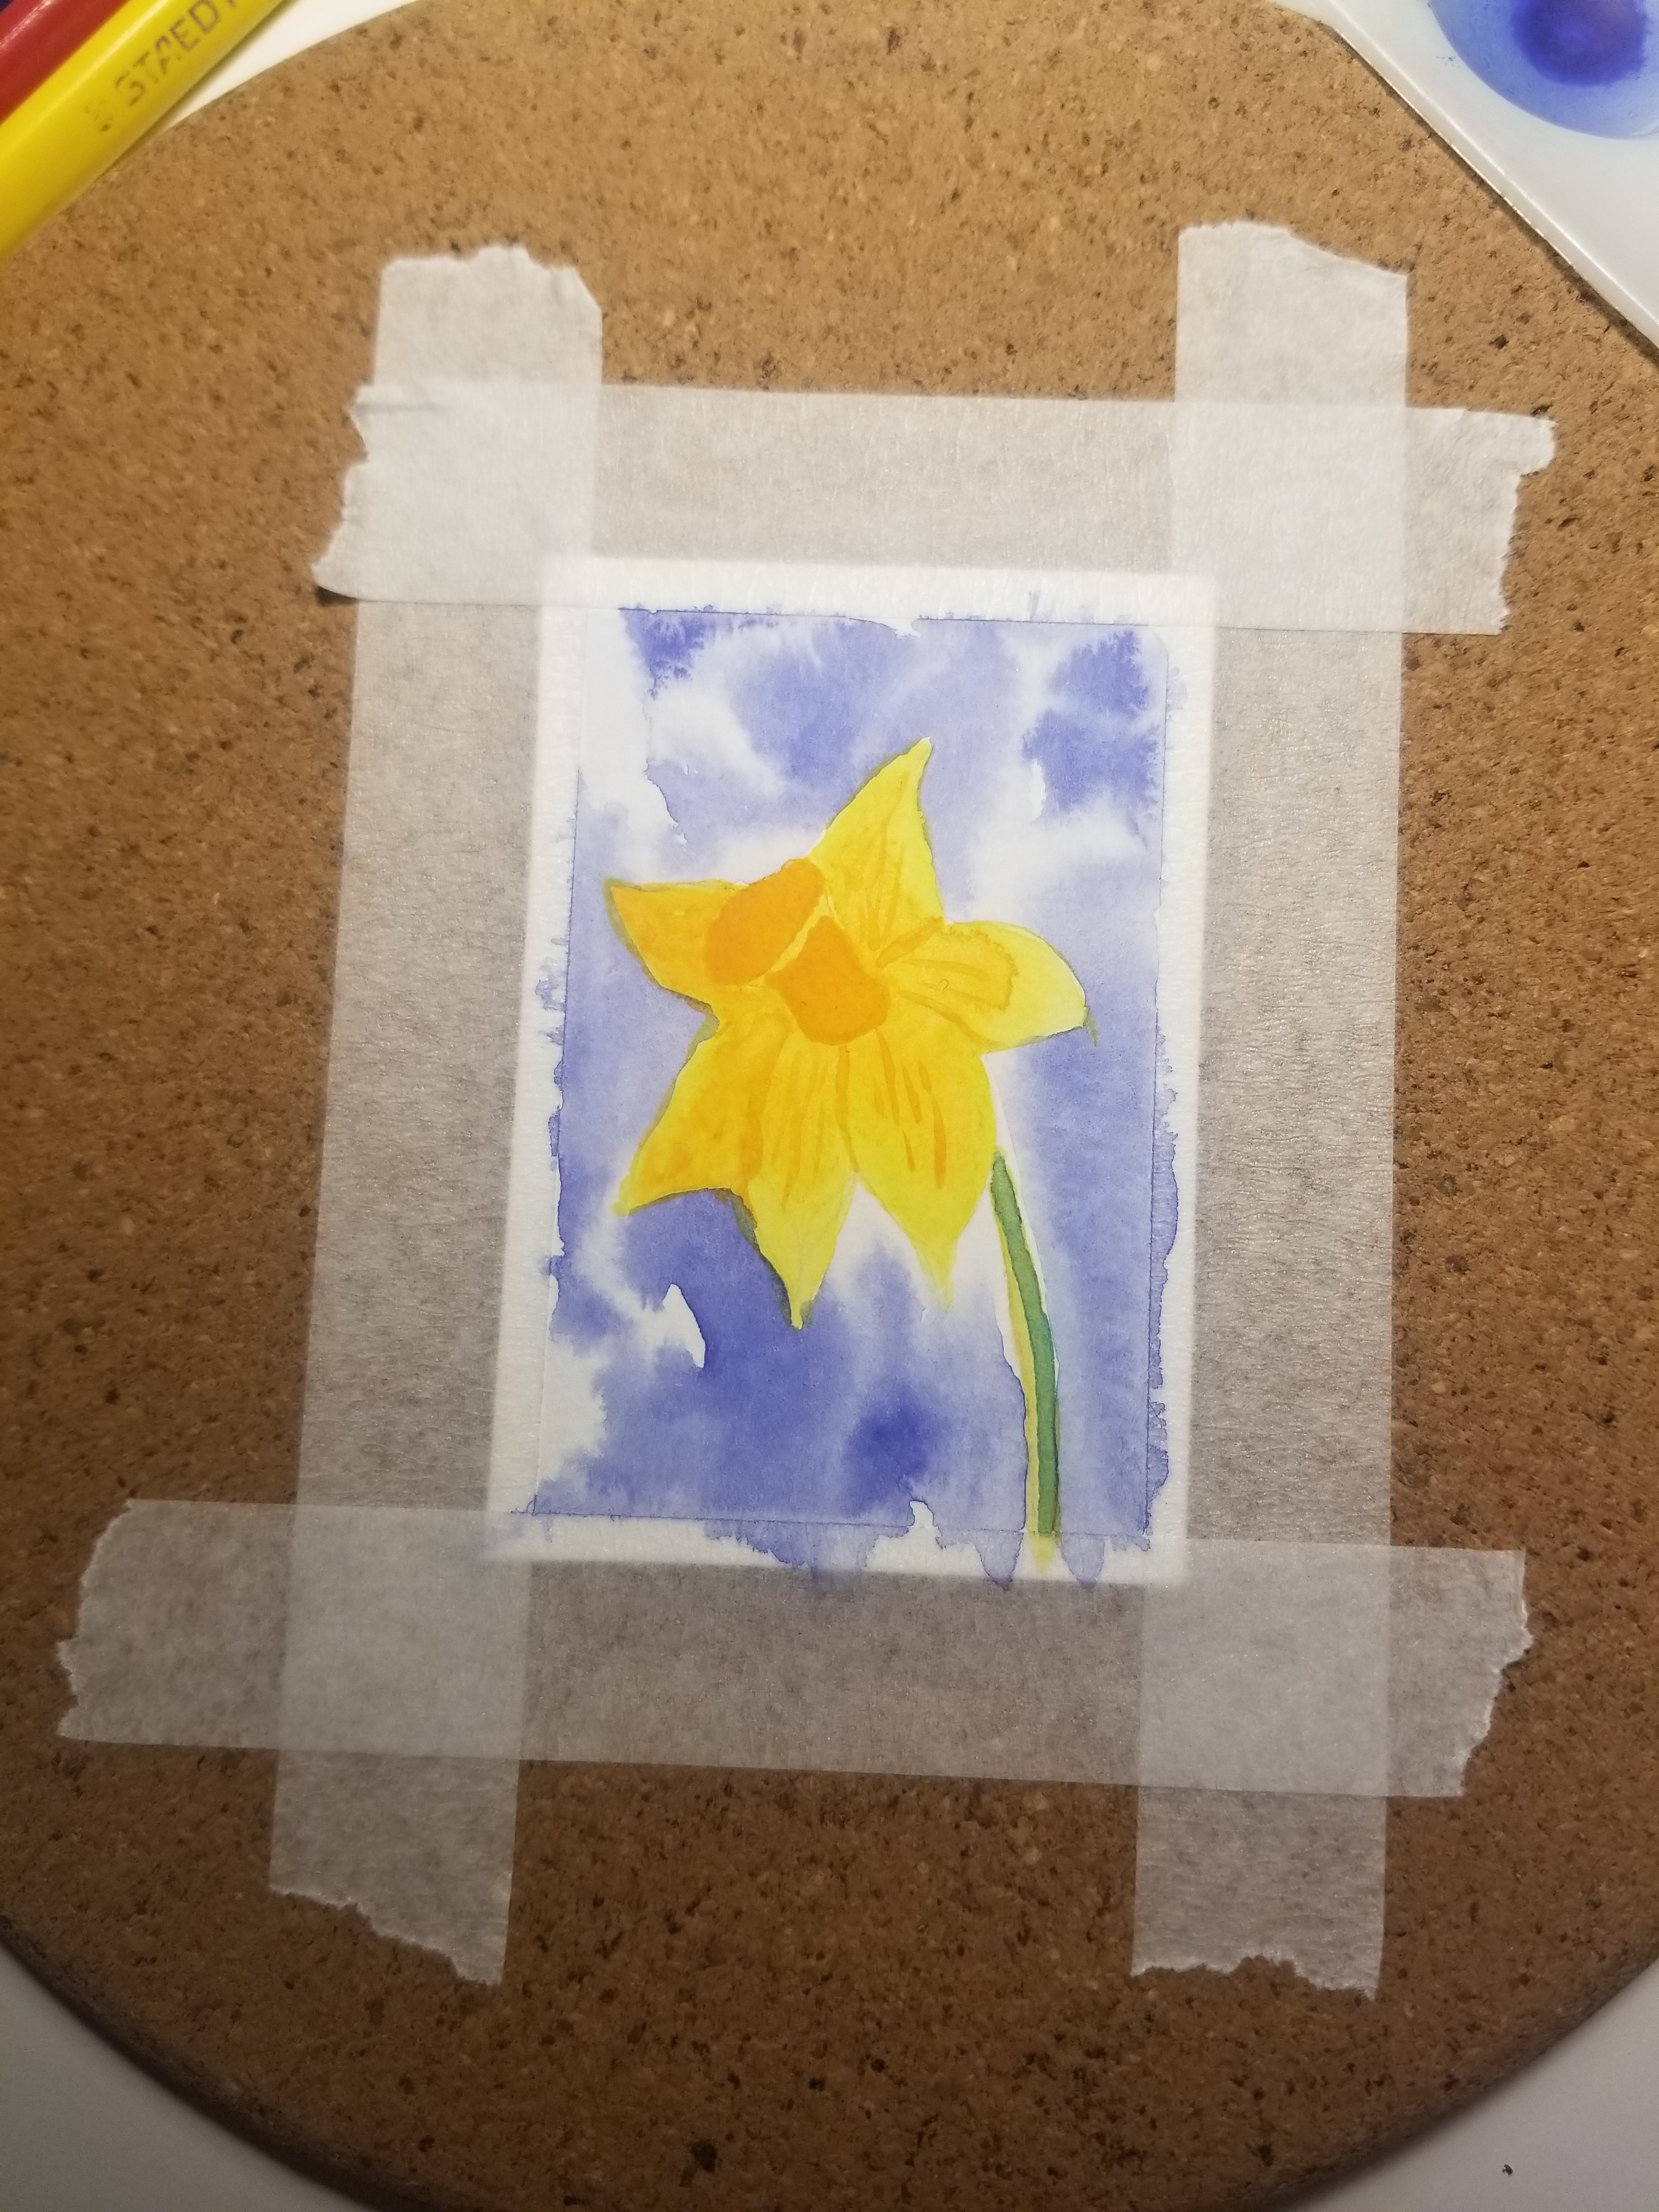
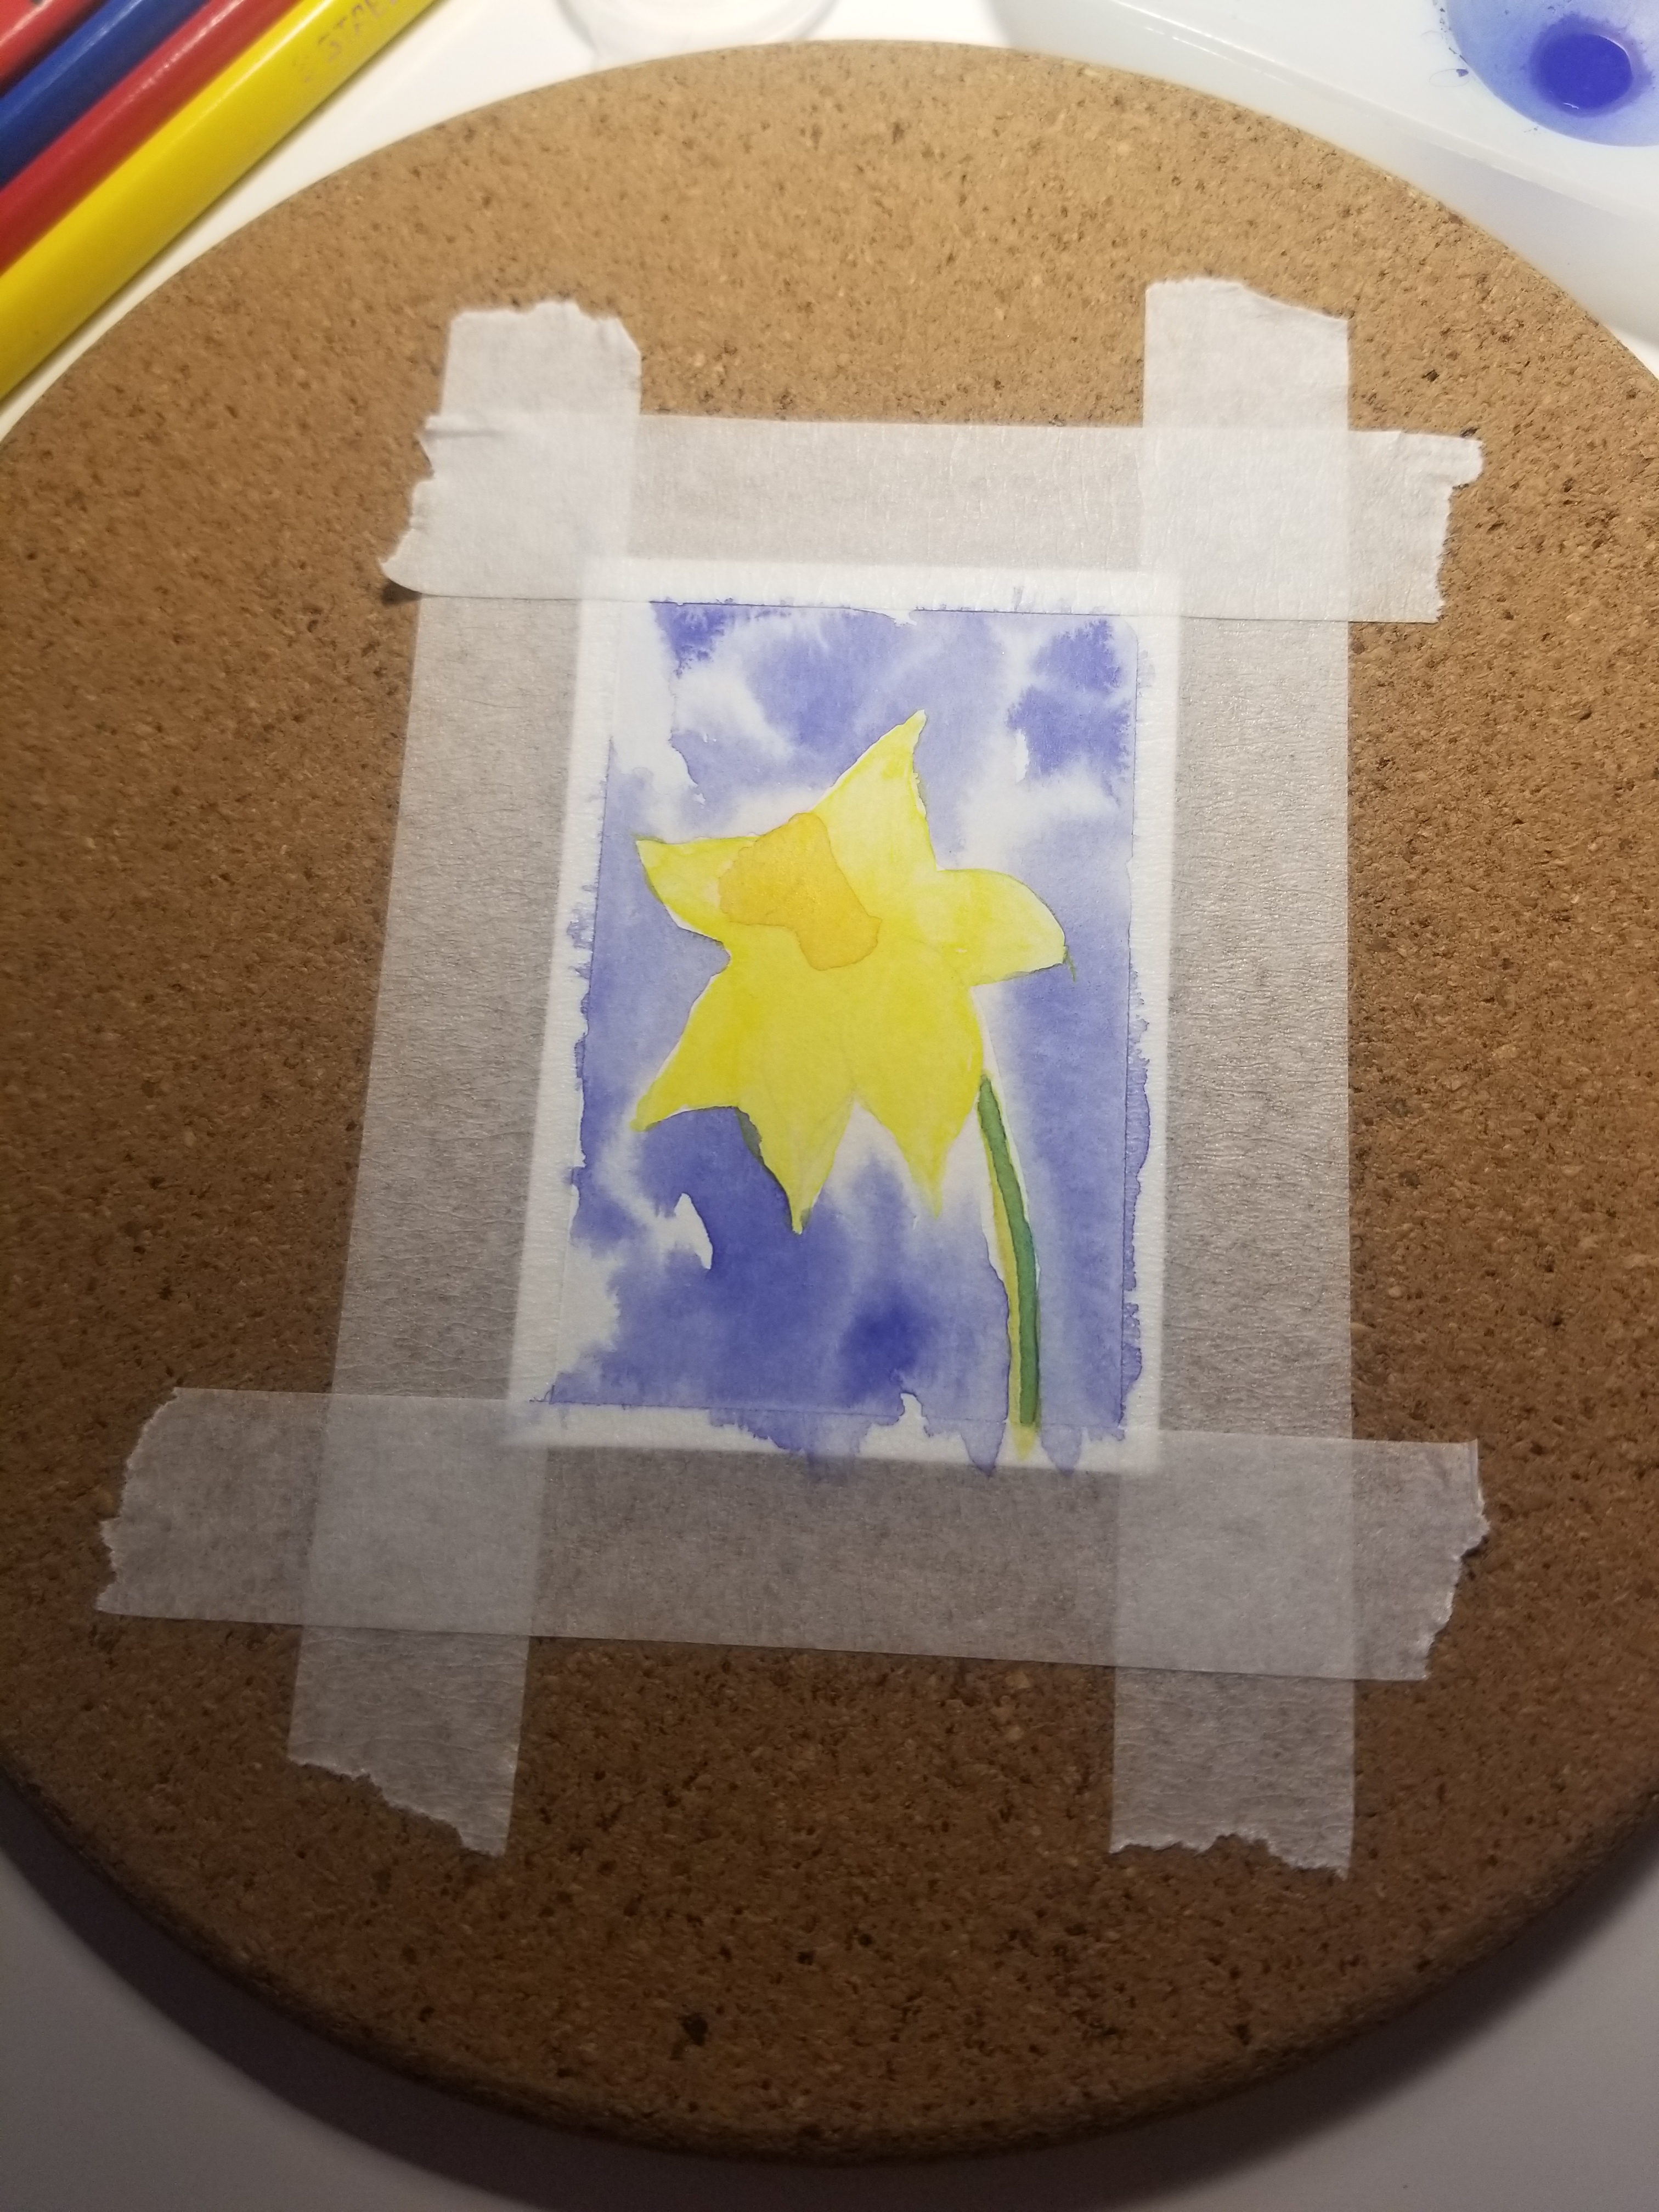
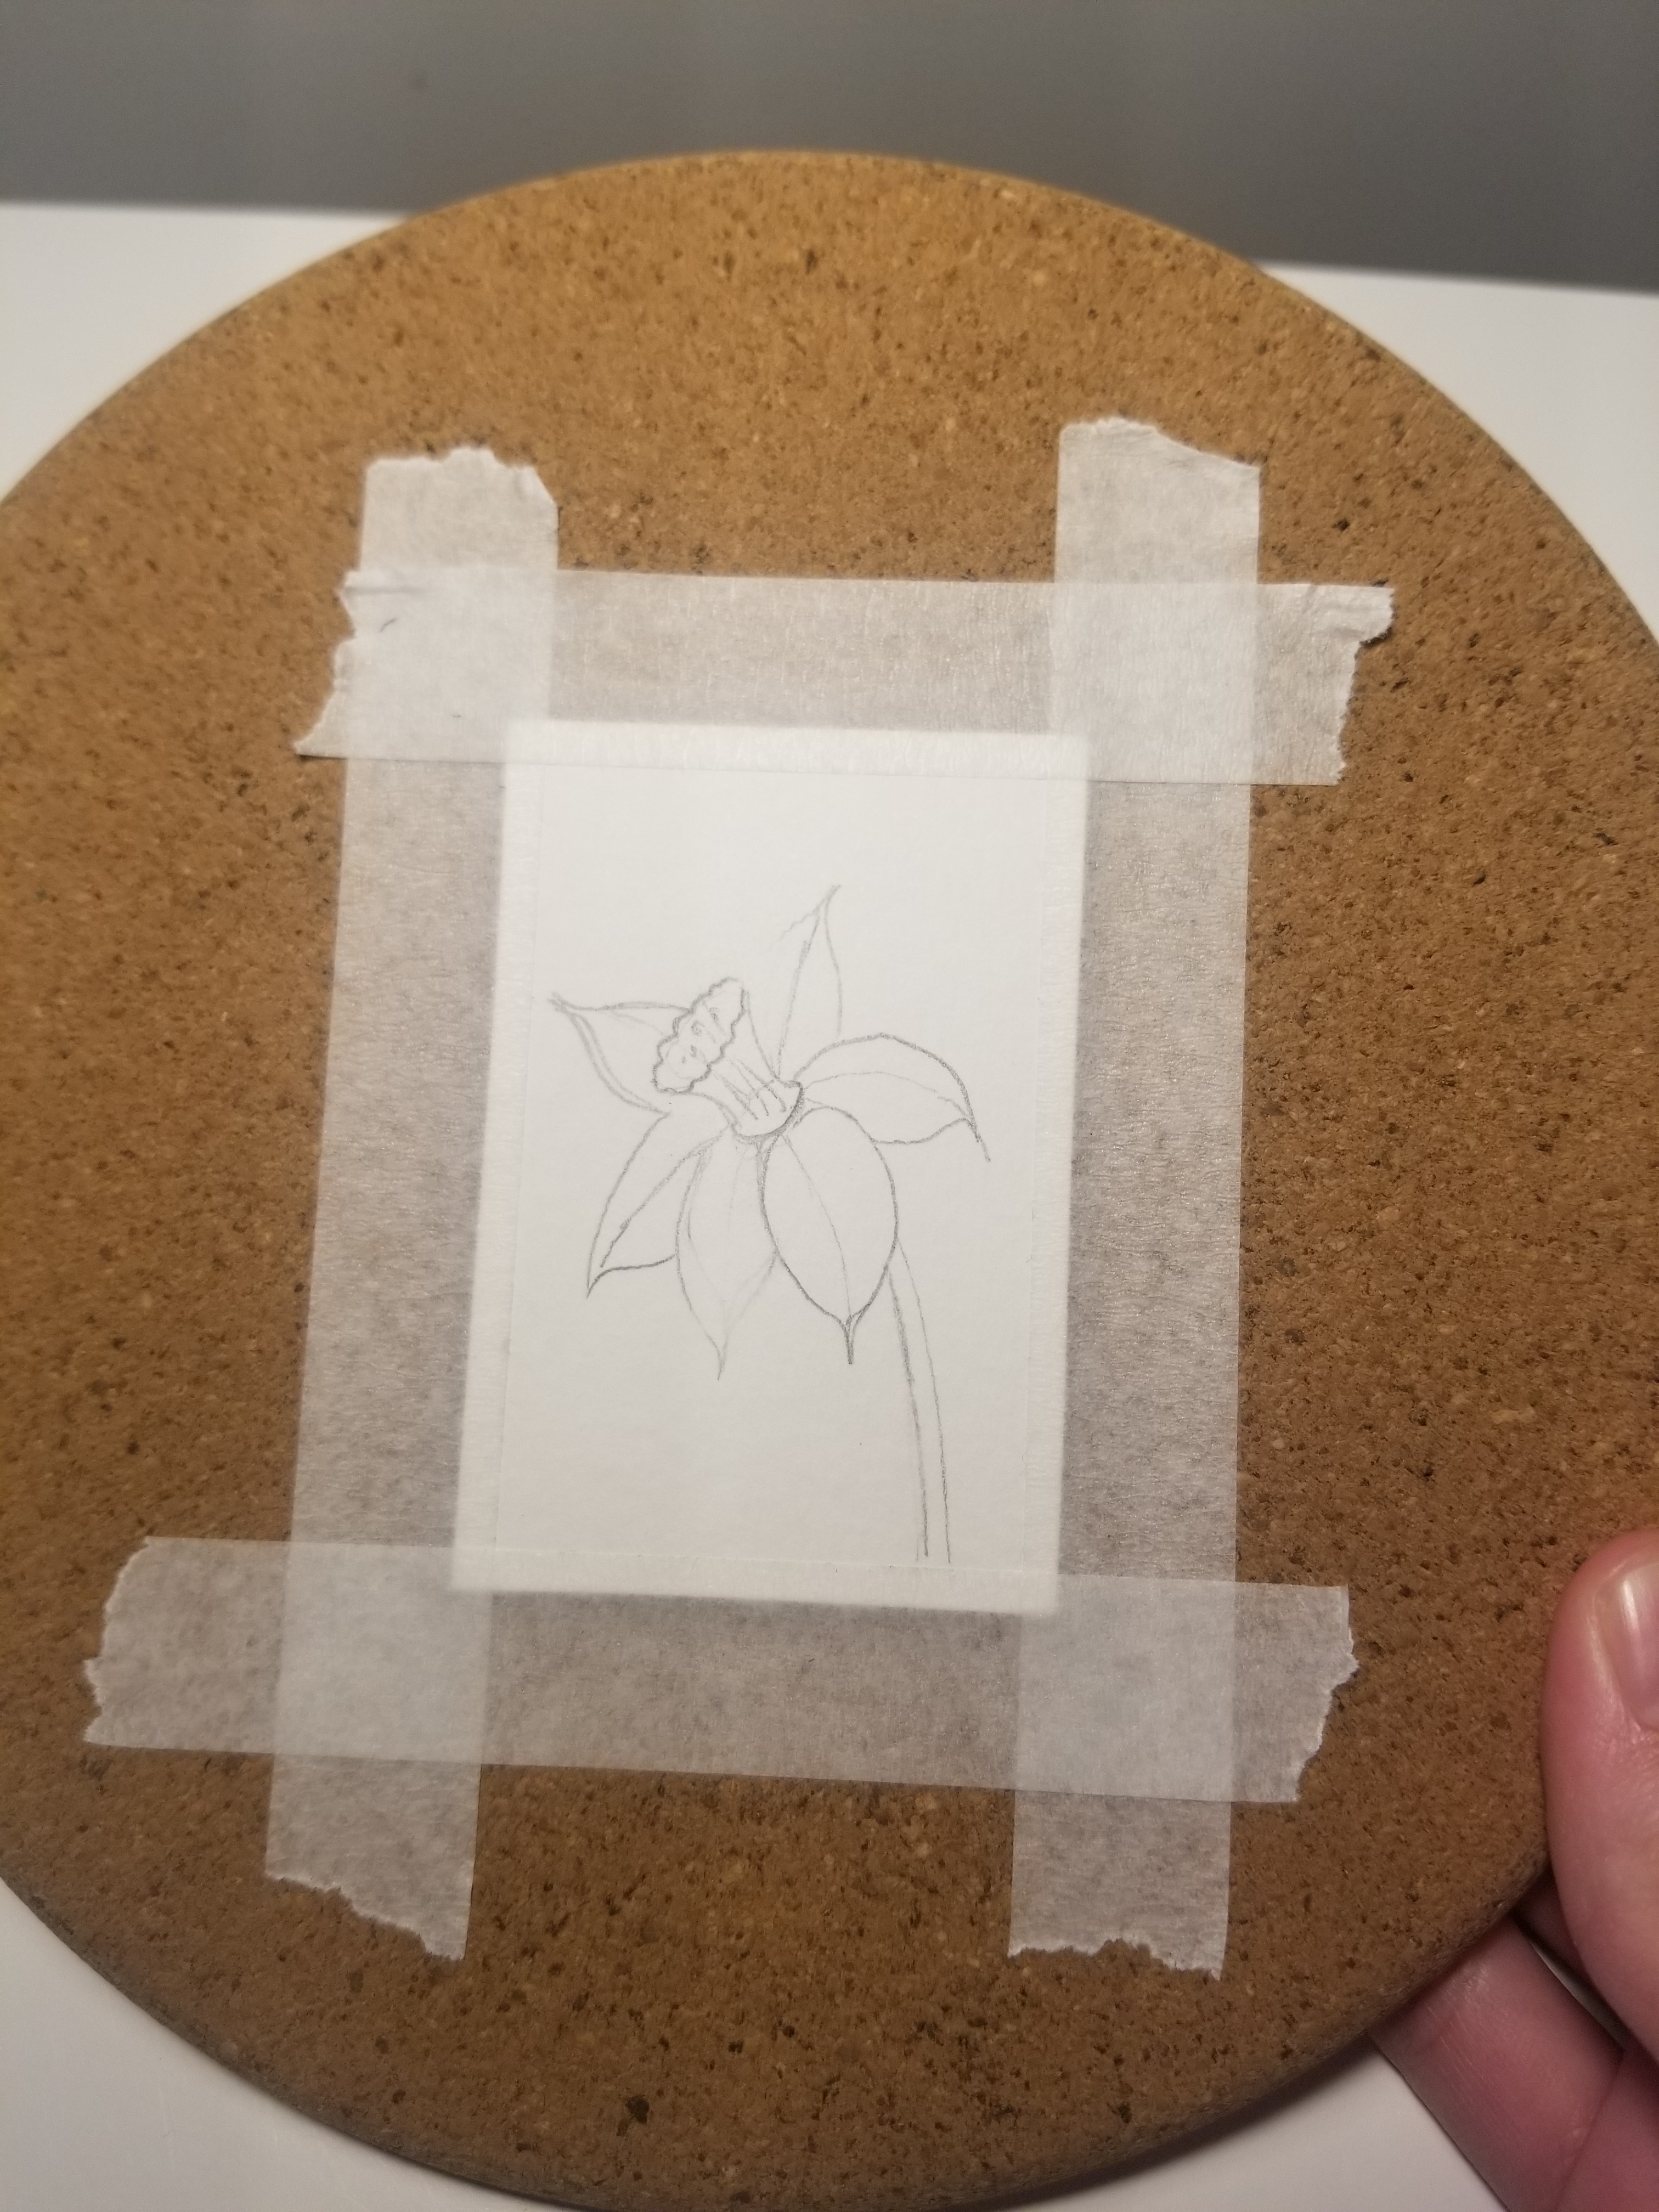
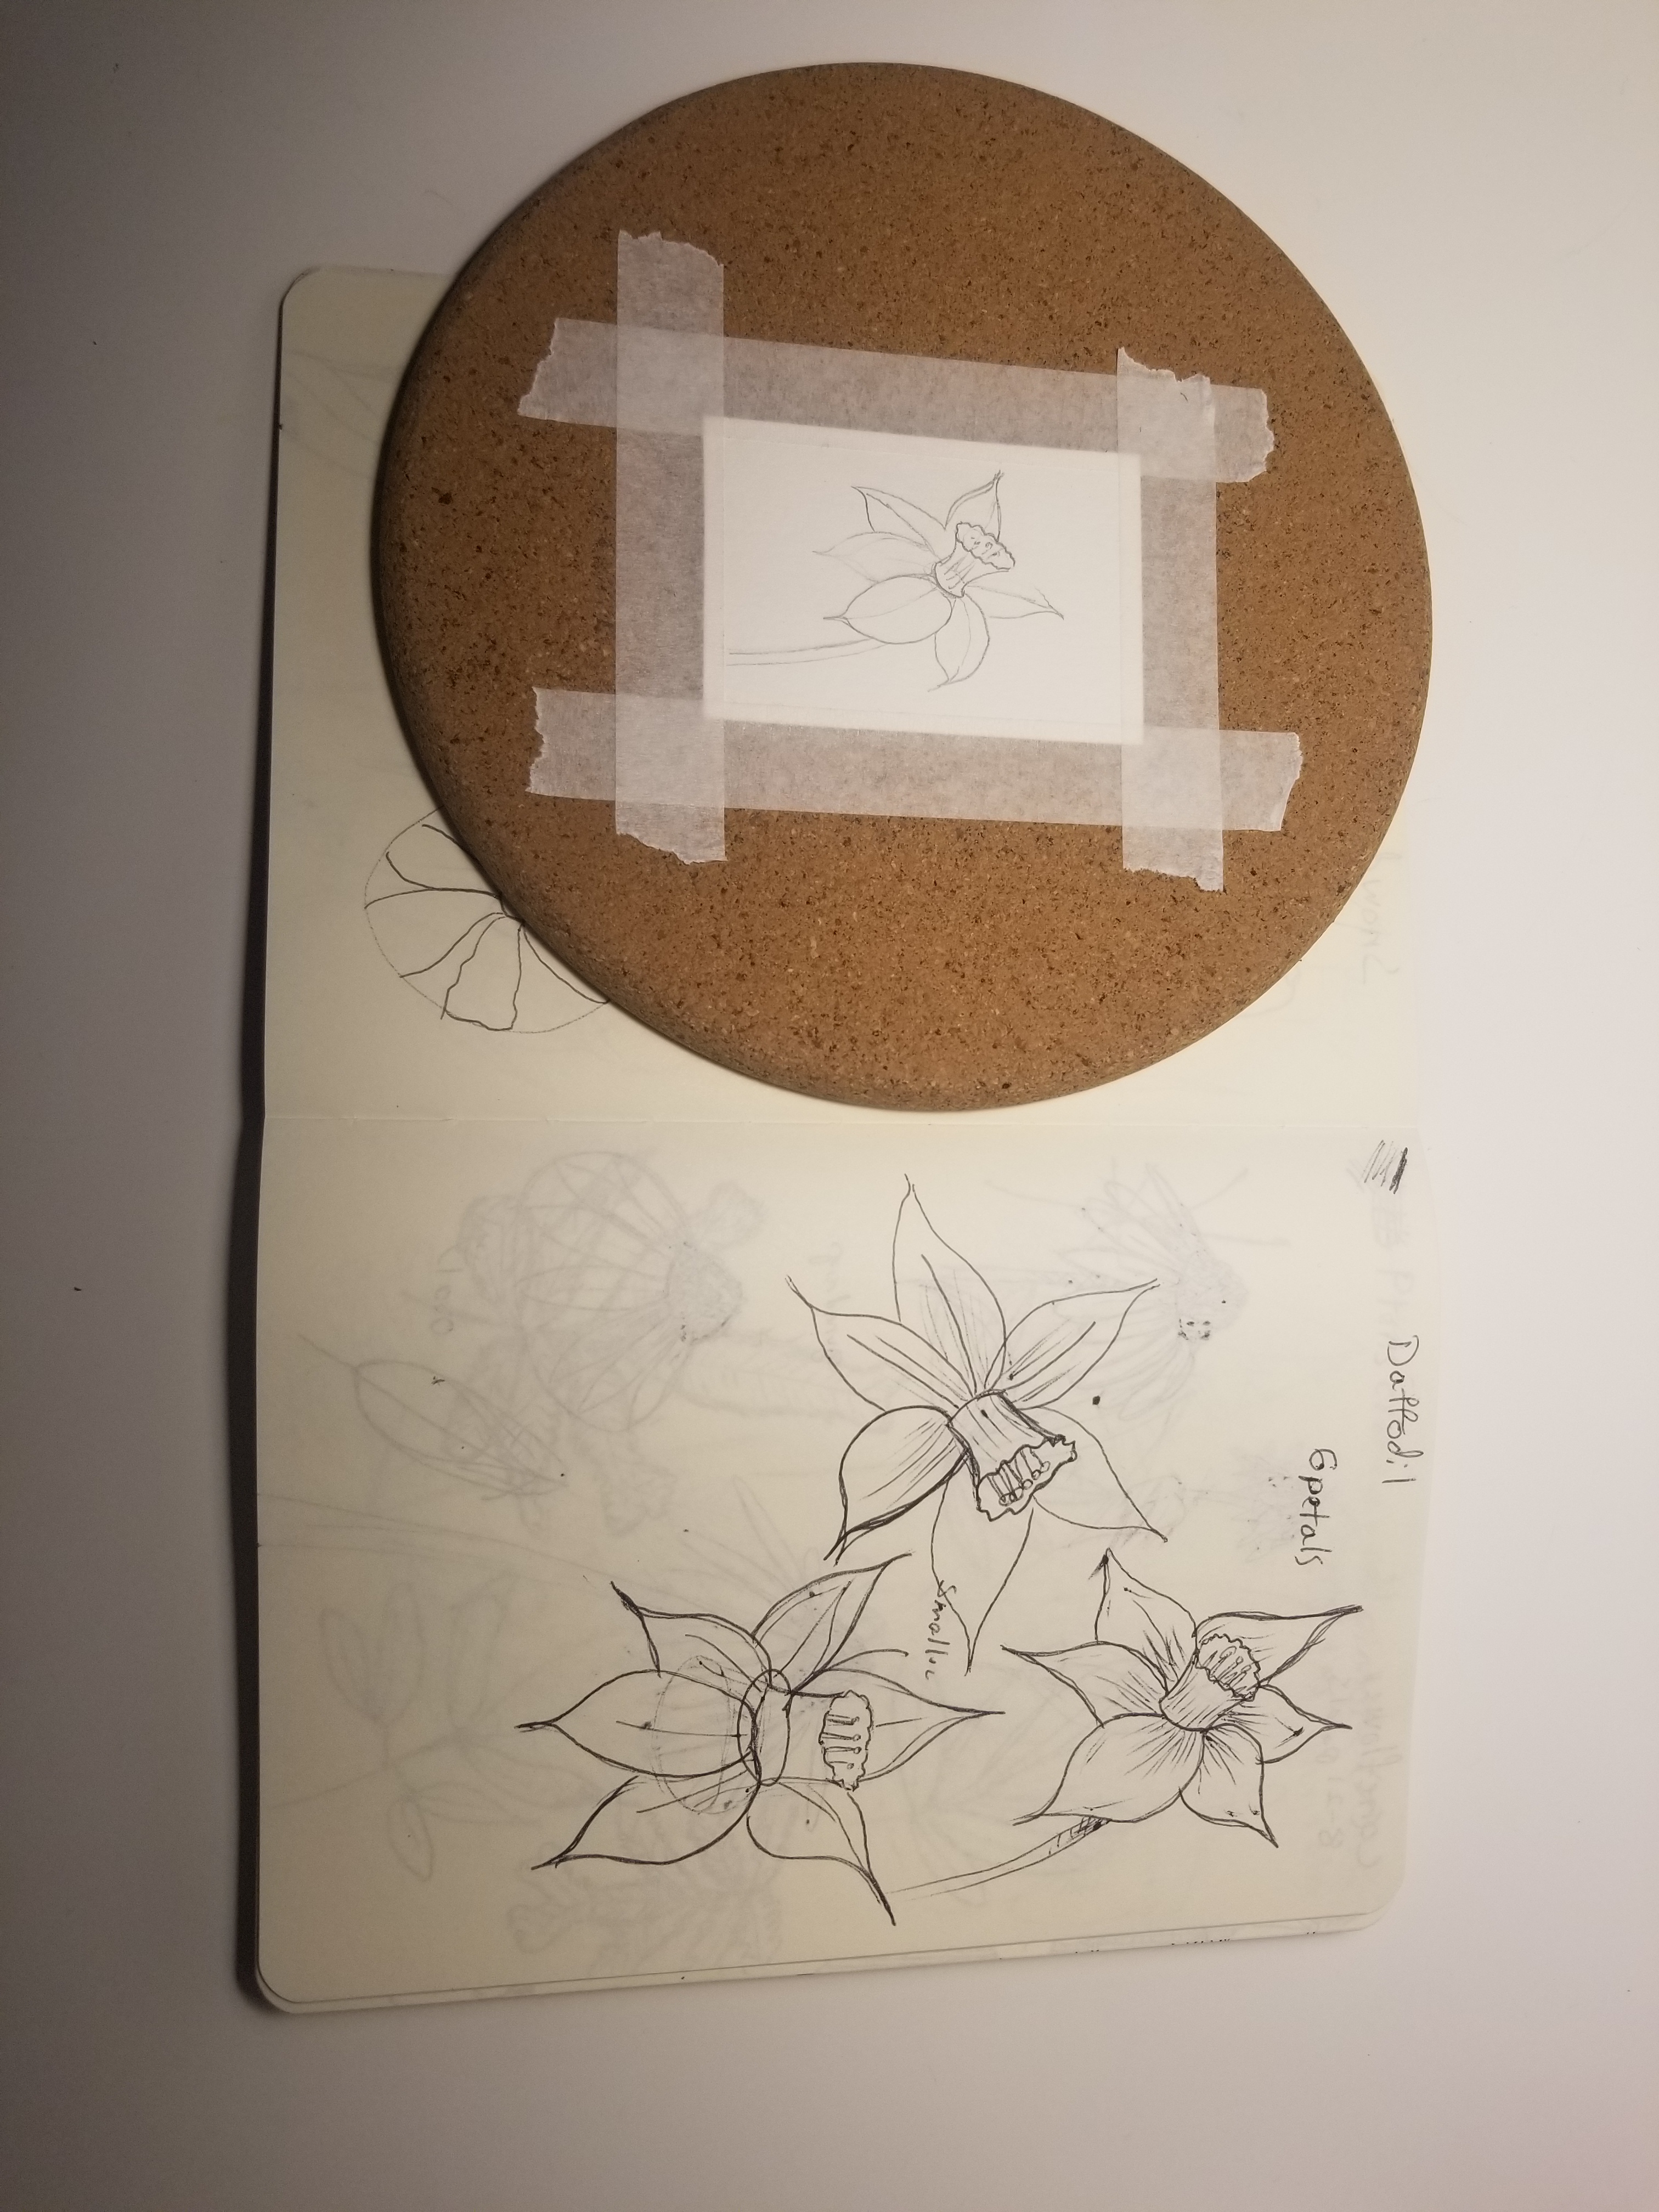
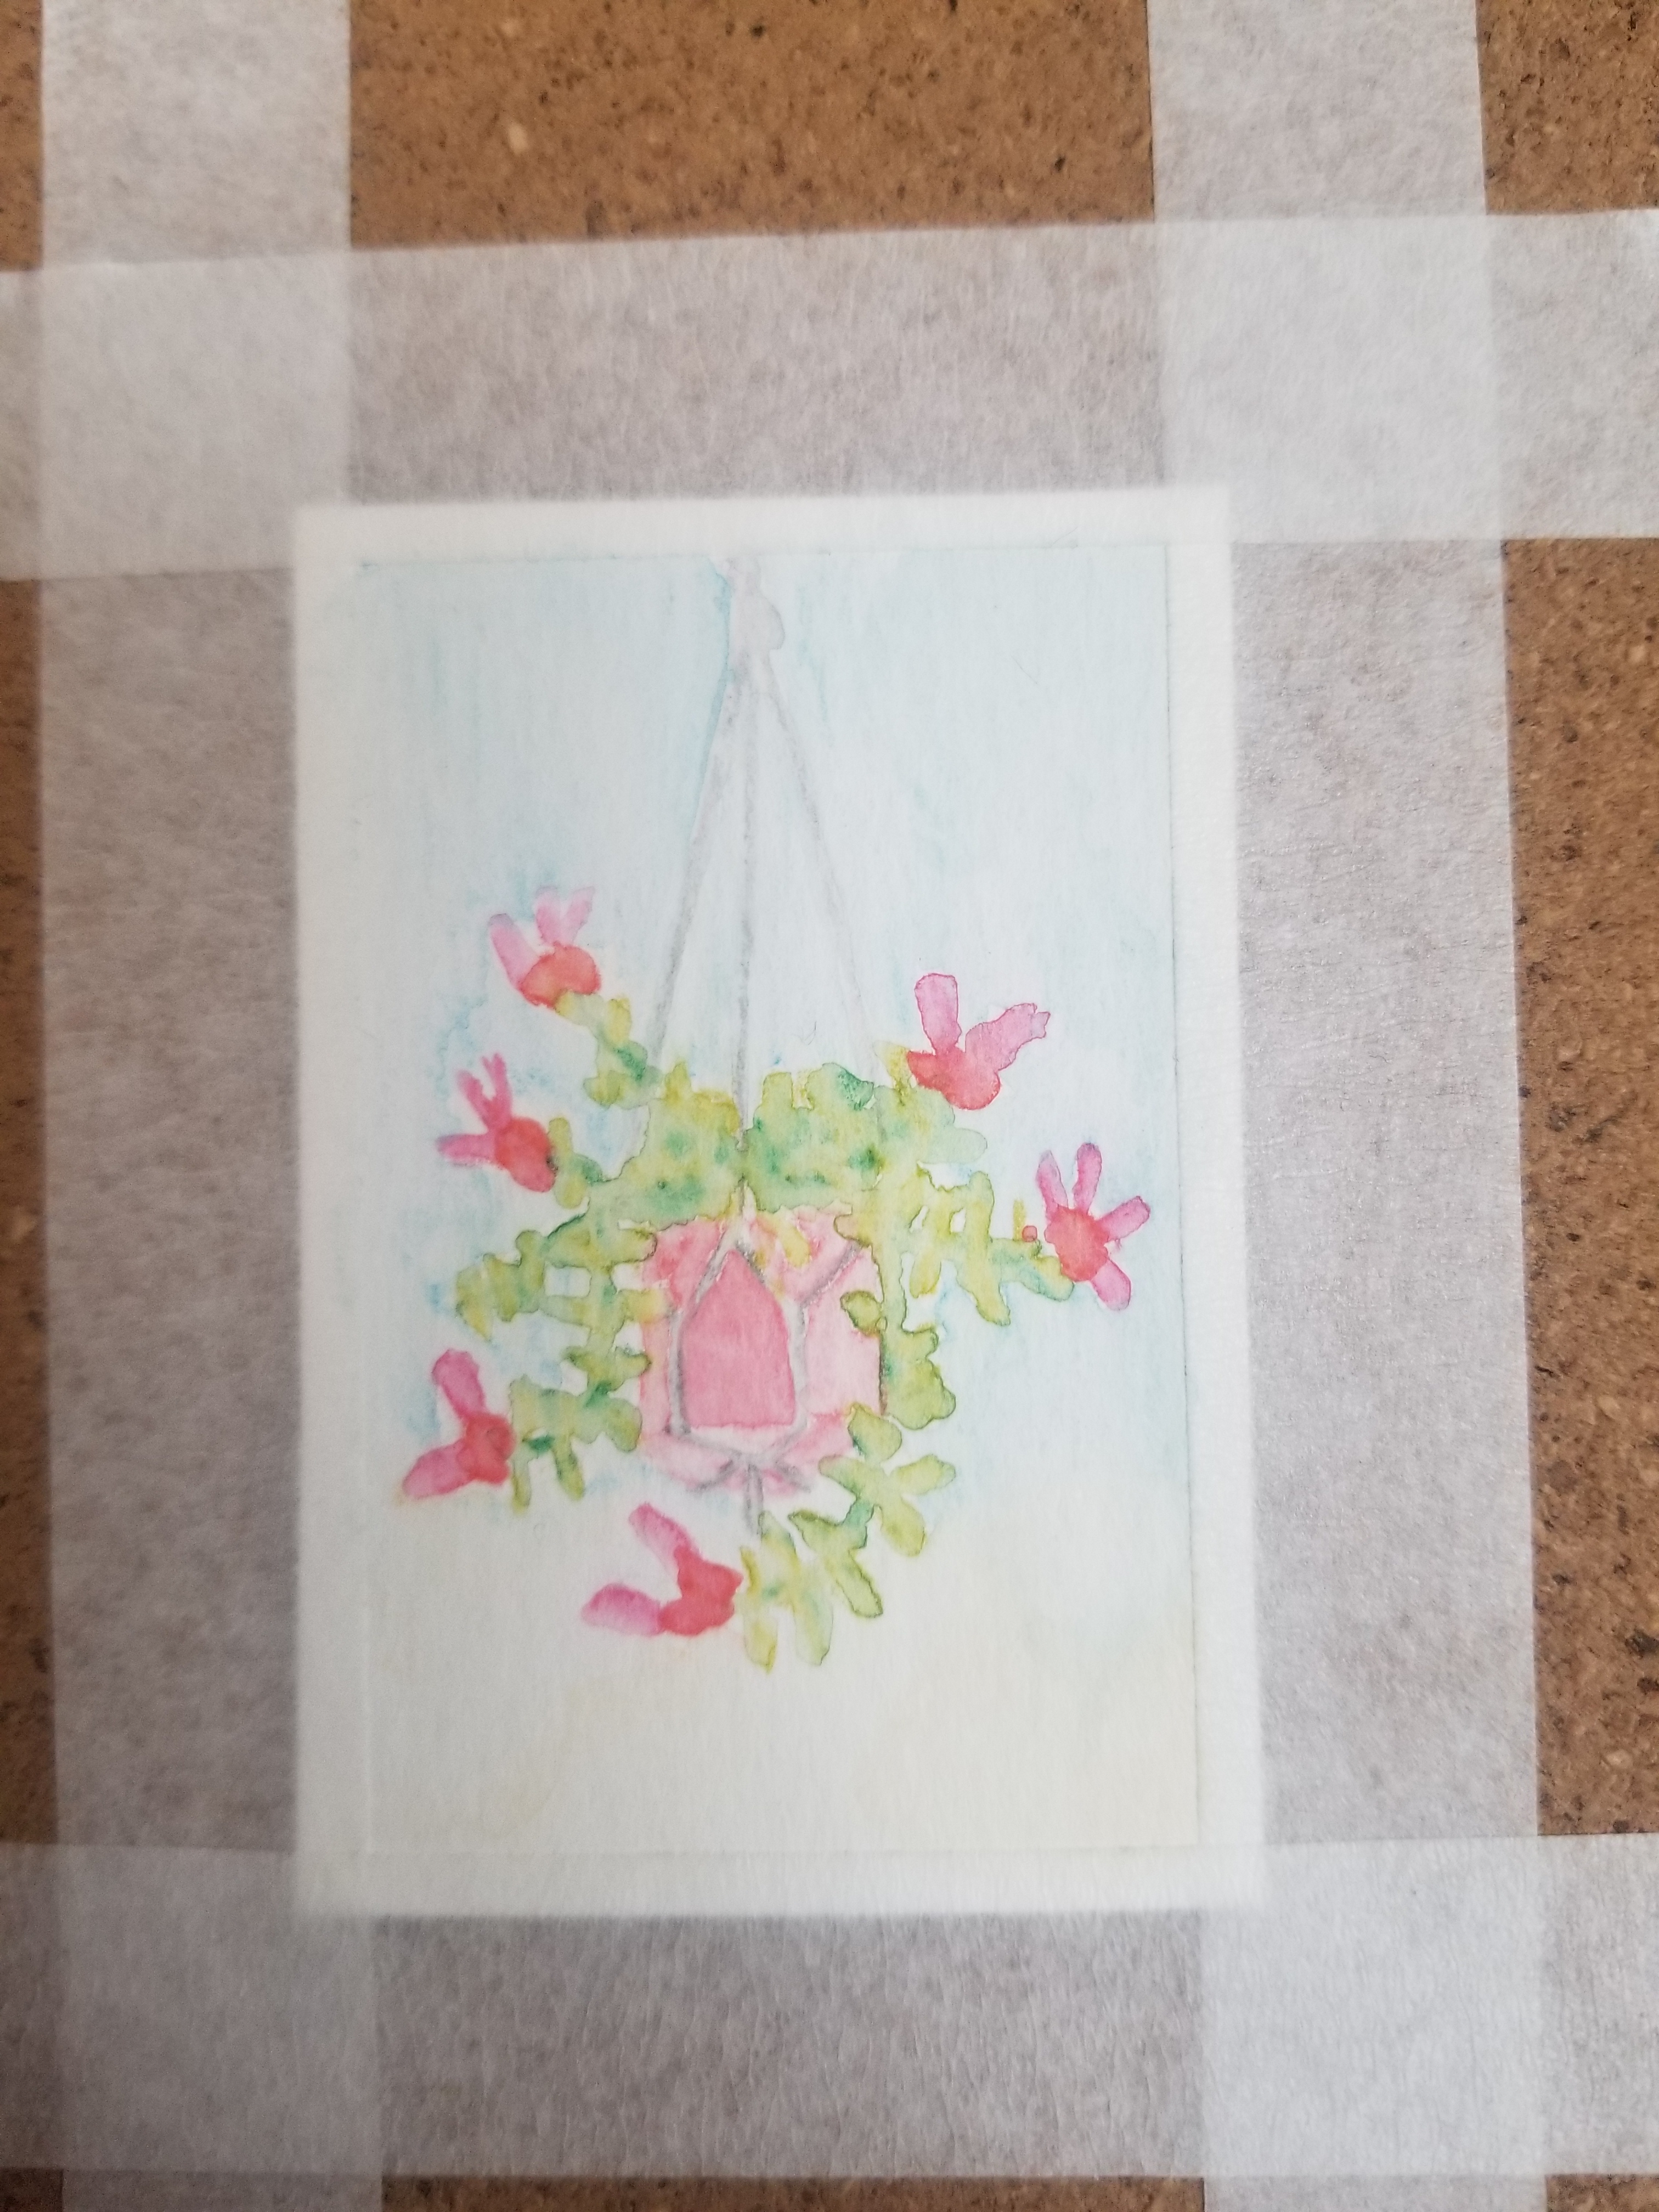
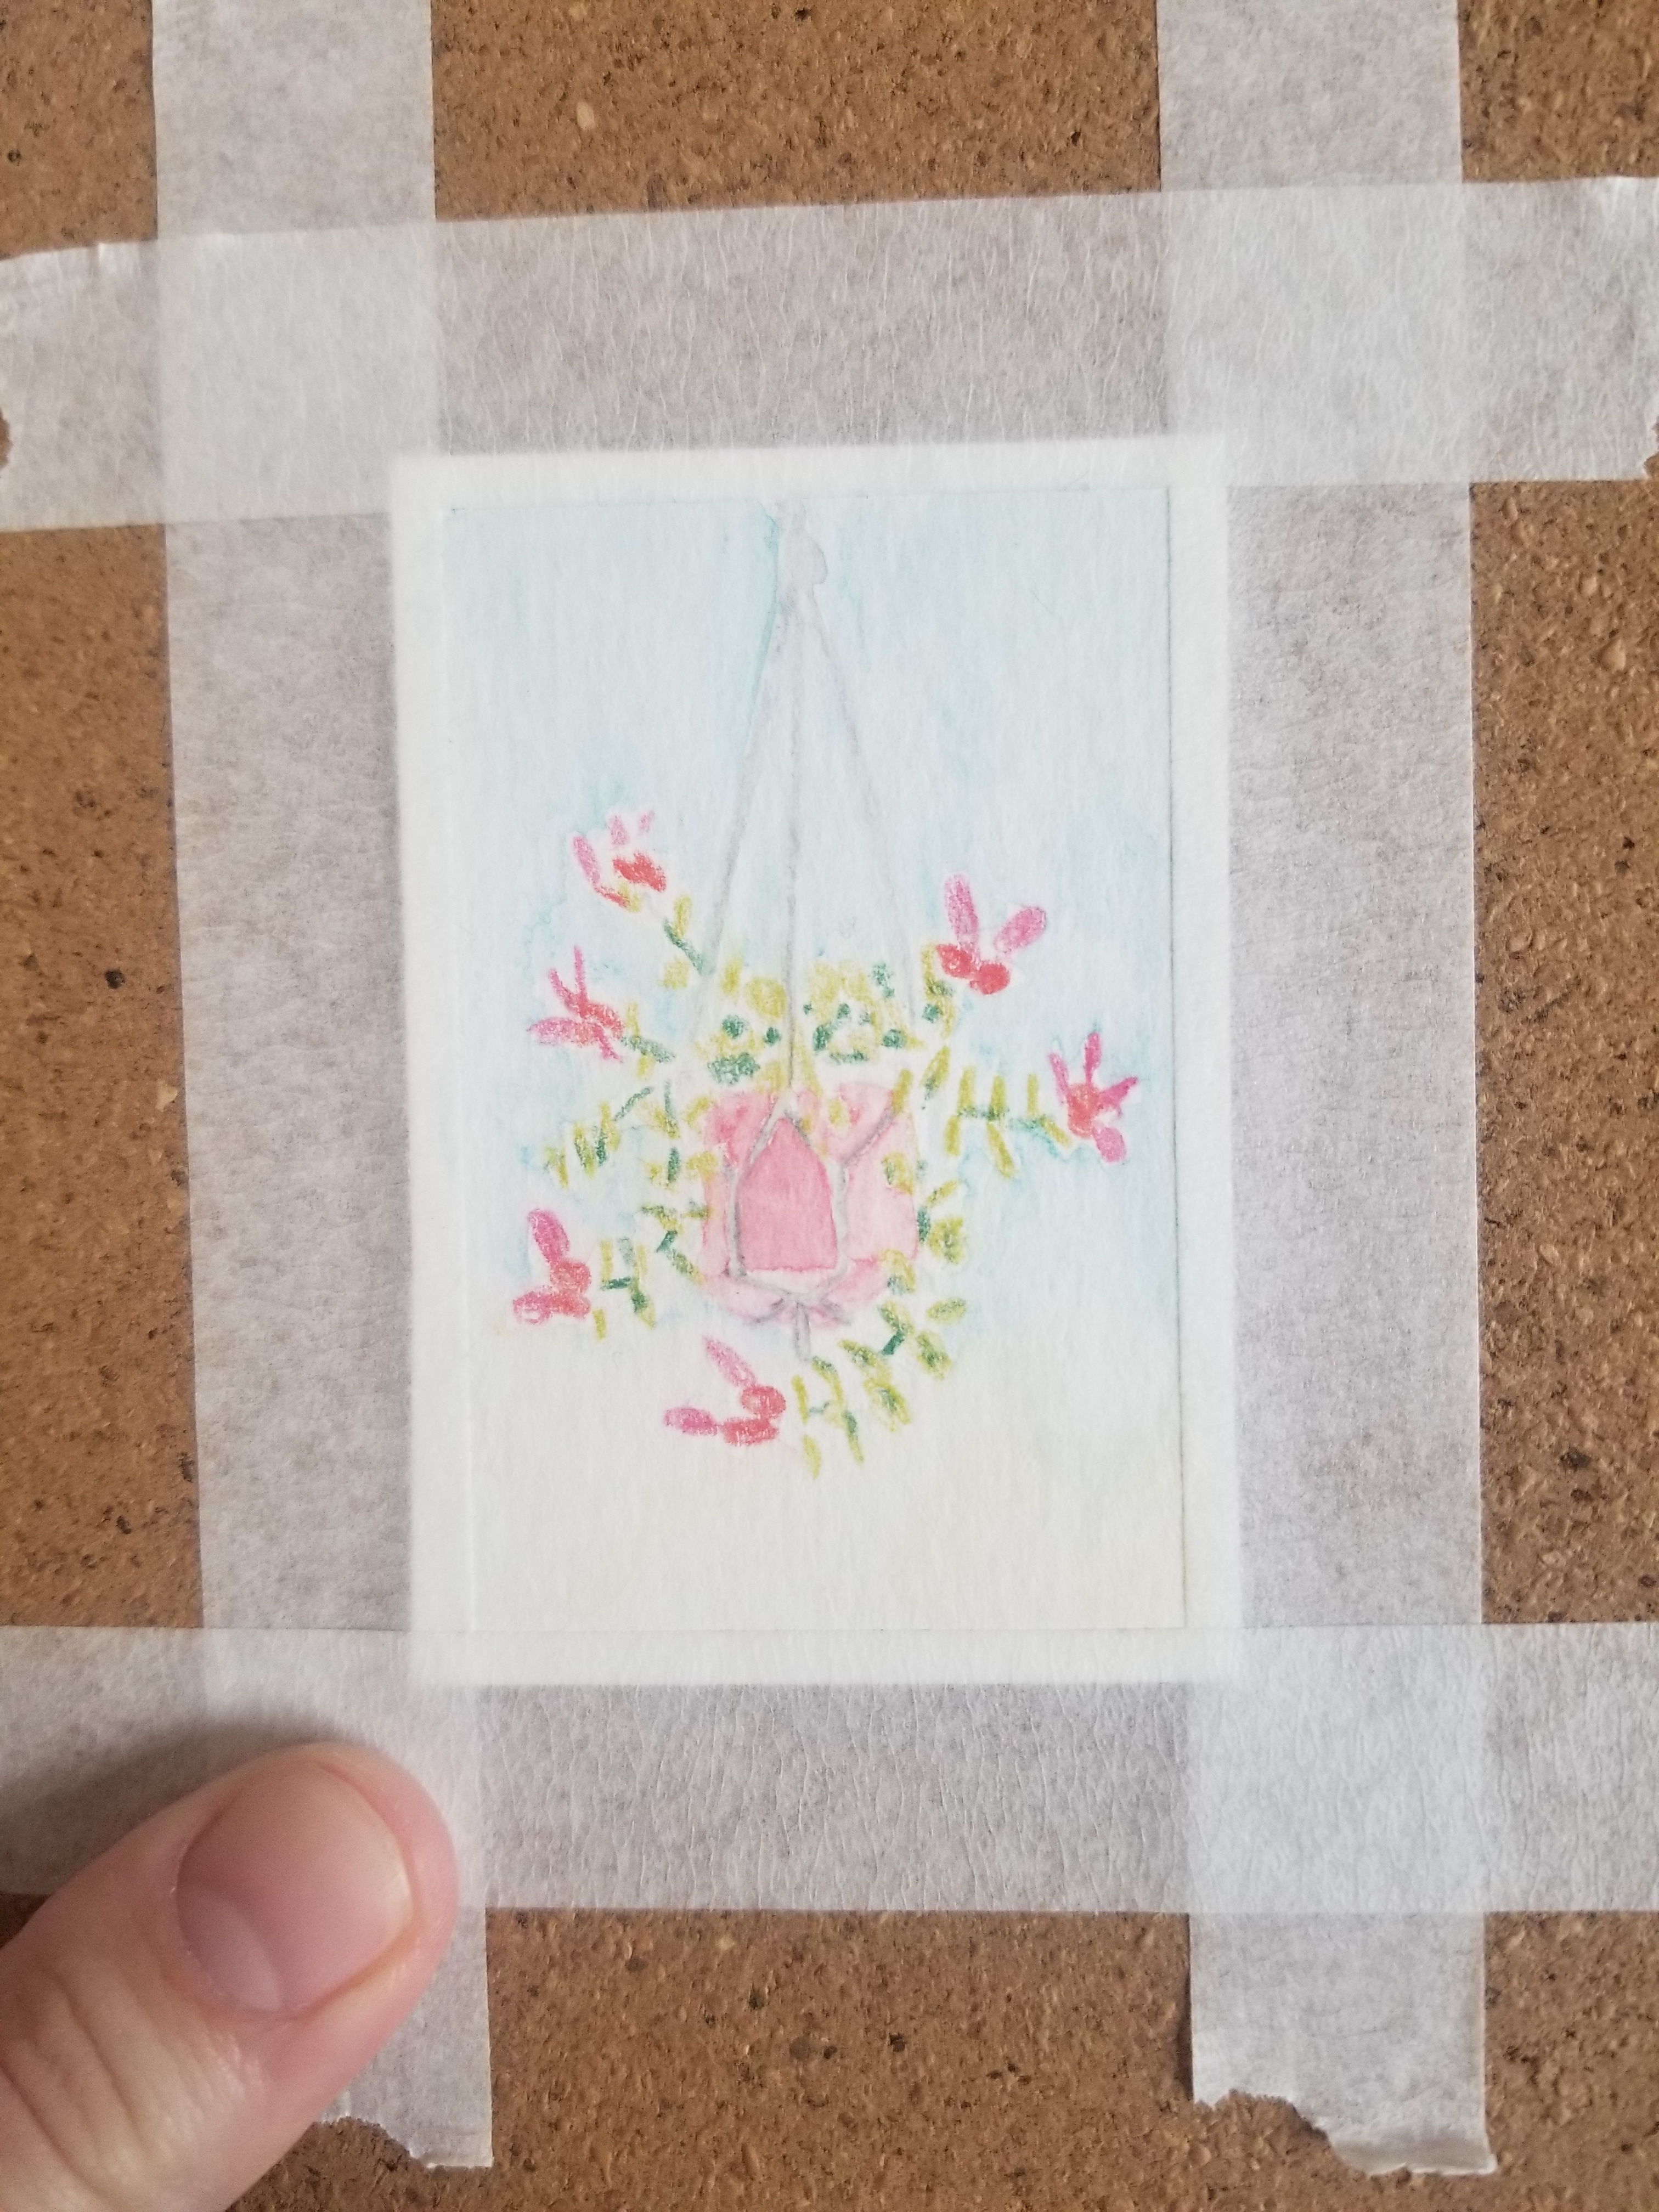
13. A daffodil, I used an old sketch from my pen sketchbook. I tried a wet-on-wet background.
14. My twisted lipstick plant. This one is my favorite! I love how the colours and slight shading turned out. I think I liked this one without the pen too.


15. Pteris cretica fern.


Overall, I think these paintings turn out a bit better when I put down more paint right from the start. My first batch I let each layer dry and then put more on, but I like this effect better.
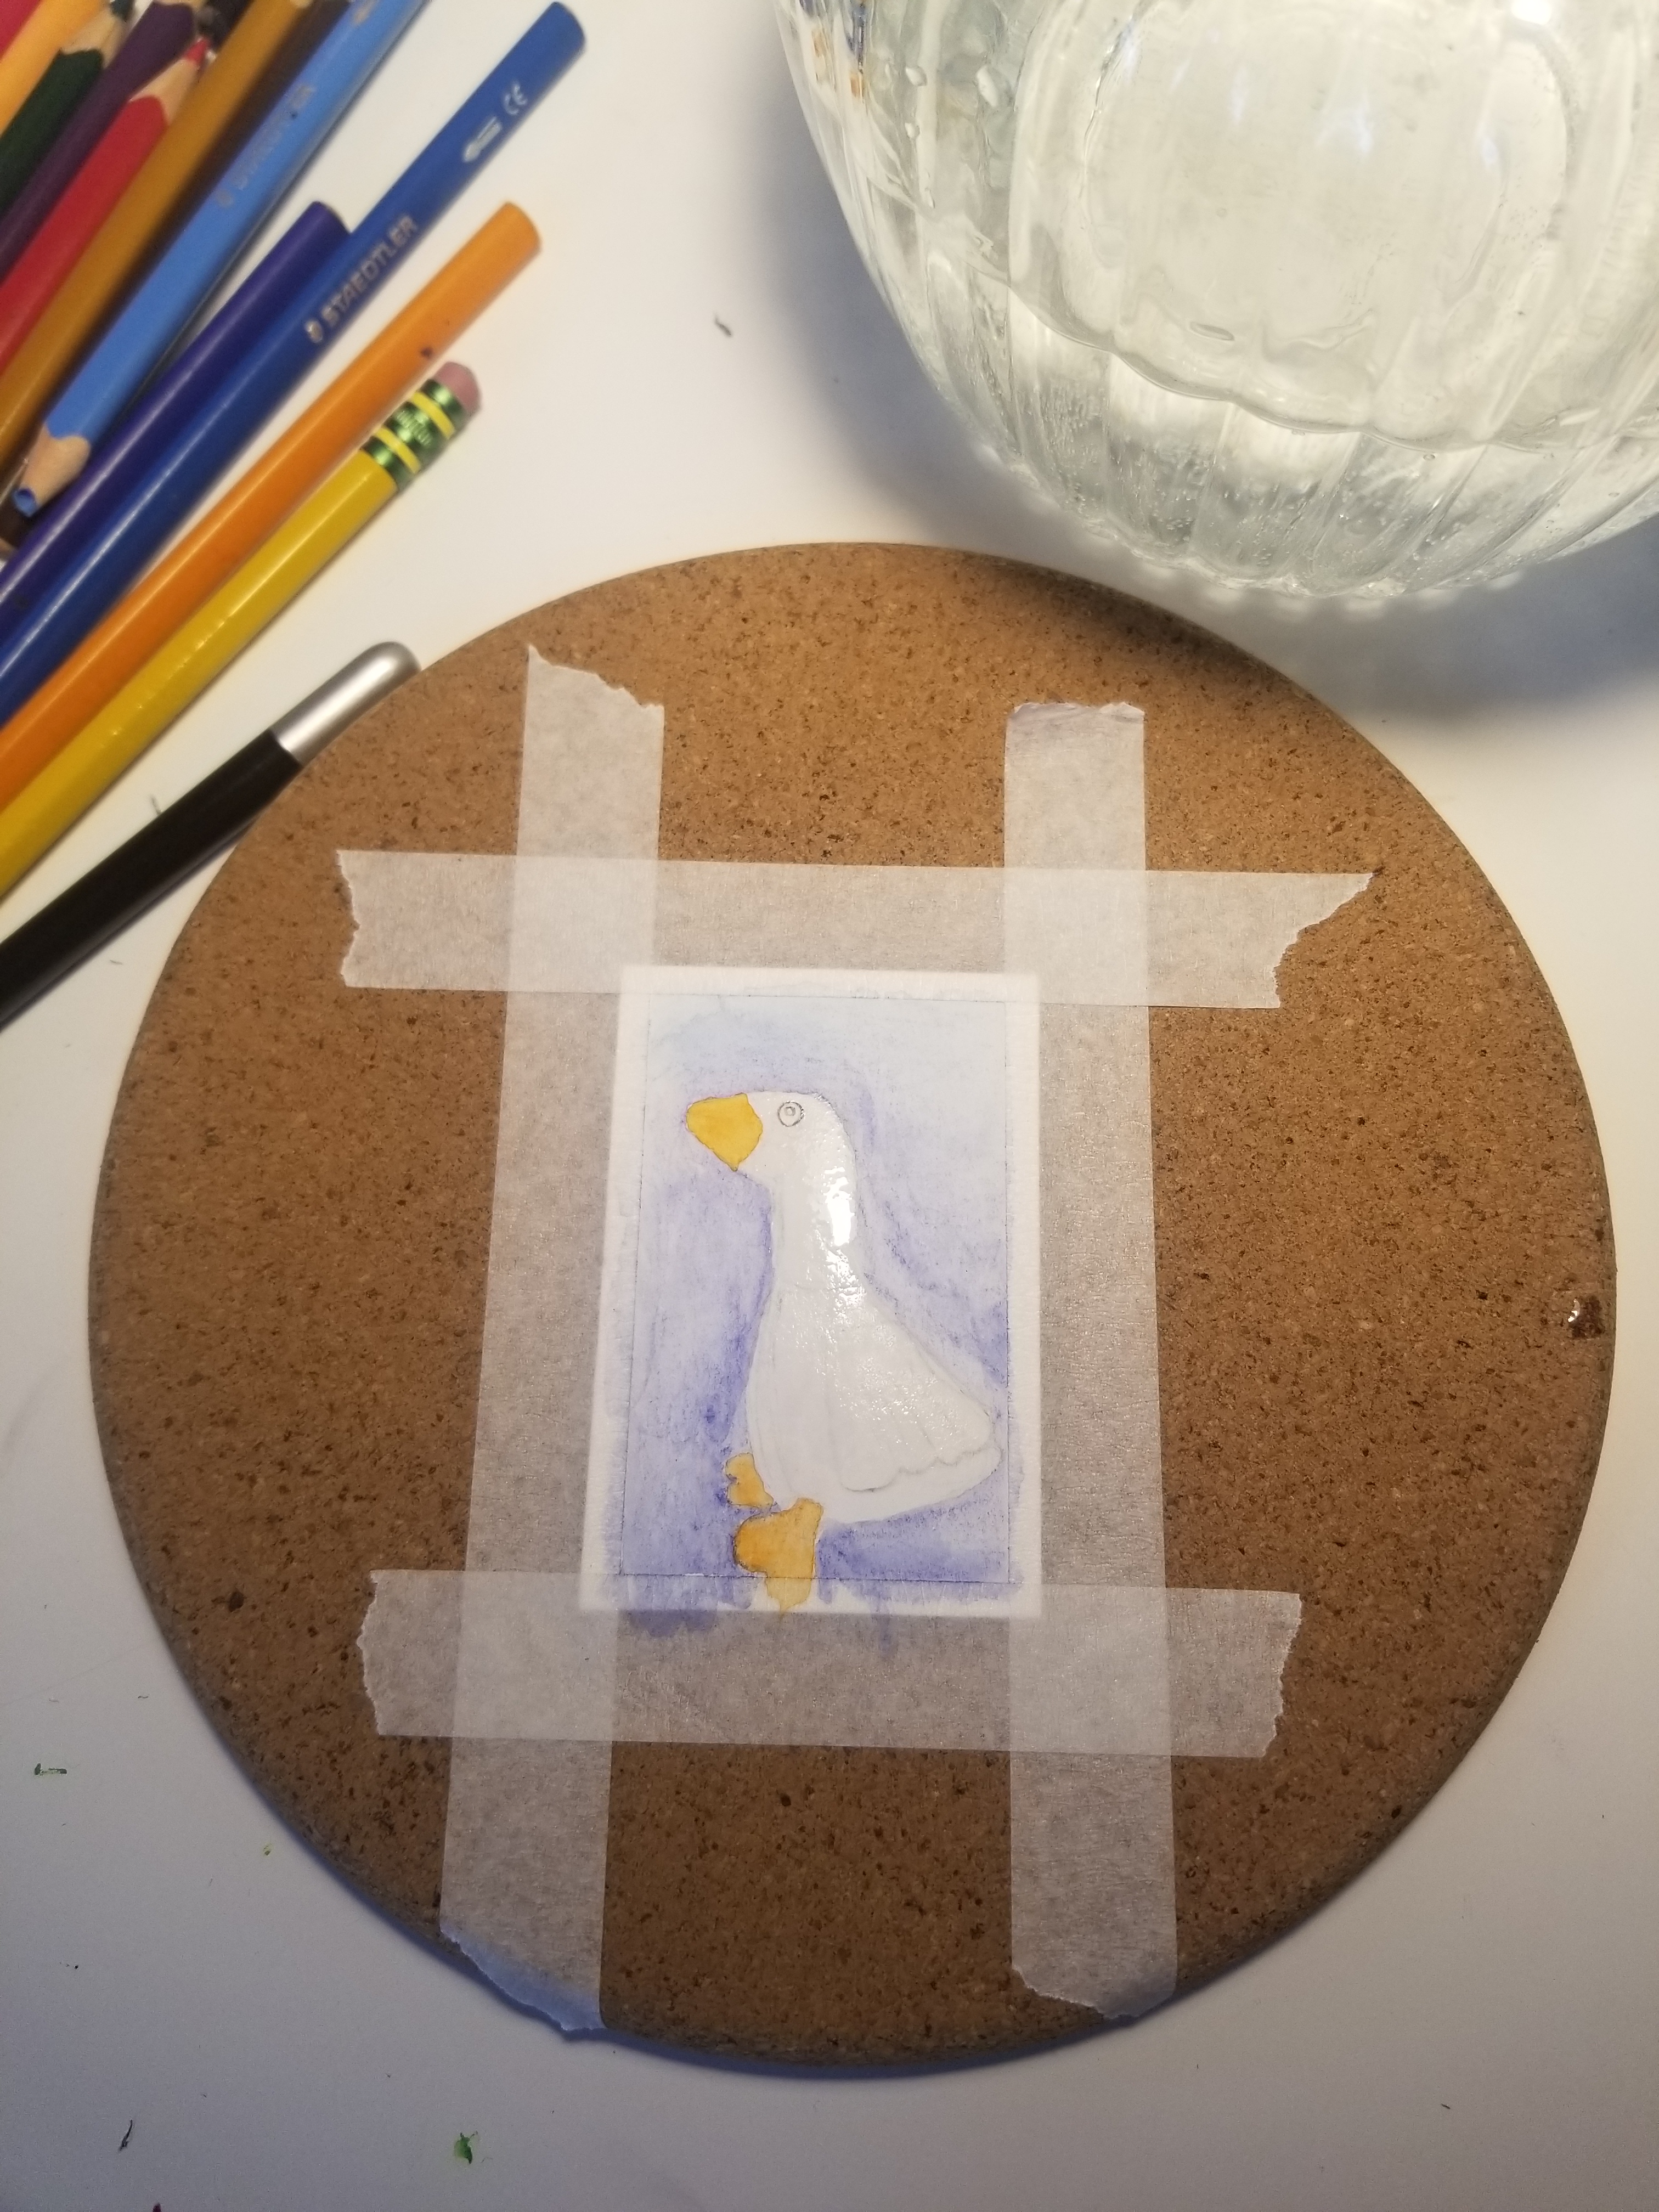
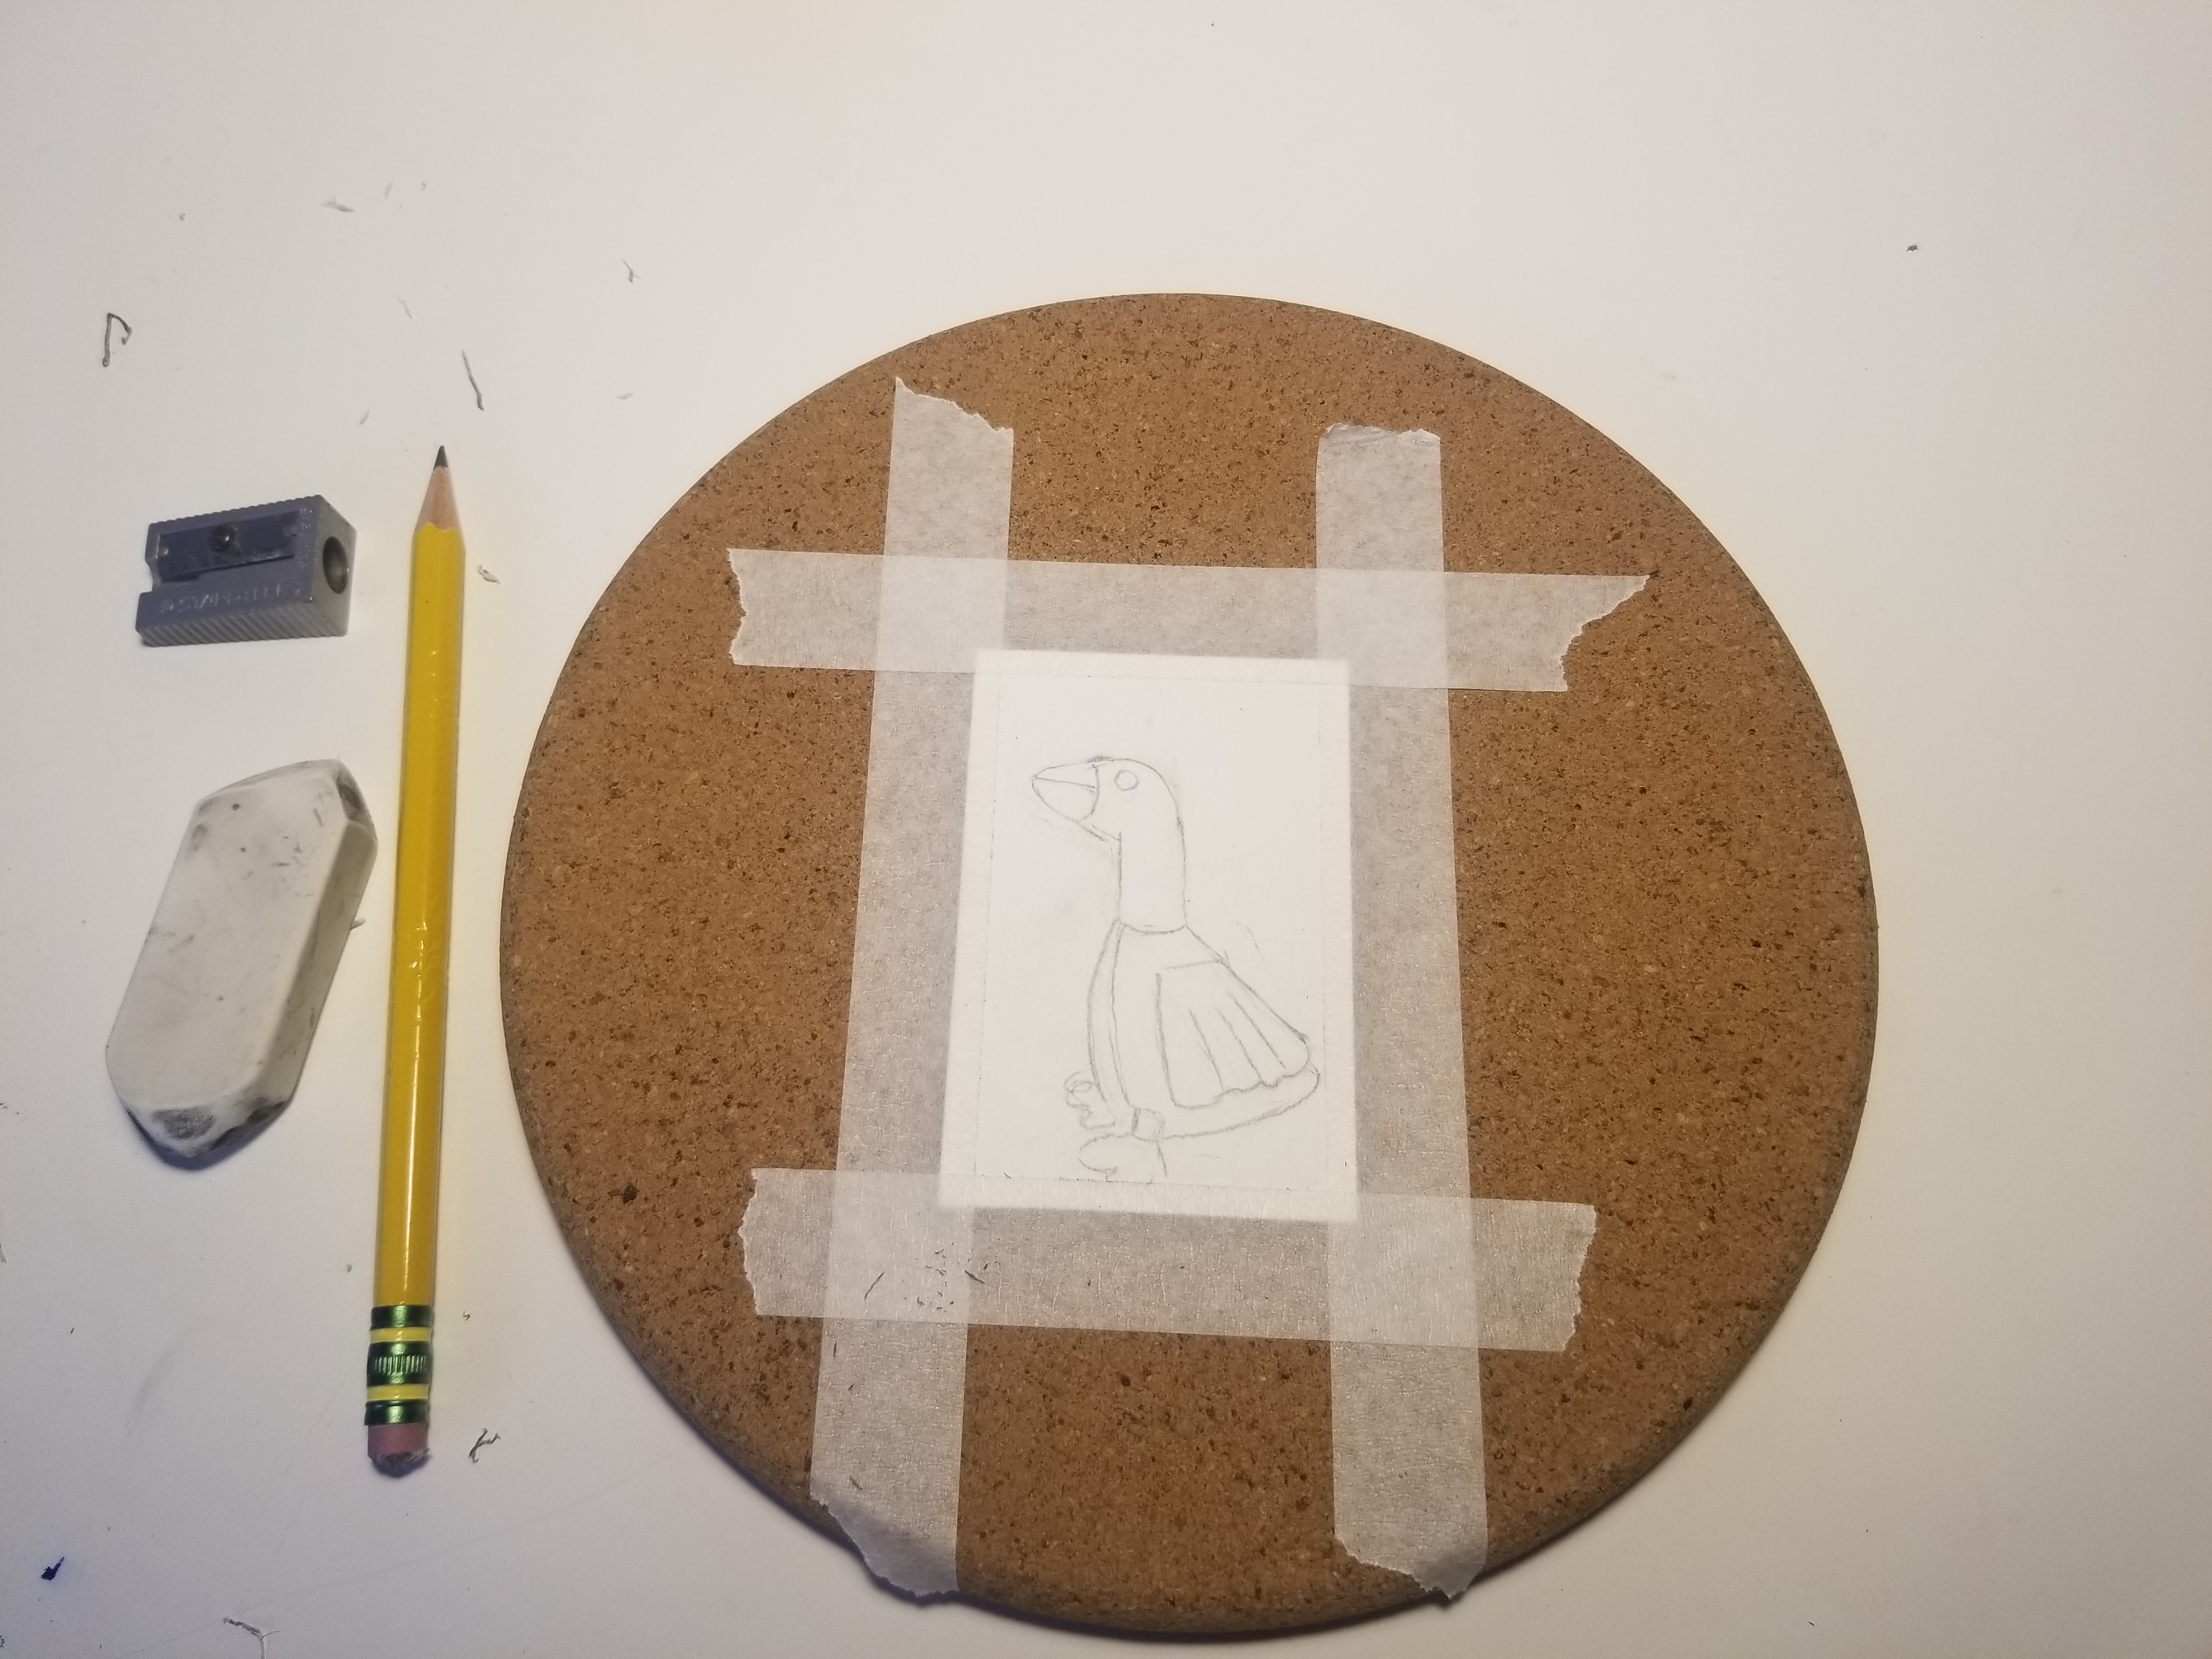
6. Based on a little goose stuffy. I think I liked it a bit better before adding the pen.

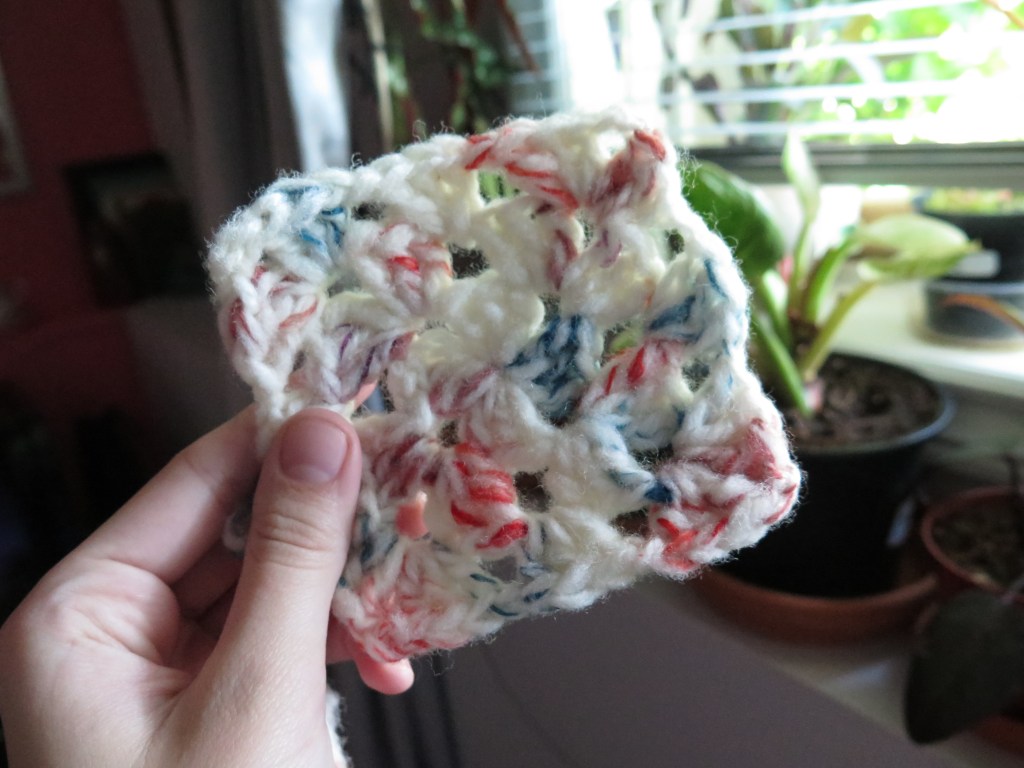
7. A crochet granny square, I really like this one!

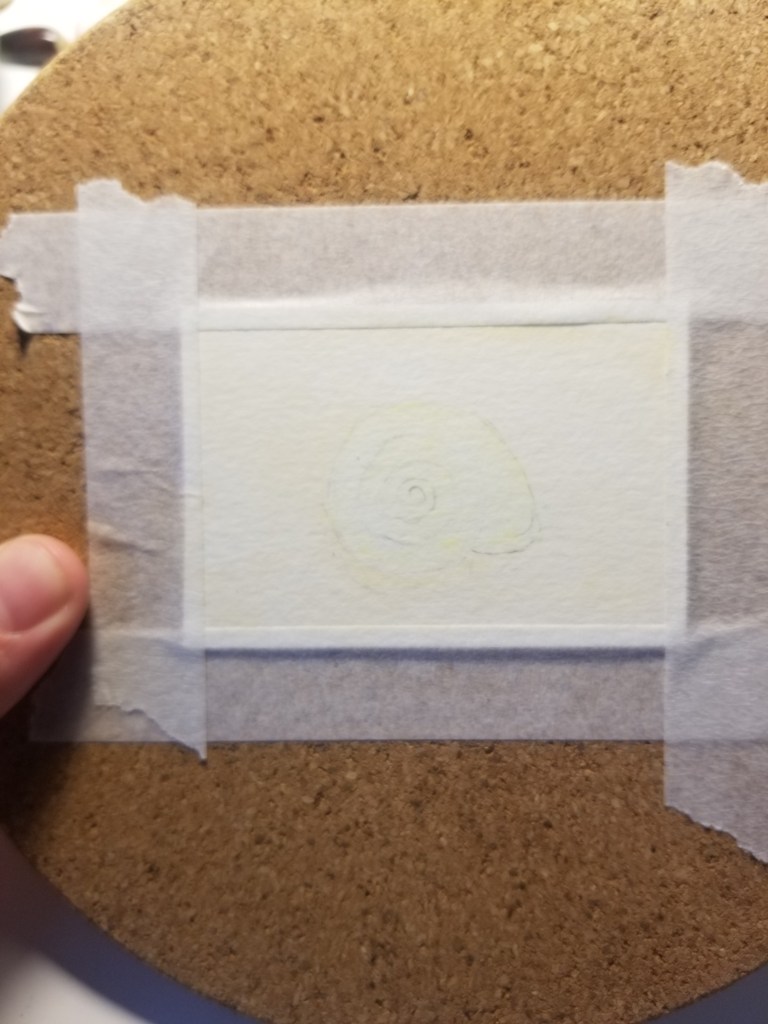
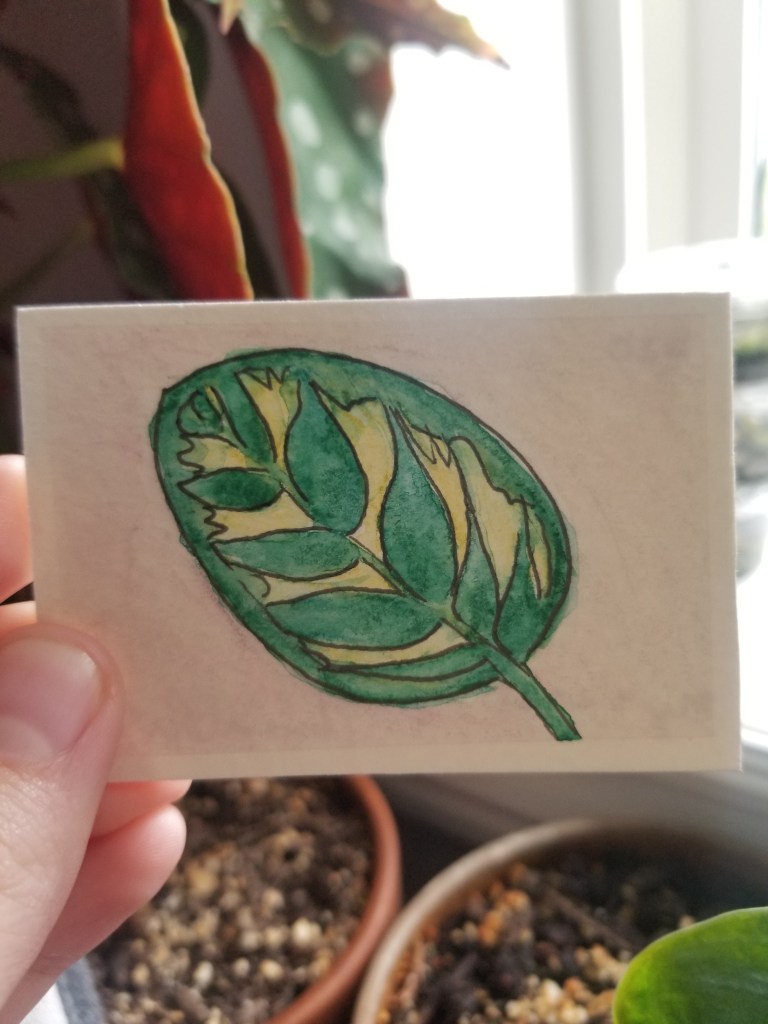
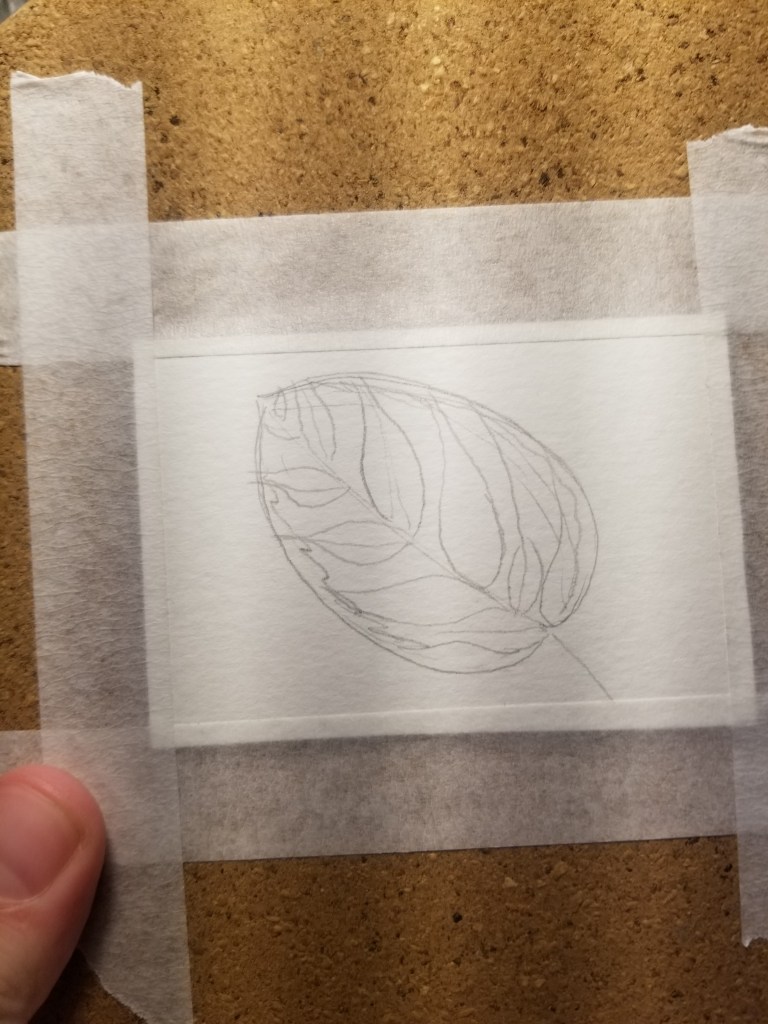
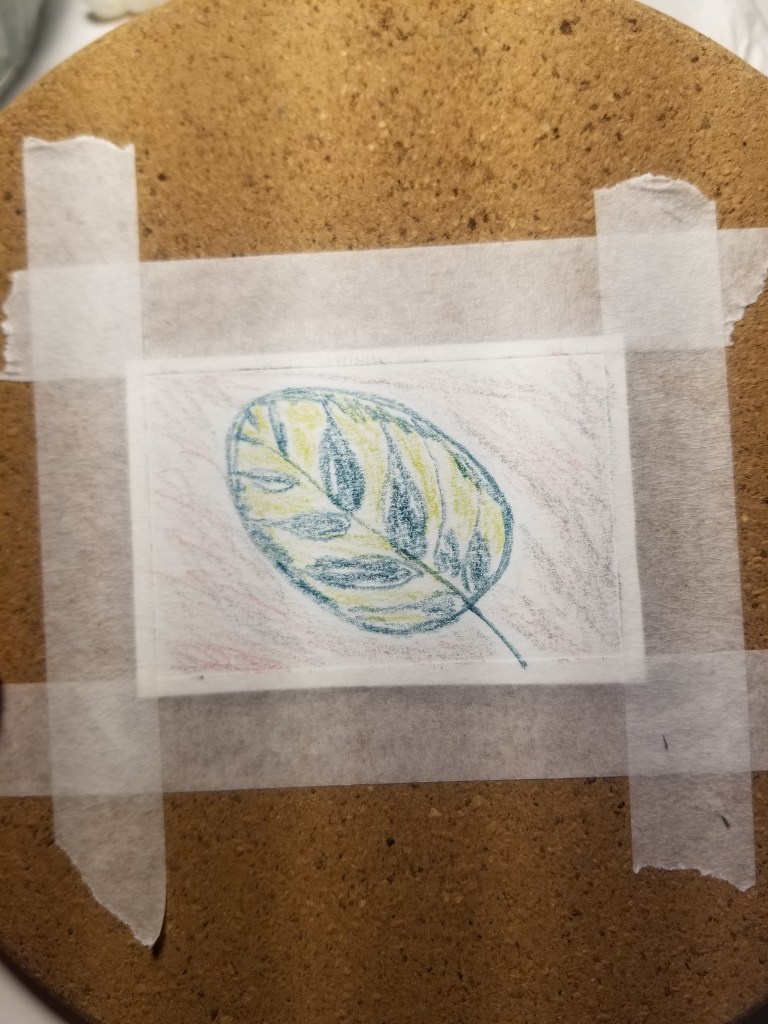
8. A leaf from my Philodendron Birkin.

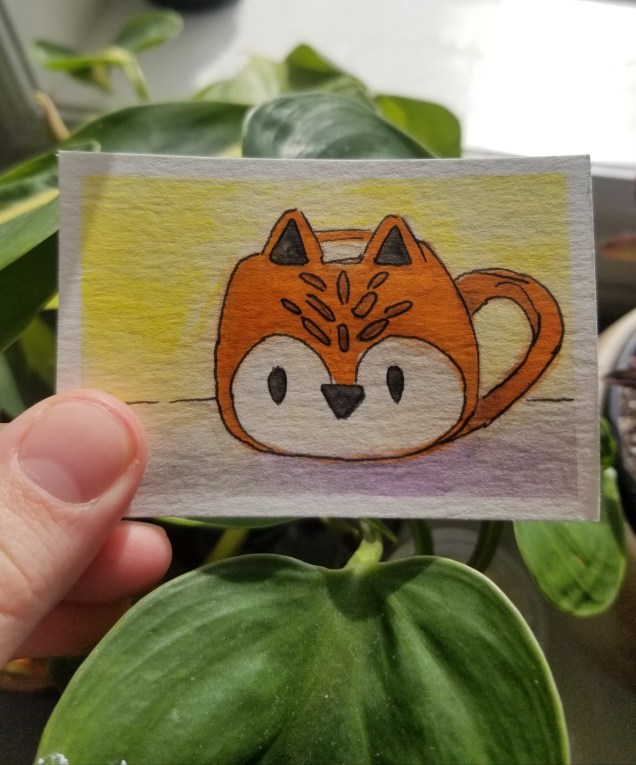
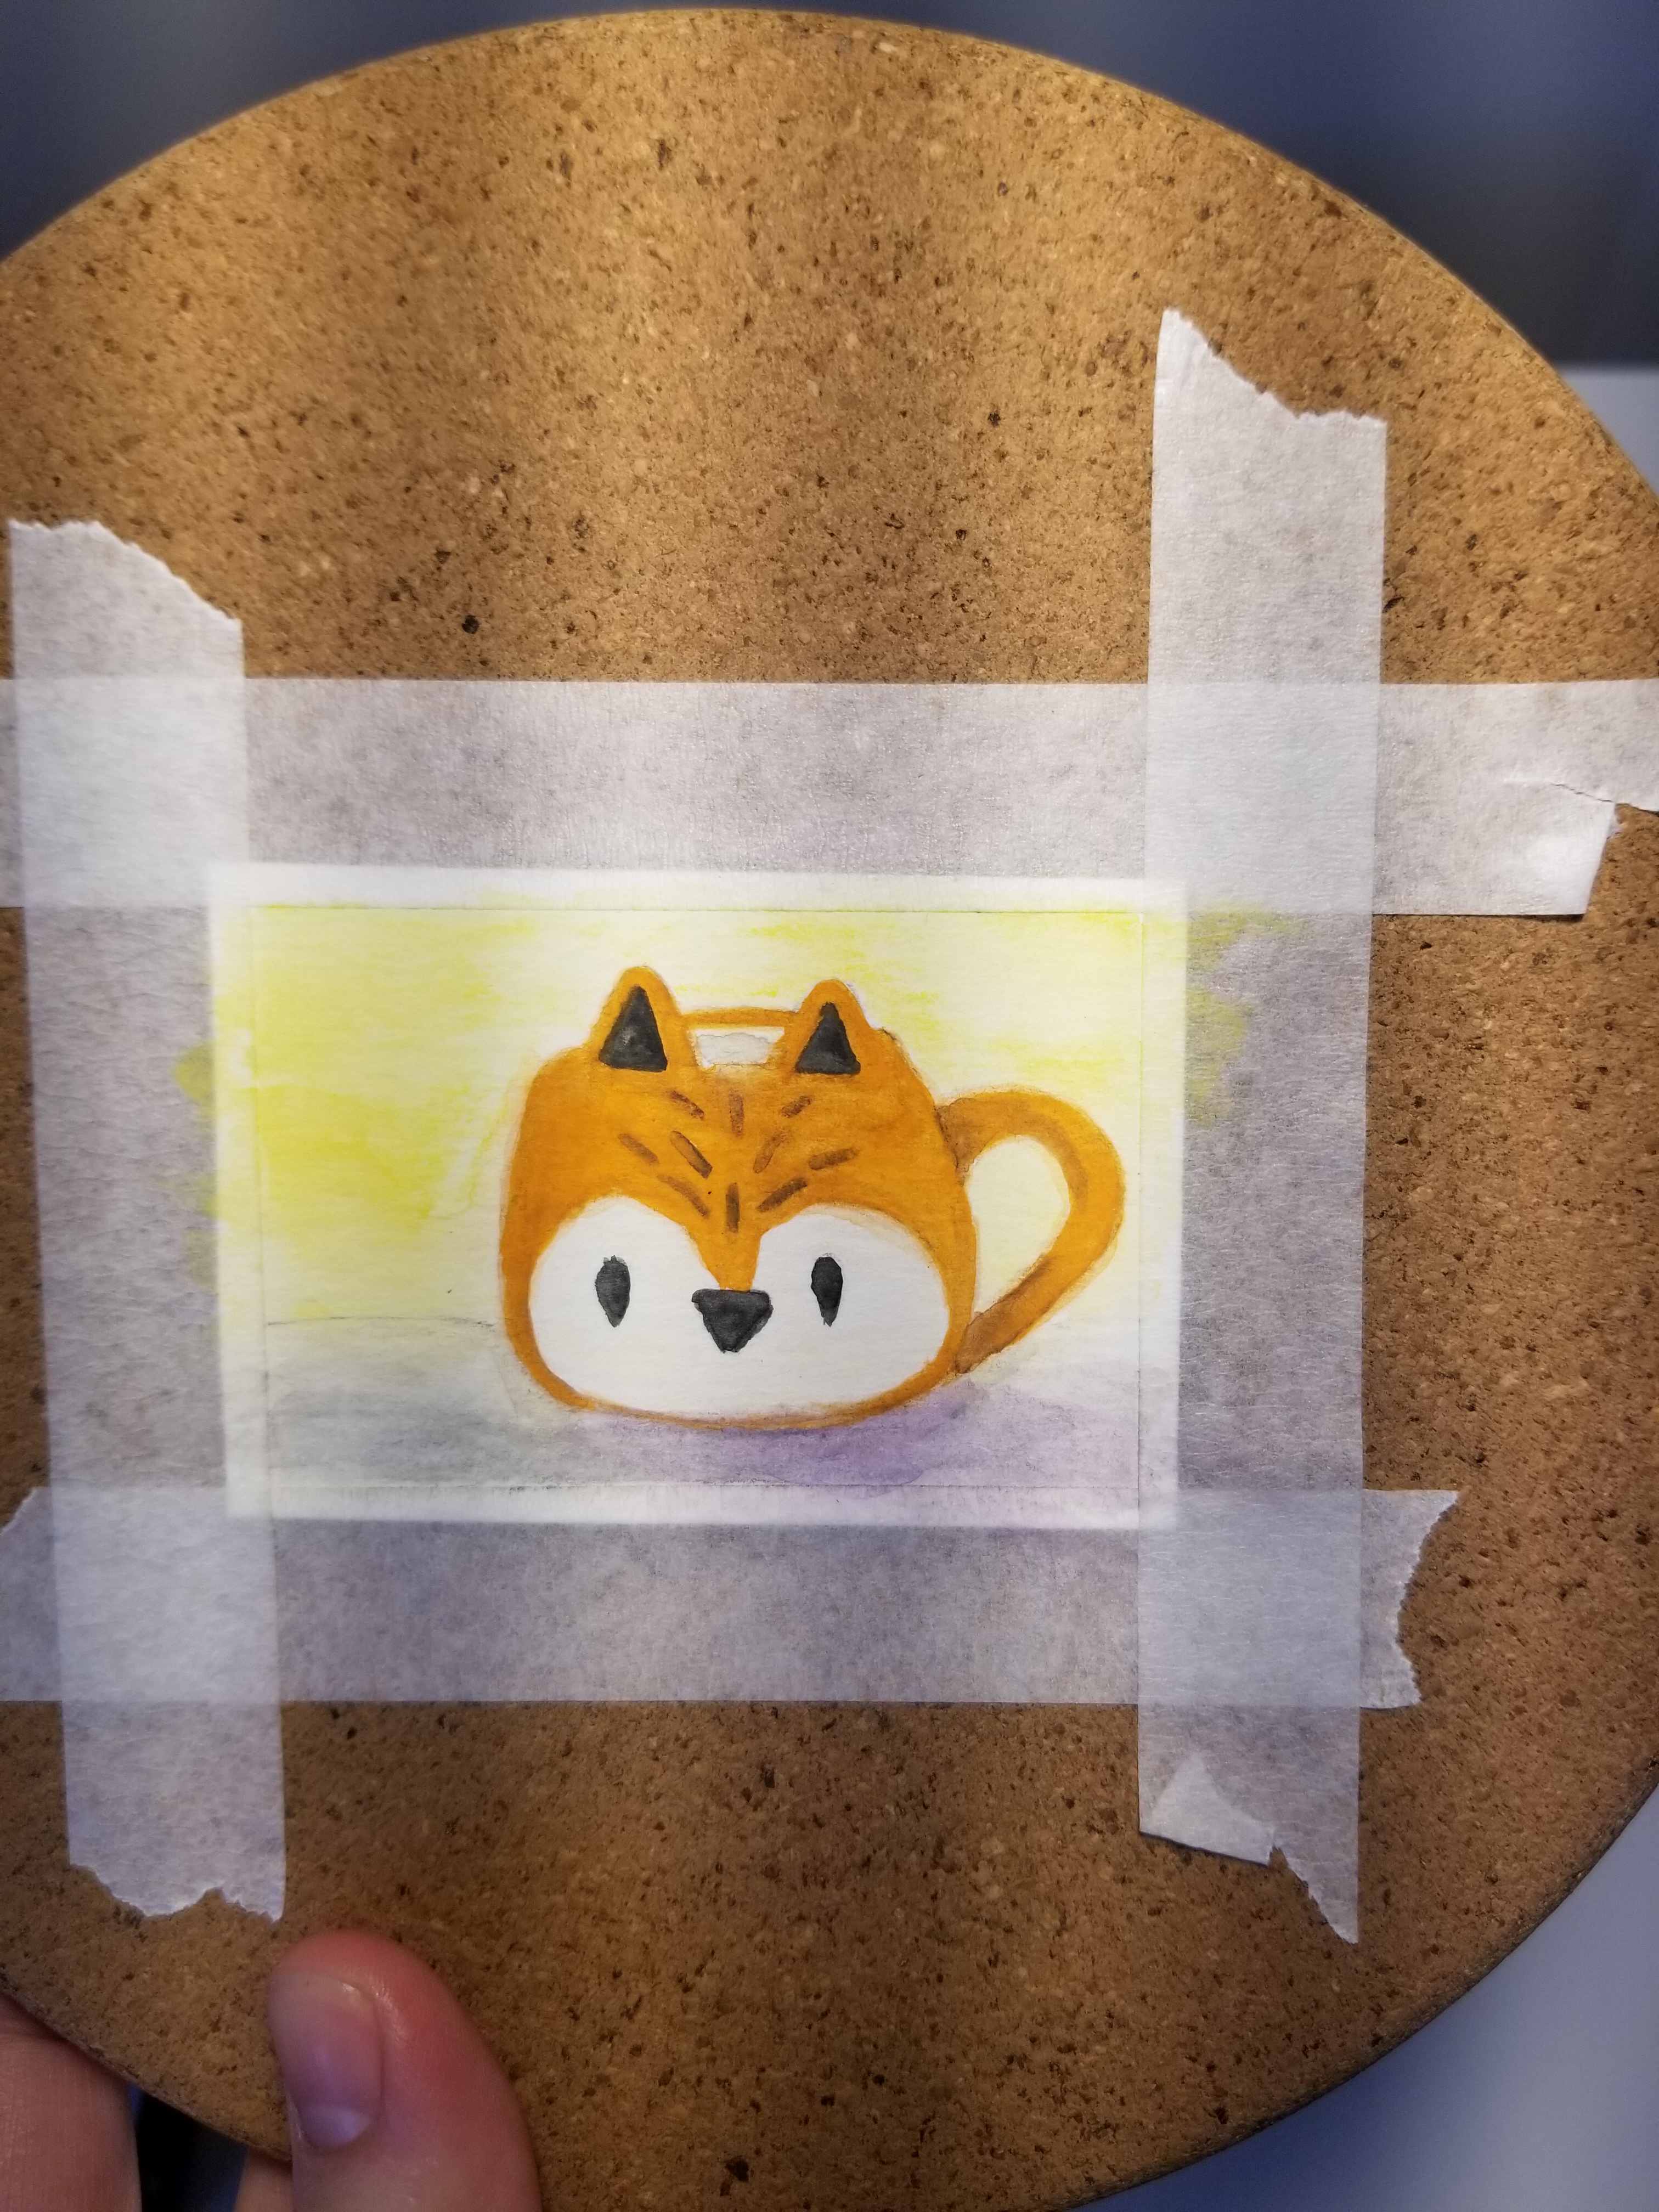
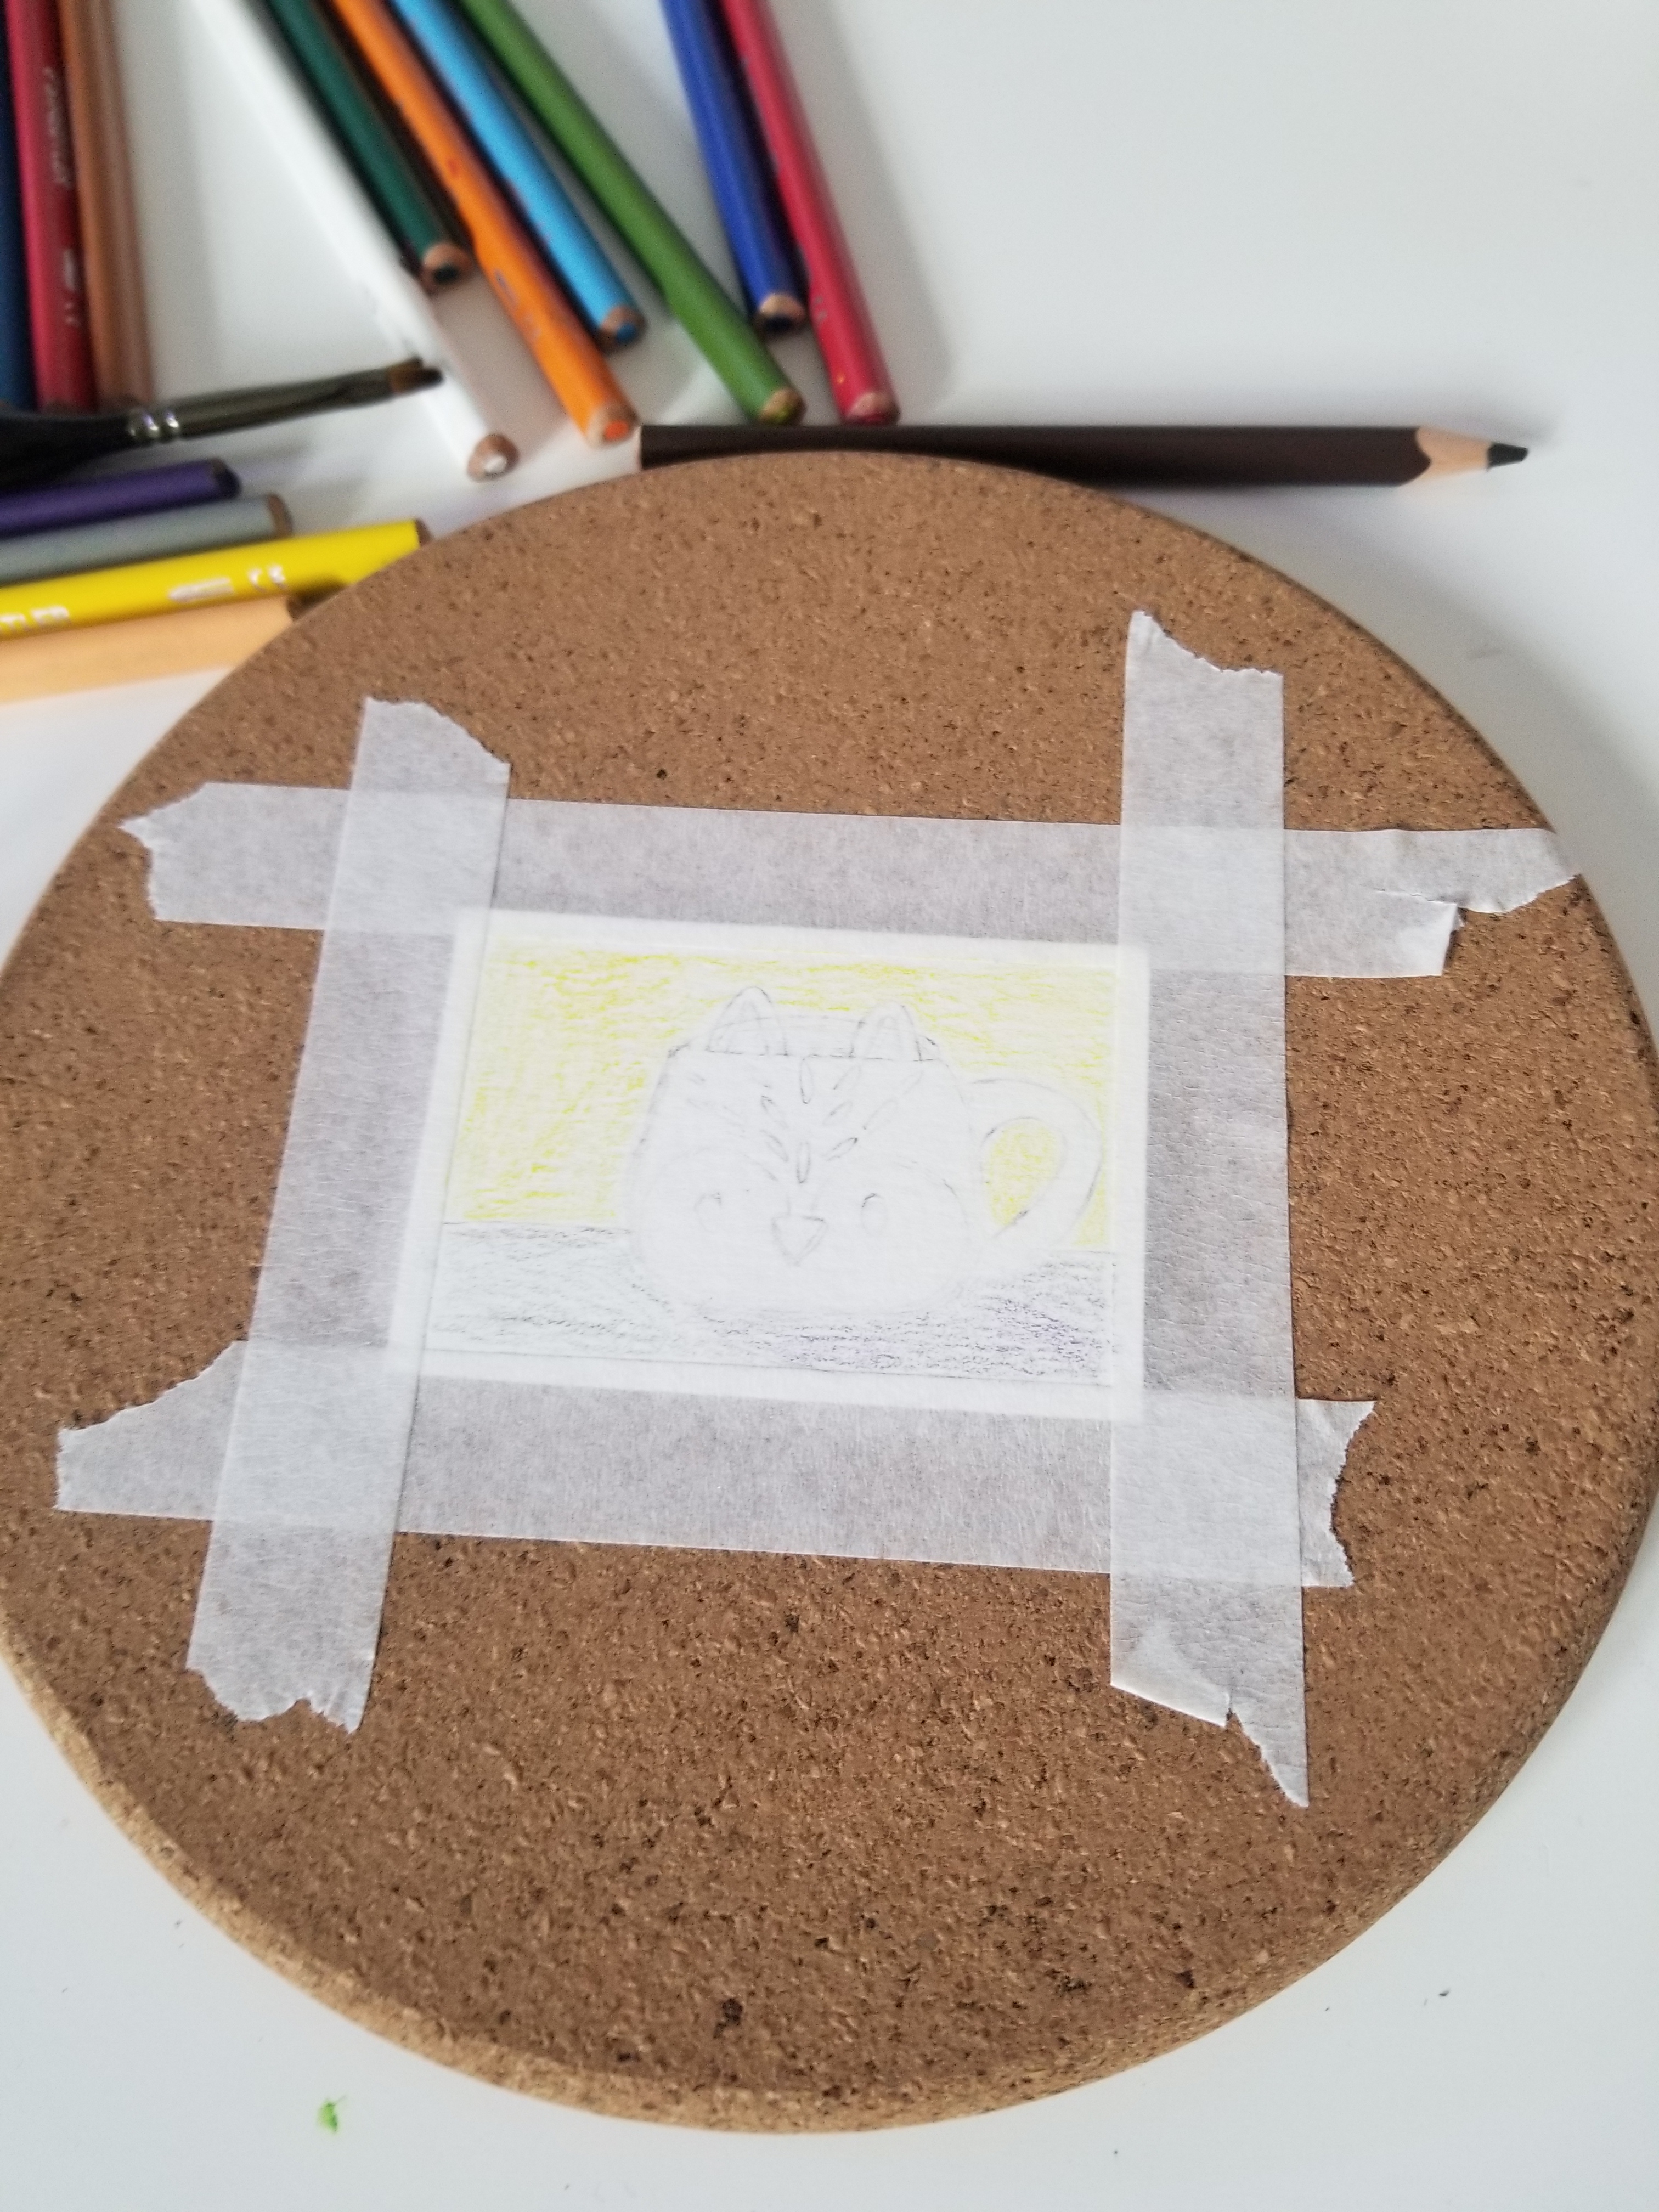
9. A mug

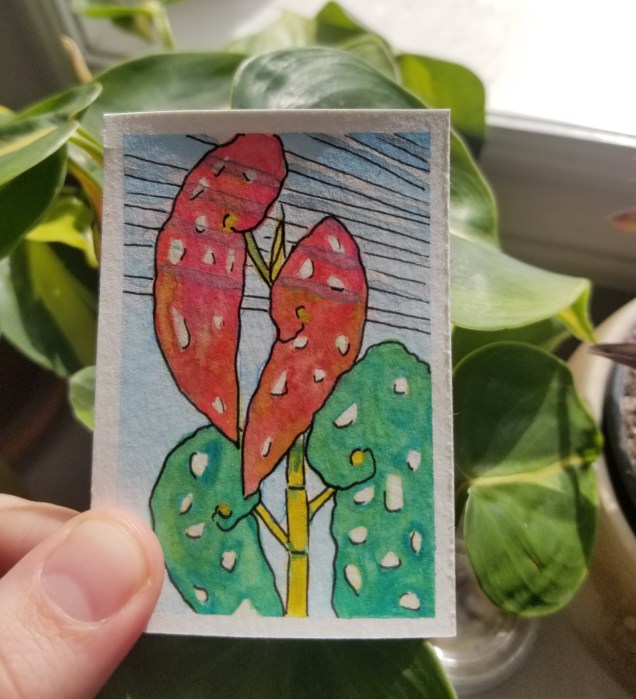
10. A stem of my Begonia maculata, with the sun shining through the blinds behind it.

I switched to using a kneaded eraser for the last one, it worked much better for lightening my pencil lines before painting.
